If your kid loves Tonka trucks, you will have a blast pulling together this Construction Party.
We decided to host a construction birthday party for Jonas’ 3rd birthday. Like many young kids, he is obsessed with construction trucks, which he refers to as “Tonkas” so I already had my inspiration set. This theme was so much fun, and we had countless ways to incorporate it into the food and activities.
If you’d rather jump to a specific category, use these links:
Treats Food & Drinks Kid Activities Links to Party Supplies
I. Treats
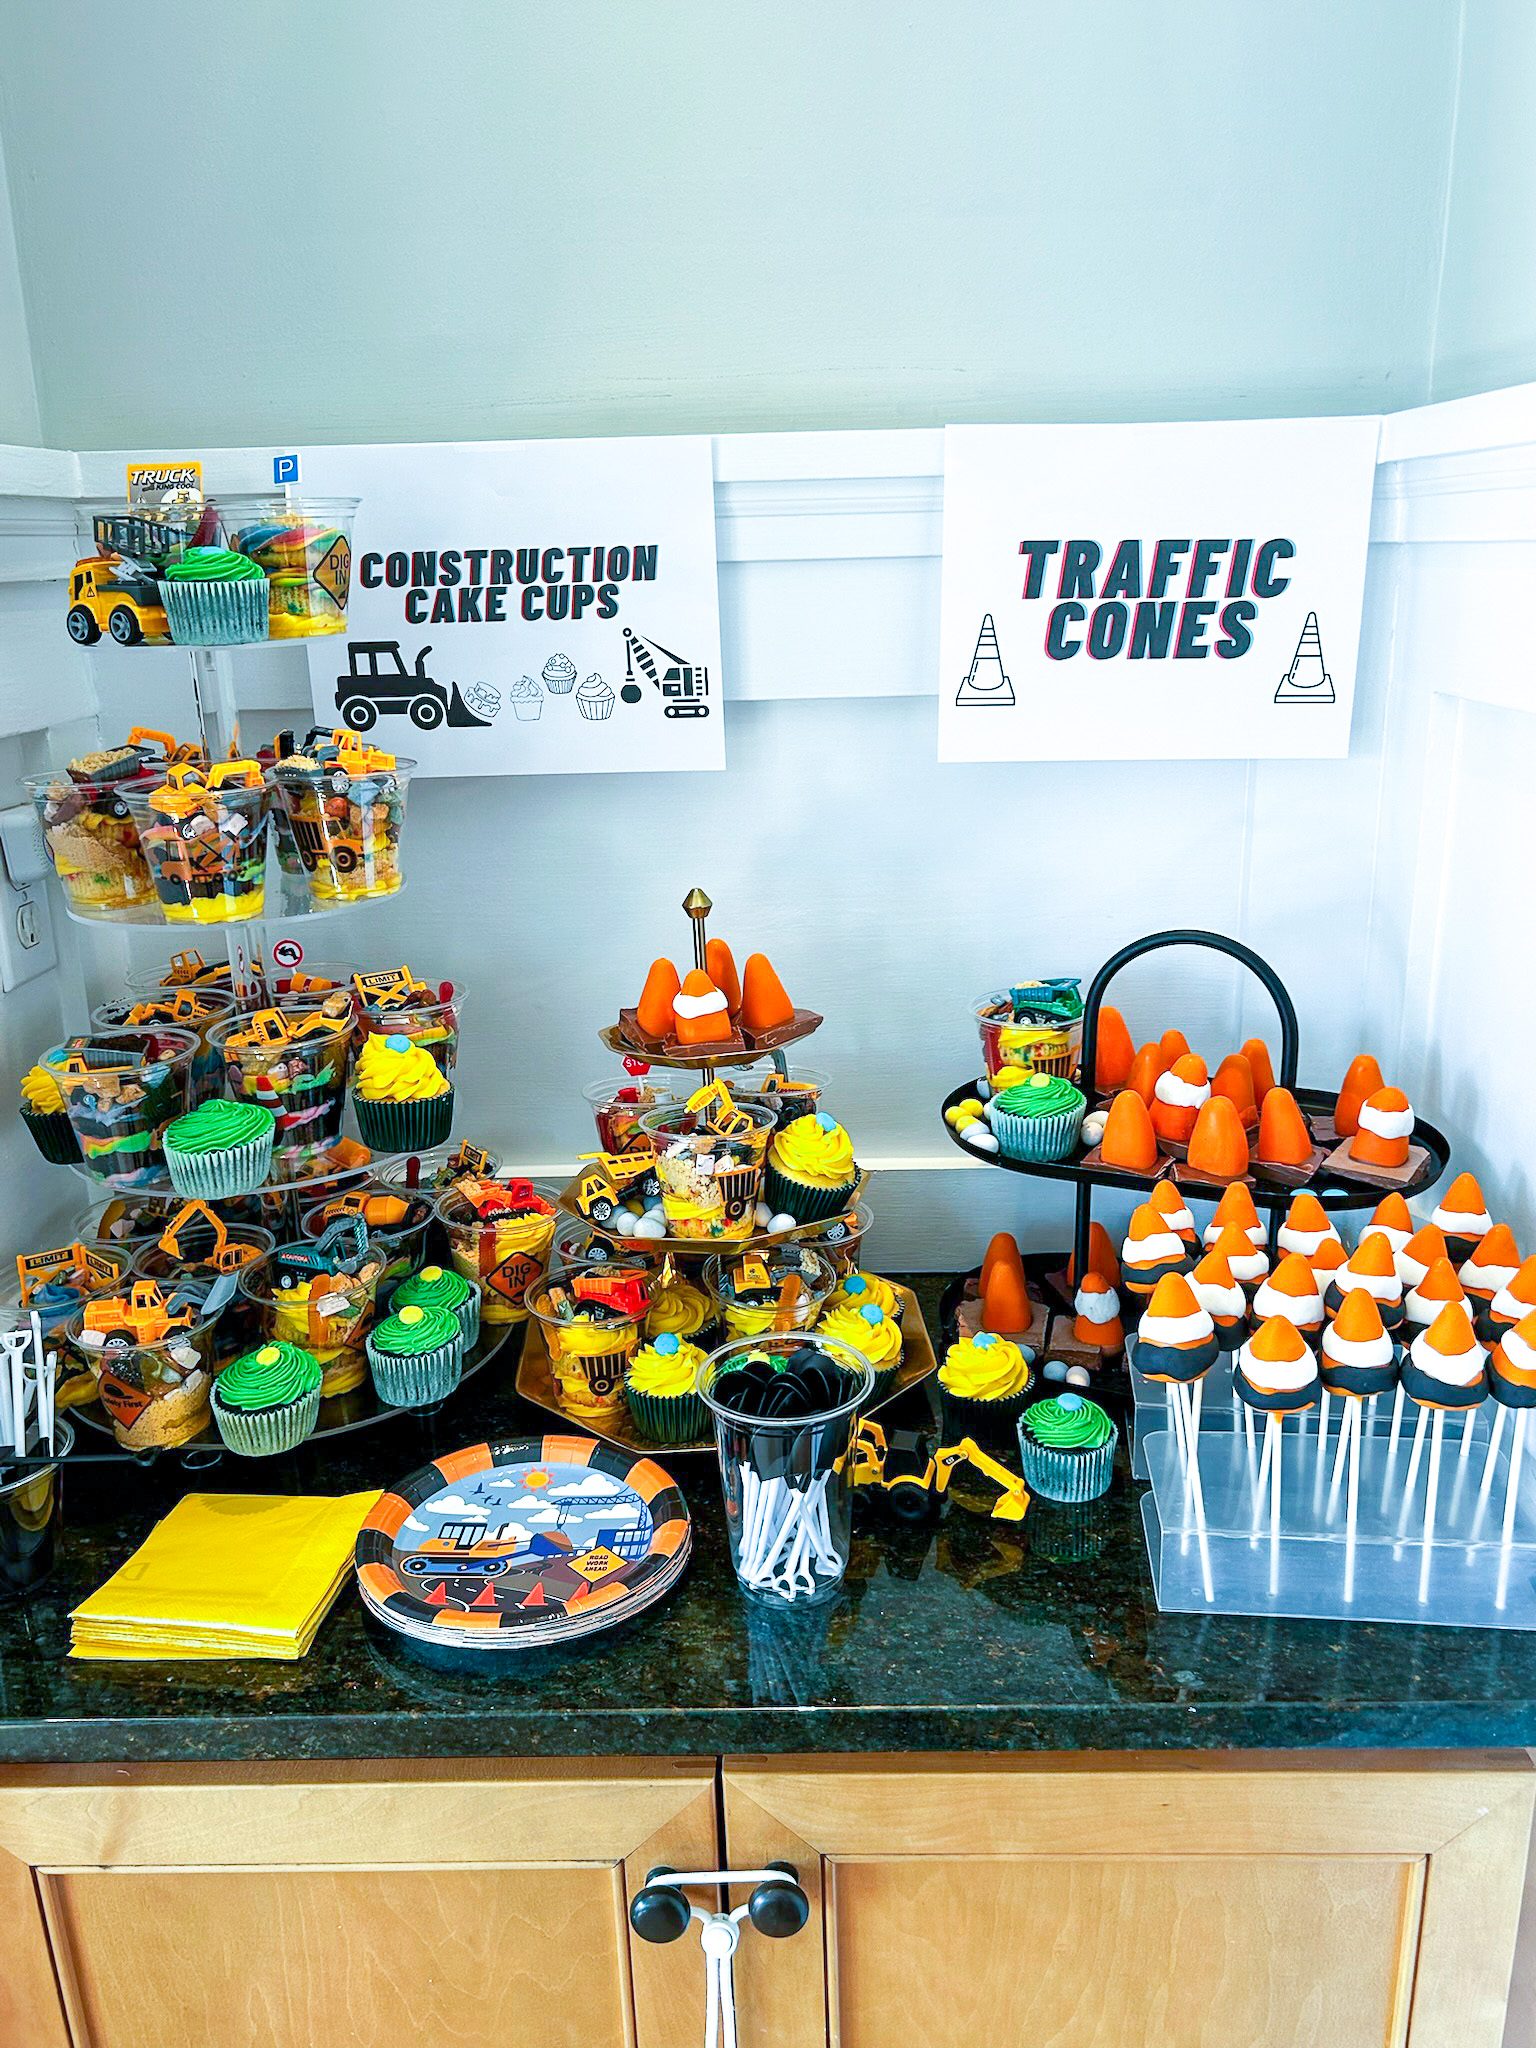
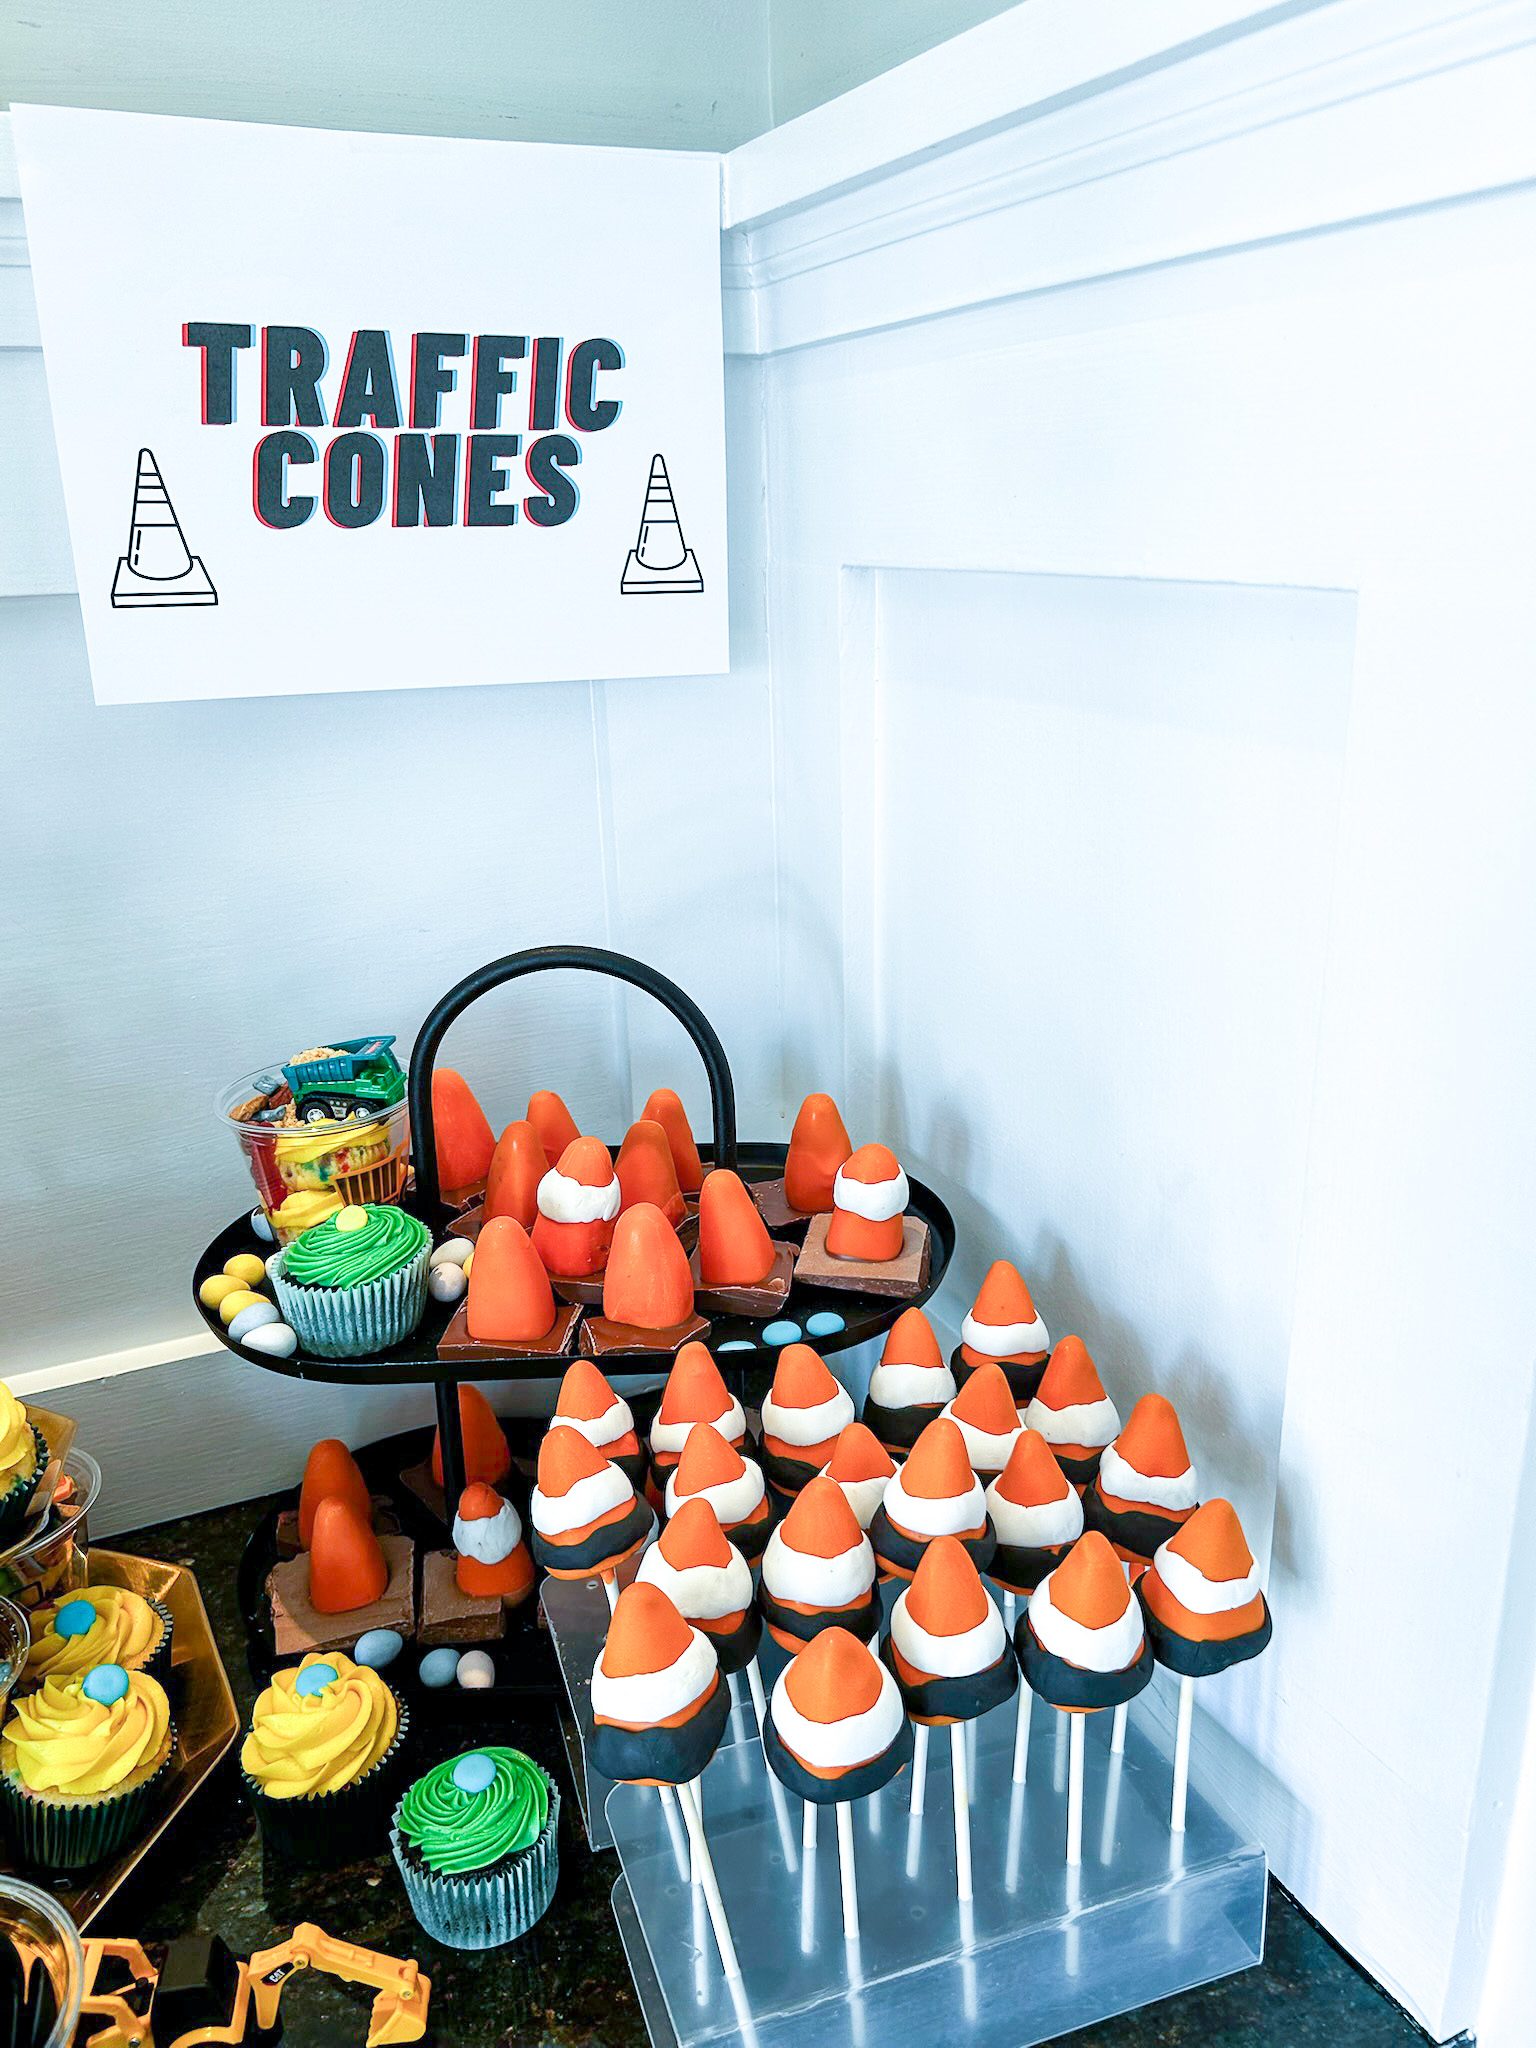
Nothing screams birthday party like treats. I did go a bit bonkers on this one (sue me). I made sure that no guest would have the luxury of being able to resist my wide variety of treat and flavor selections. I decided to do a Construction Birthday Cake, Construction Site Cake Cups (I made both black chocolate and yellow cake with sprinkles), as well as Traffic Cone Cake Pops (I made both chocolate and lemon raspberry).
A) Construction Birthday Cake
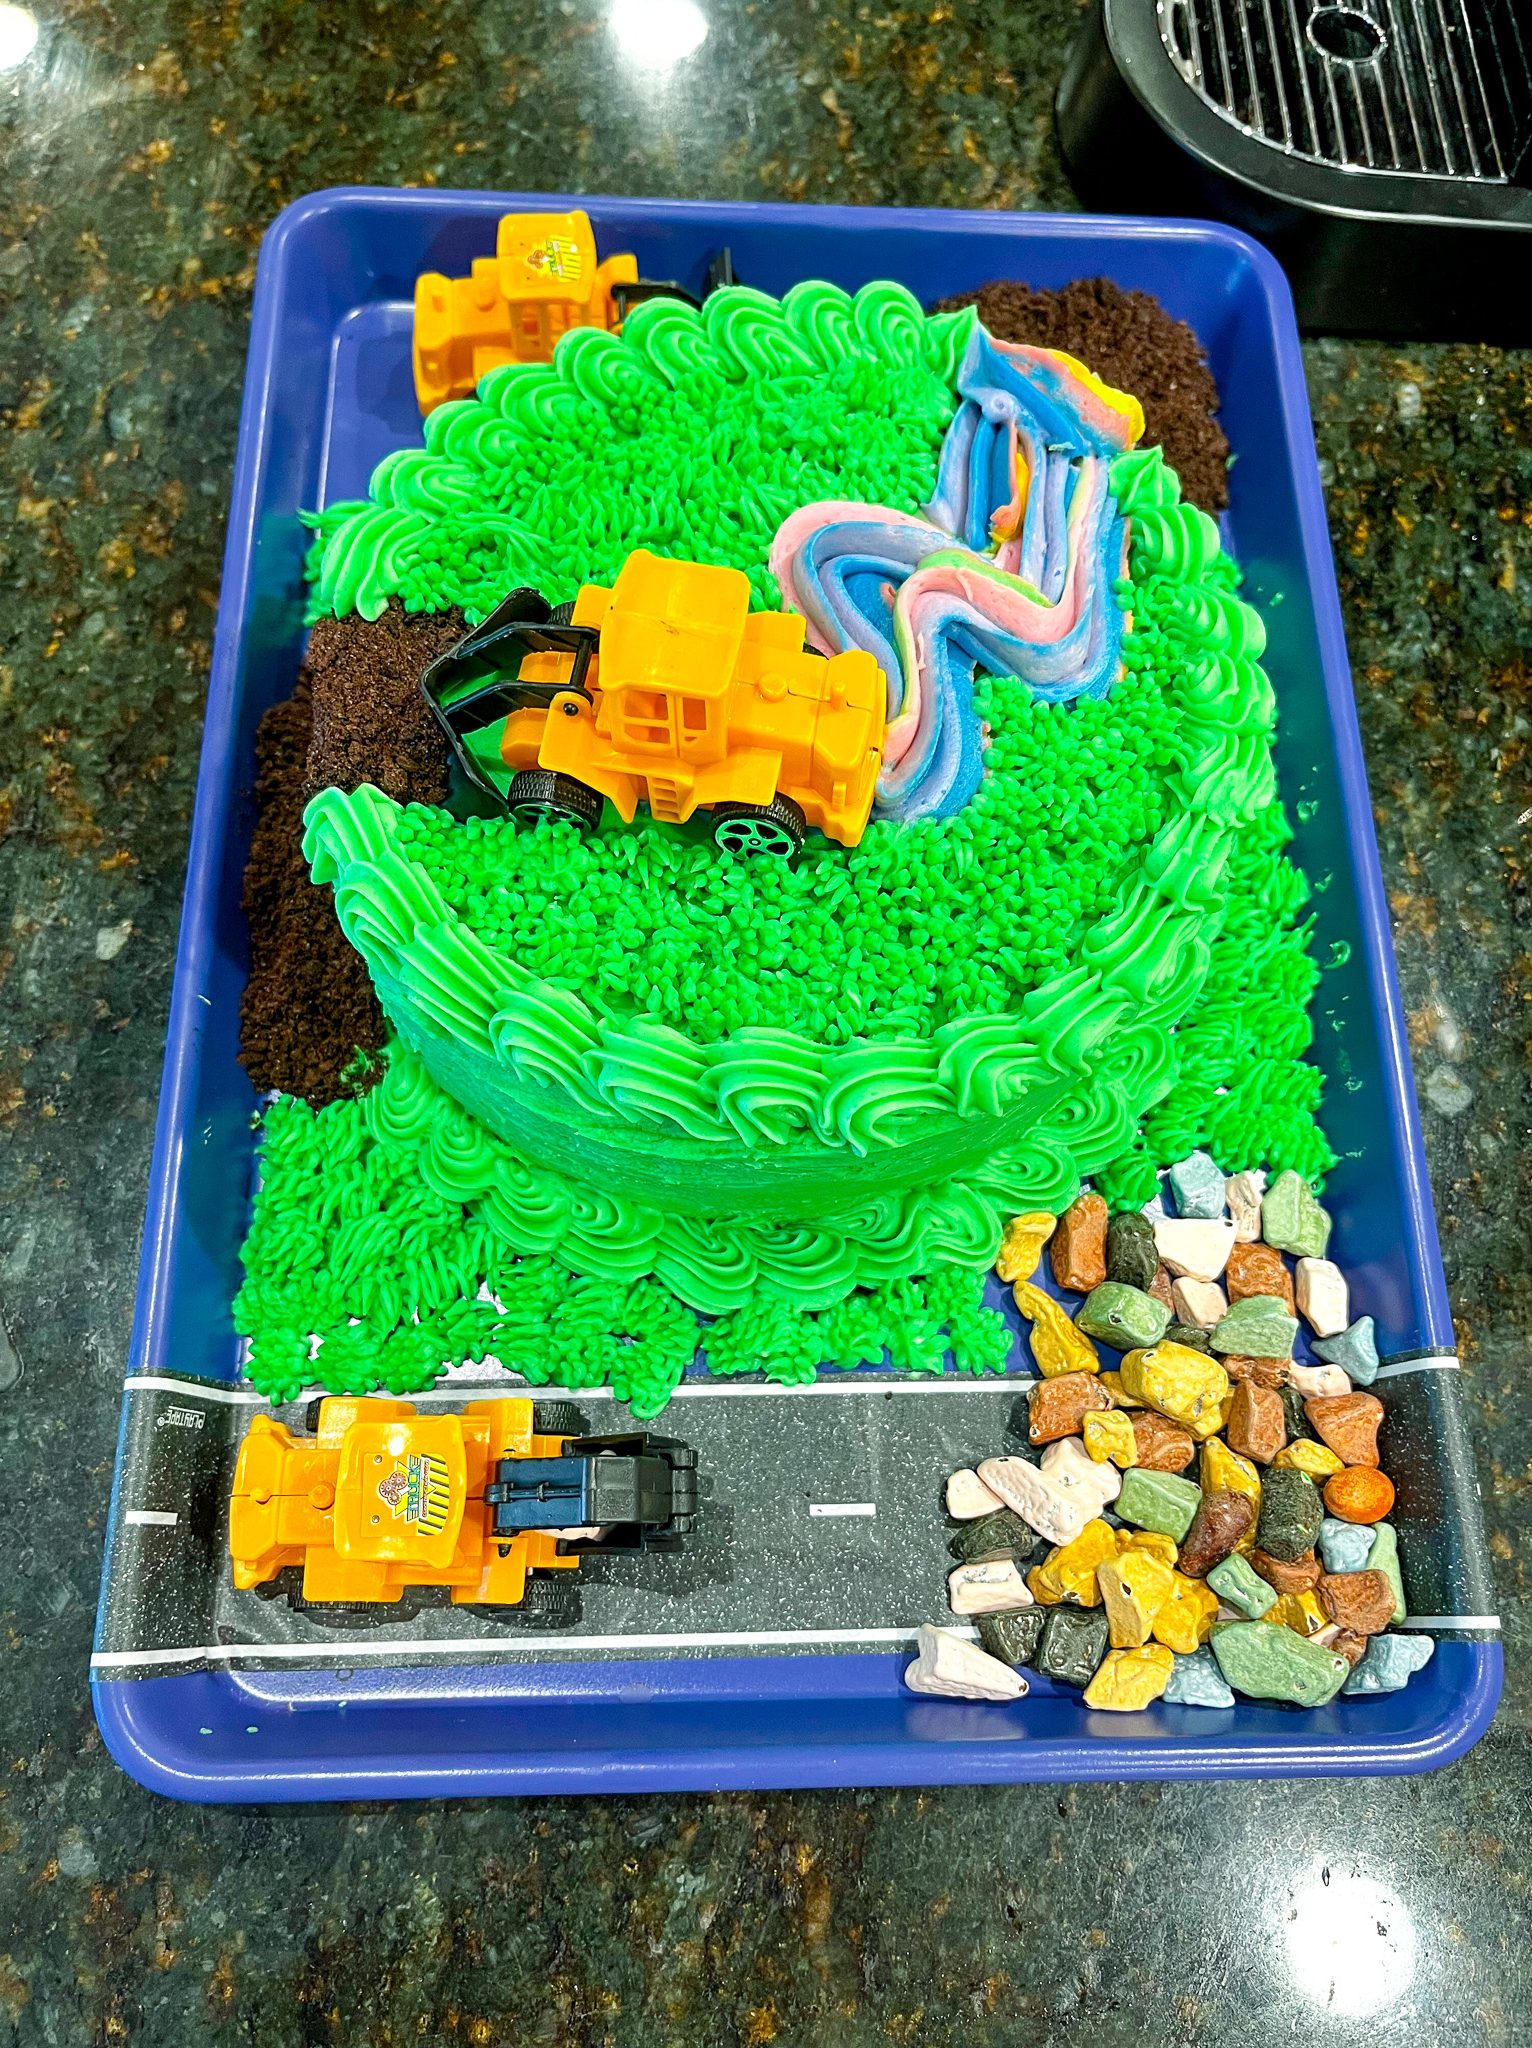
We had to have something to put a candle in for “Happy Birthday,” so I made this super fun construction birthday cake. I made two small 6” round layers, which left me enough batter to still bake 24 cupcakes using my black chocolate cake recipe. I used cream cheese frosting, that I colored with green gel coloring and a little bit of rainbow frosting for a plow trail and to add a bit of color to the cake. I’ve made other construction and dump truck cakes with just brown “dirt,” and although they were realistic, they were pretty drab without the pop of color you usually get with a birthday cake.
Ingredients:
- 2 or more layers of black chocolate cake – see recipe
- Frosting – see recipe
- Gel food coloring – I like these
- Oreos to make dirt
- Candy rocks – I like these
- Piping tips – I used a grass and a star tip (here is a good starter set)
- Piping bags – I like these
- A few small construction trucks – I like these
Instructions:
-
Apply a crumb coat of your frosting to your cake and place in the fridge to chill for at least an hour.
-
Add some Oreos to a food processor and pulse until you have dirt. Set aside.
-
Frost your chilled cake using a generous amount of frosting so that you have plenty of margin to remove as you go for a smooth surface. Using the flat edge of a butter knife or scraper, smooth it out as much as possible. Now you are ready to decorate and turn it into a construction site.
-
First, I added a rainbow trail across the top showing movement of where the plow had come from.
-
Then, I placed the toy plow and added a trail of cookie dirt in front of it, spilling off the side of the cake.
-
Next, I added a shell border using a star tip. Gently push out, then up and back down in the opposite direction, repeating in a uniform line. If you’ve never done this, practice on a plate first and then scrape the frosting back into your bowl for use.
-
Then I added some fun road tape, a pile of chocolate rocks and a toy backhoe for my rock quarry. On the other side, I added a pile of cookie dirt and another construction truck to move it.
-
The presentation still needed something, so I used a grass tip to create grass on top of the cake and all around it.
B) Construction Site Cake Cups
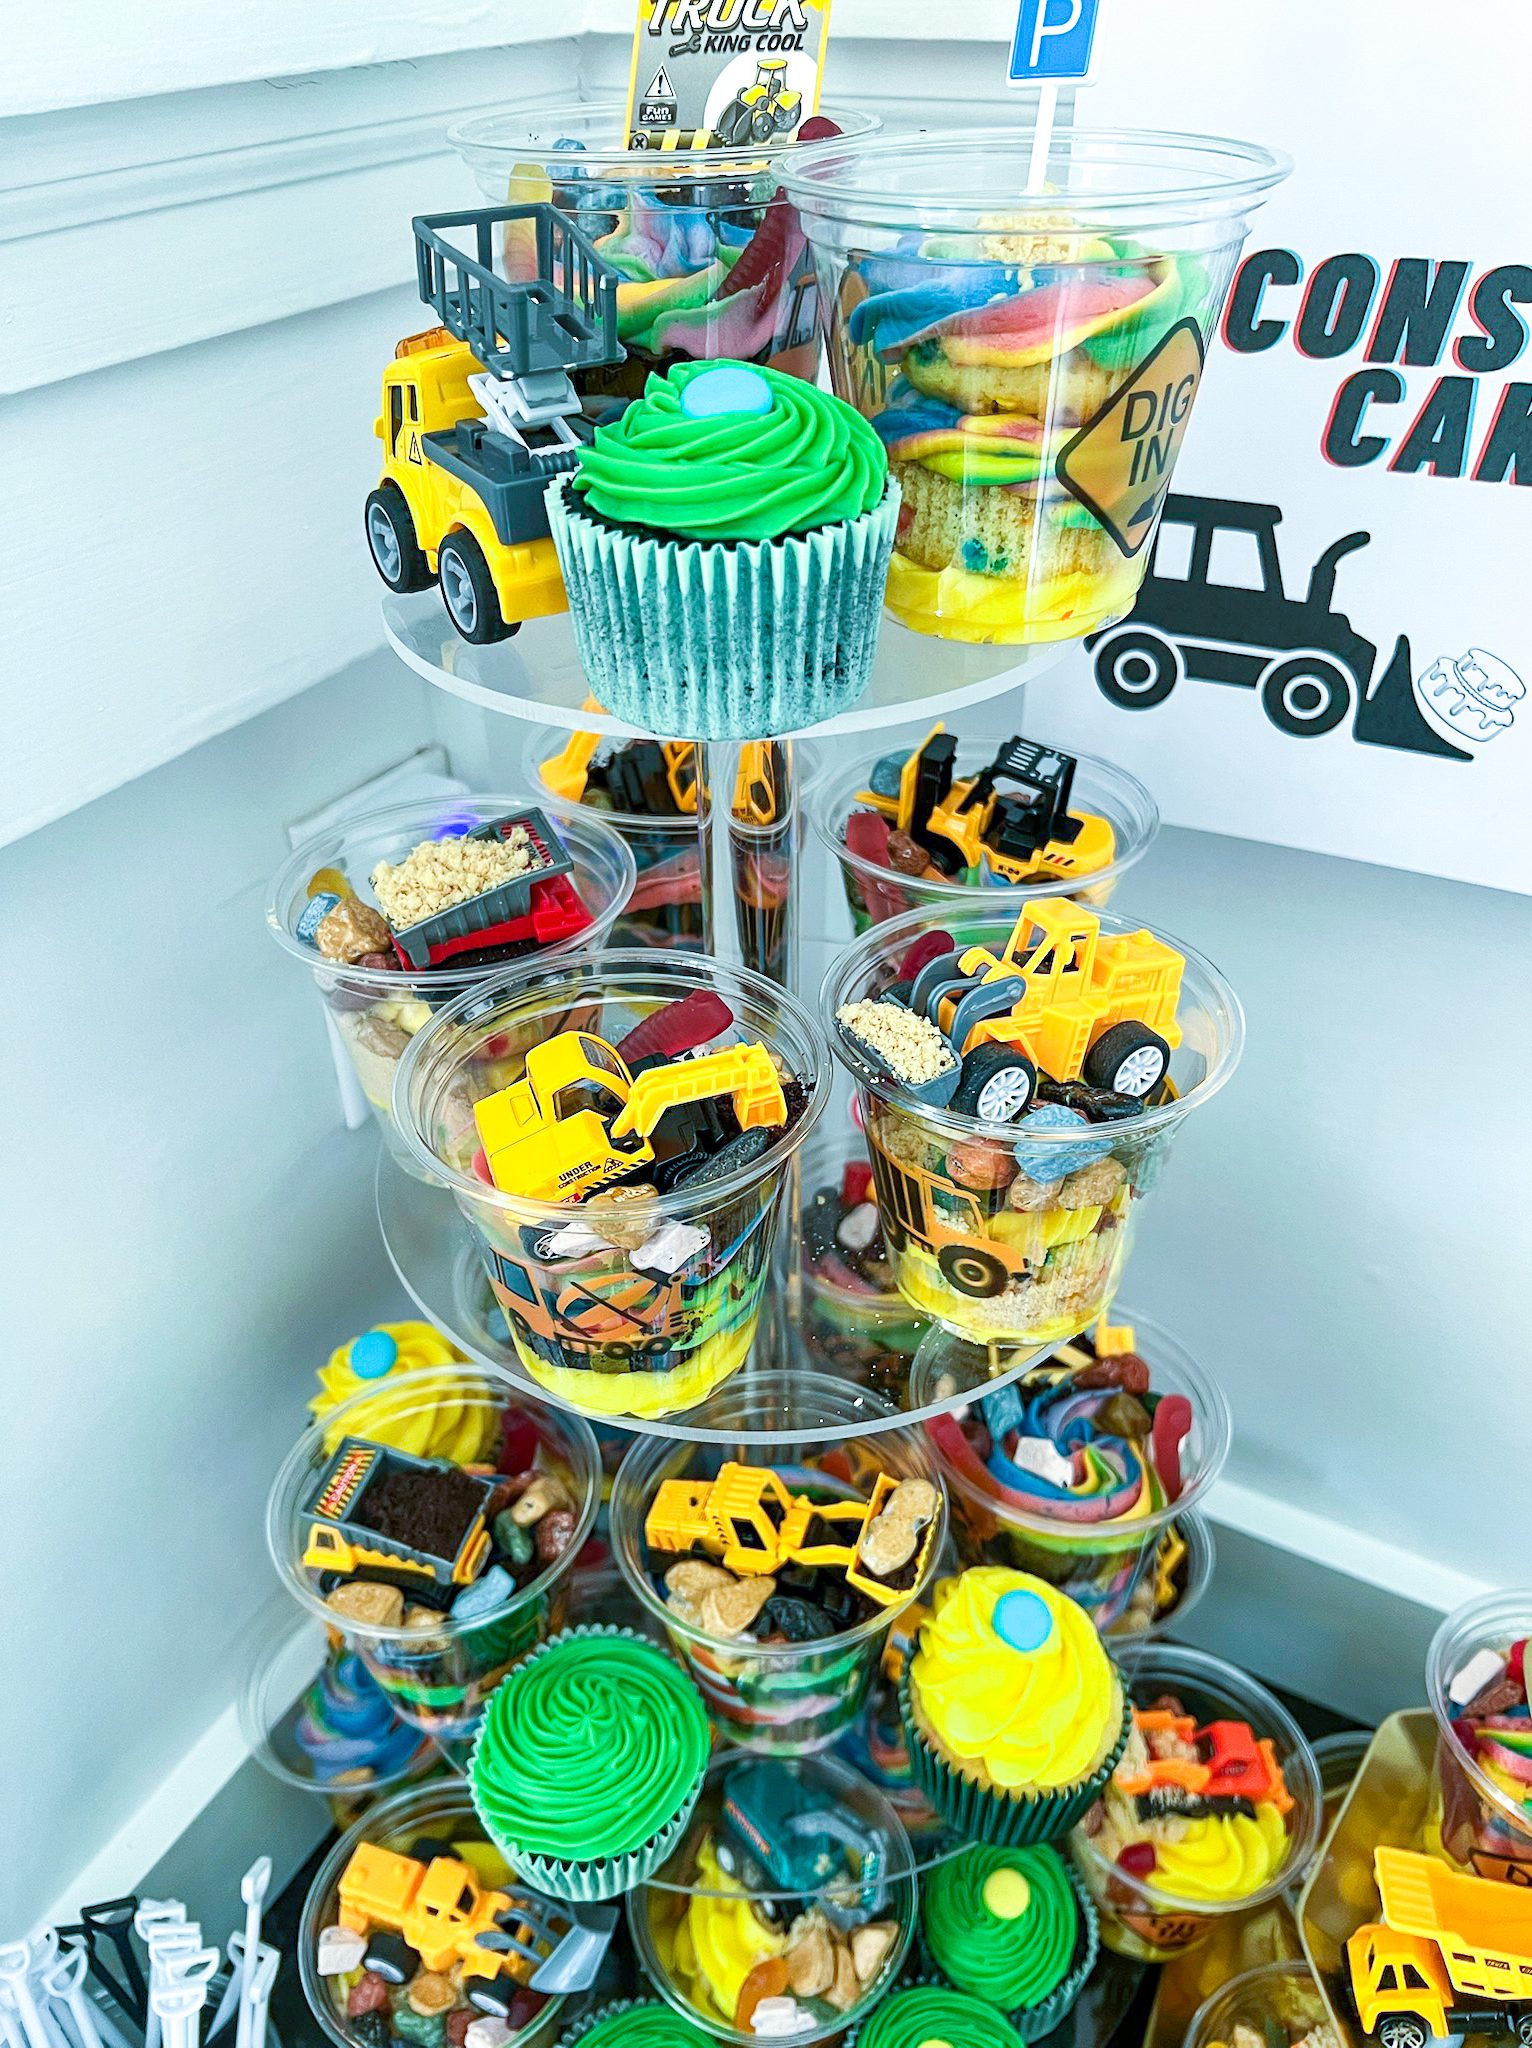
When Oliver turned 2 we had a construction party with construction pudding cups…. I loved these as a kid, but none of the kids at his party liked pudding. So, to play it safe this time I decided to make cake cups that still provide the fun canvas for a construction theme, but are made out of cake and frosting – which I know our kids love.
Ingredients:
- Cupcakes – I made black chocolate cupcakes (see recipe) and a yellow cake with ½ cup of sprinkles mixed in
- Frosting – see recipe
- Clear cups – I like these
- Oreos to make dirt
- Candy rocks – I like these
- A few small construction trucks – I like these
- Shovel spoons – I like these
Instructions:
-
Cake: First bake your cupcakes, let them cool, then cut each one in half (horizontally).
-
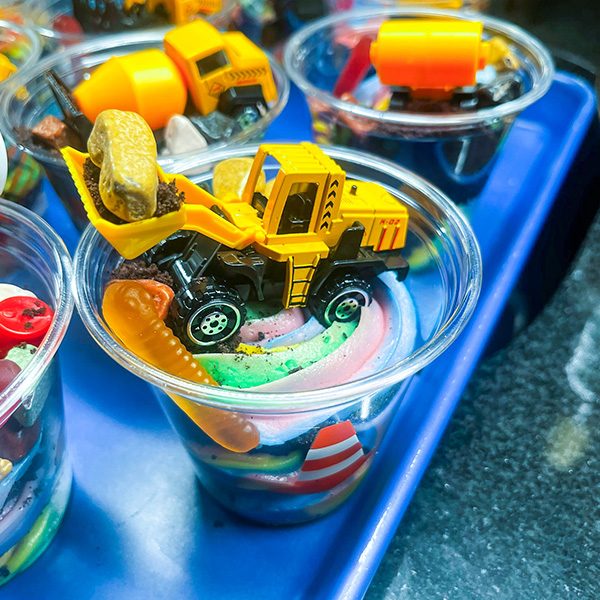
Cup Building: In each cup layer frosting, cake, frosting, cake, frosting. Each cup will get one cupcake and more frosting than any kiddo ever needs. I opted for rainbow and yellow frosting. If you want to learn how to make rainbow frosting, see here – it is easier than you think, if you don’t mind washing extra bowls.
-
Decorate: Now add a truck, some cookie dirt, and candy rocks to create a construction scene in each cup. I added at least one gummy worm to each cup for good measure too.
-
Voilà: Serve with a shovel spoon!
C) Traffic Cone Cake Pops
These cake pops were super fun to make and were a huge hit. See here for my full tips and recipe on making easy cake pops. I made two flavors and two styles – they were both delicious and turned out so cute!
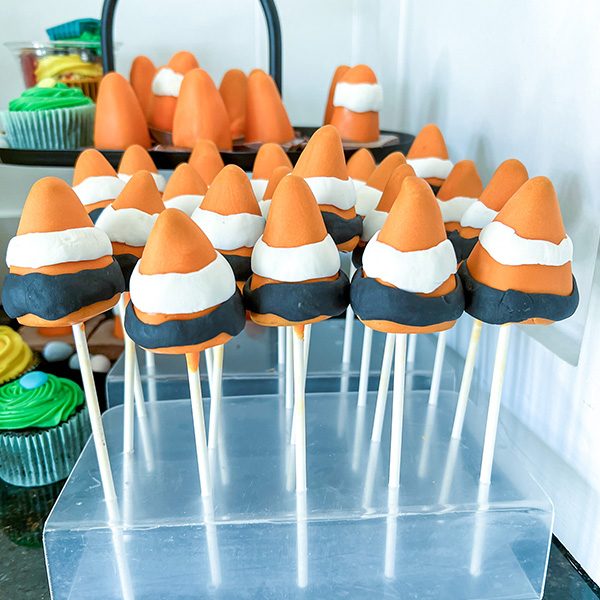
Chocolate: I used a chocolate cake from Costco to make the chocolate pops on the stick. After mixing the cake and a bit of the frosting, I molded the cone shapes and froze them.
Lemon Raspberry: And I used lemon raspberry muffins from Costco to make the pops that are set in squares of milk chocolate. I mixed the muffins with 2 tablespoons of frosting and they were a great texture.
Dipping: I dipped both in an orange vanilla flavored chocolate.
Decorating: For the chocolate, I wrapped each in a fluffy strip of fondant to give it a fun cartoon look. For the lemon raspberry, I skipped the stick and used a toothpick to dip and dry the cones and then shaved the bottom flat and placed them in a pan of melted milk chocolate that I attempted to cut into squares. I would do a thinner layer of chocolate next time or use a mold. I was planning to use a mold, but realized they were too small the night before the party when I was making these – will I learn from this and stop procrastinating? No, probably not.
D) Construction Candy Site
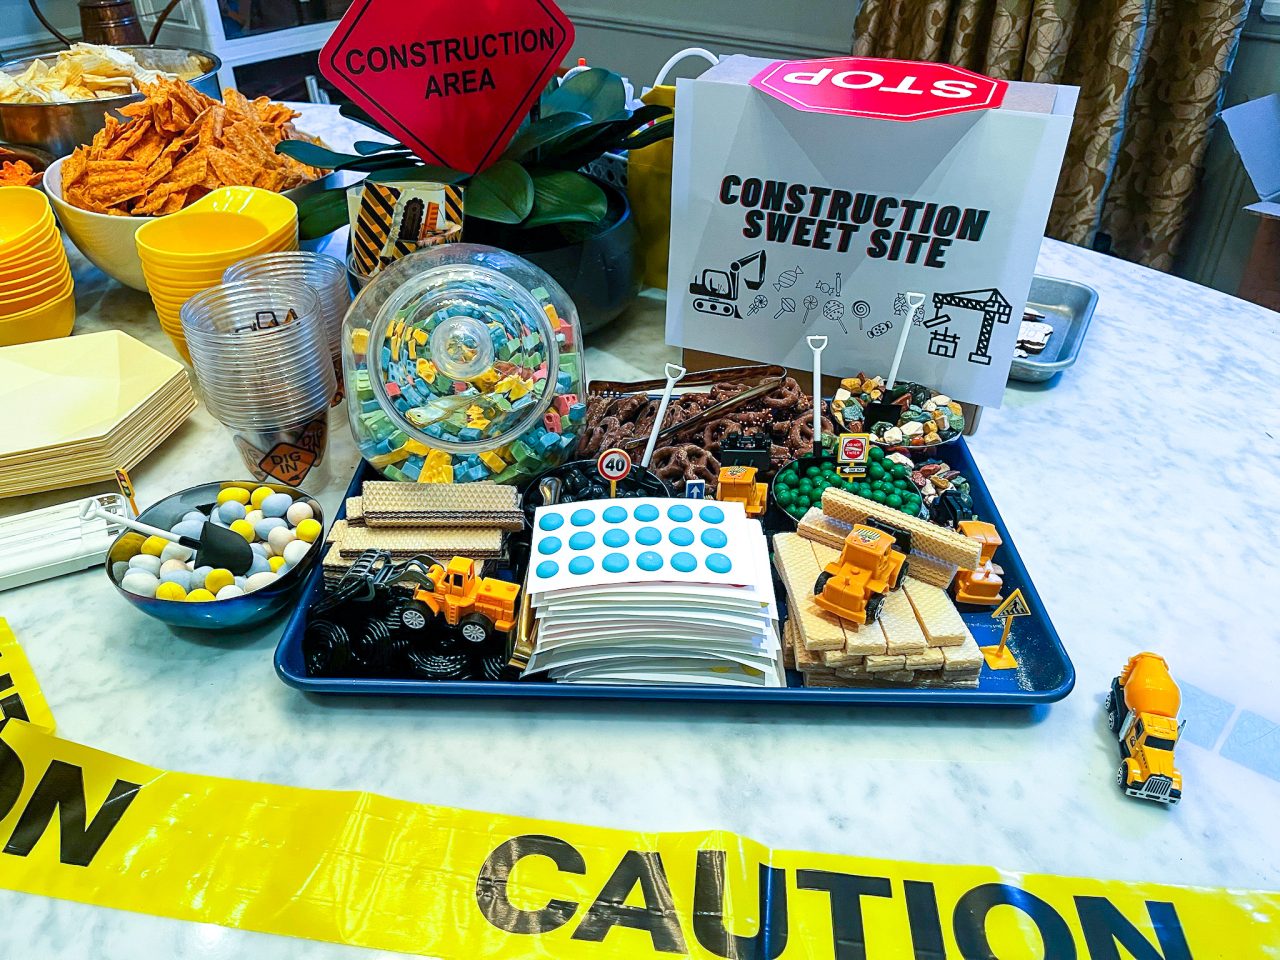
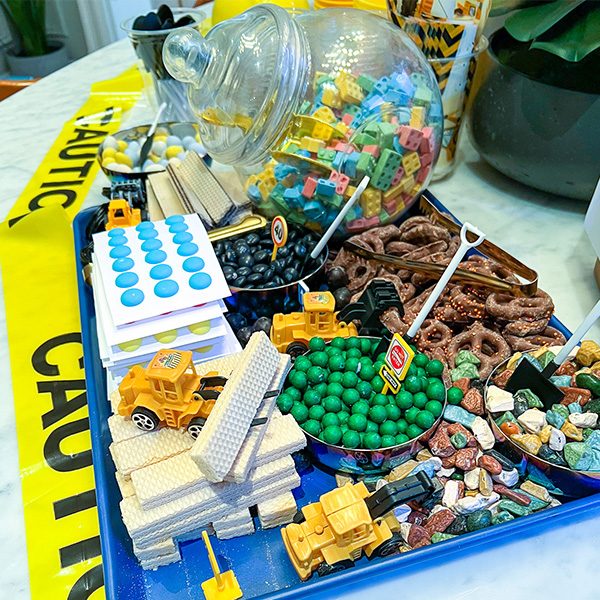
We put together a construction site of fun candies that our guests could munch on or fill their party favor bag. We added wafer cookies that look like lumber, candy legos from the brickyard, licorice wheels that look like old tires, extra rock candy, and other treats that seemed on theme / color-scheme.
II. Food & Drinks
Hosting such a large group of kids, older siblings, and adults means that I want to ensure there are plenty of food and drink options available. However, because my main focus was making all of the aforementioned treats, I kept the food options really simple. And because our party kicked off at 11am, I kept the adult beverage options pretty simple with a Build Your Own Spritz Bar and canned cocktails. I sometimes choose to go crazy with both the treats and the food and cocktails – just view my Halloween Hosting page for evidence.
A) Food
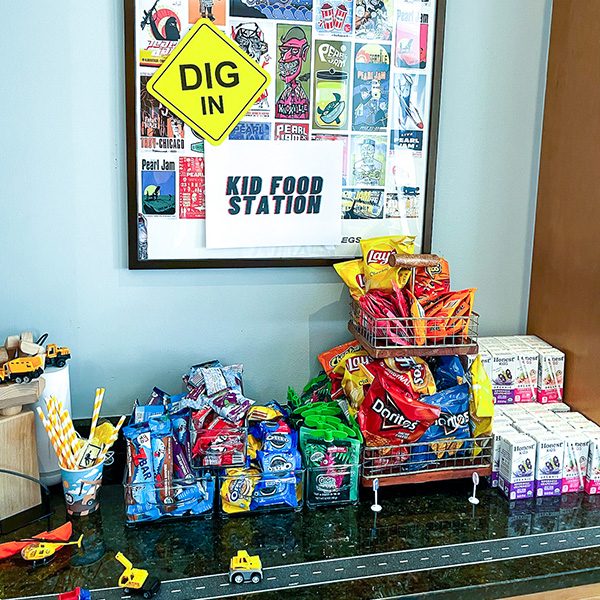
I like to have a self-serve station where kids can grab food their parents would approve of. I set this up at a lower level, so it is easier for them to access. I like to include juice boxes, applesauce, Z Bars, Chips, fruit snacks, string cheese, yogurt pouches.
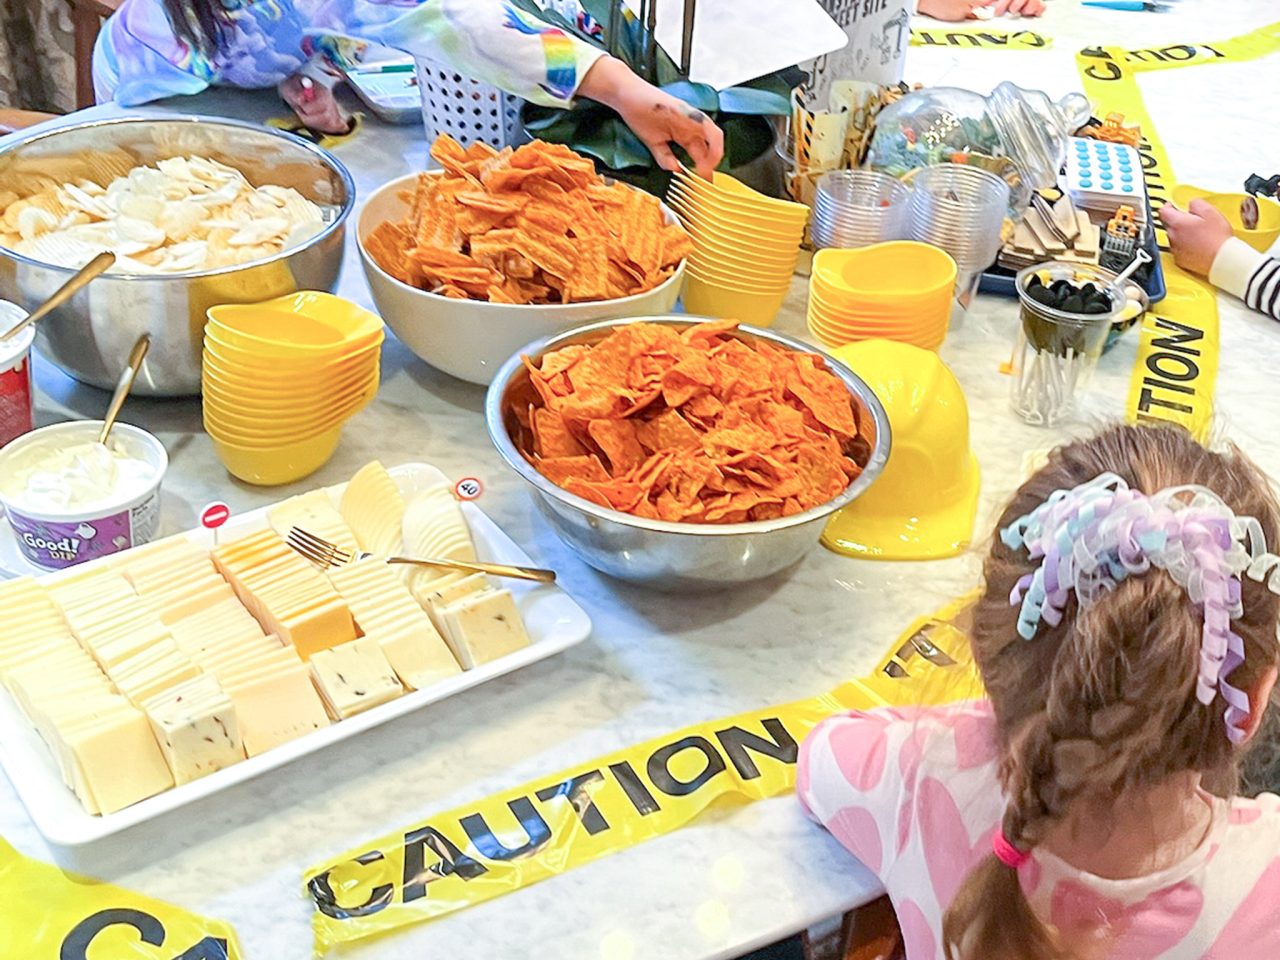
We also served chips and dips, cheese, olives, veggies and dips, fruit, pizza, and a big Greek salad. Most of the food we had catered from Wegmans Grocery Store – they do a great job, and then I could focus on making the treats and setting up games, drinks, etc.
C) Drinks
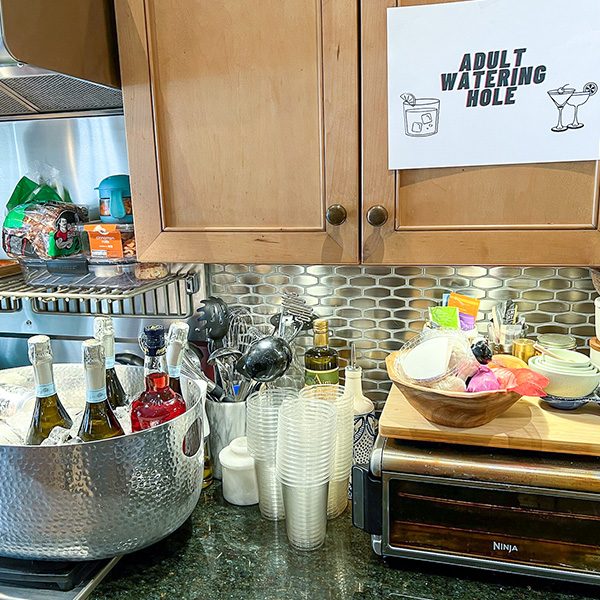
In addition to the juice boxes at the kid food station, we also stocked a cooler filled with non-alcohol drinks on ice (seltzers, Poppi drinks, etc.). We then created a dedicated Adult Watering Hole where we served wine, canned cocktails, and had a Build Your Own Spritz Bar.
Responsible Hosting Tips: When serving alcohol at a party with children, take steps to ensure it is kept out of reach of the little ones. I suggest having a dedicated kids’ station for easy-to-grab snacks and juice boxes. Do not store alcohol and non-alcohol drinks in the same cooler. In addition to the kids’ station, I use a cooler for just non-alcohol canned, bottled, or boxed drinks. Then, I have an adult snack station – a bar area with all the fun adult drinks, close to all the more sophisticated food that will likely appeal to adults. This serves to not only keep the alcohol separate from the kids but almost guarantees that adults will be congregating in that area to ward off any kids who might get curious about those drinks. It also keeps the adults eating, which is key while enjoying a tipple.
III. Kid Activities
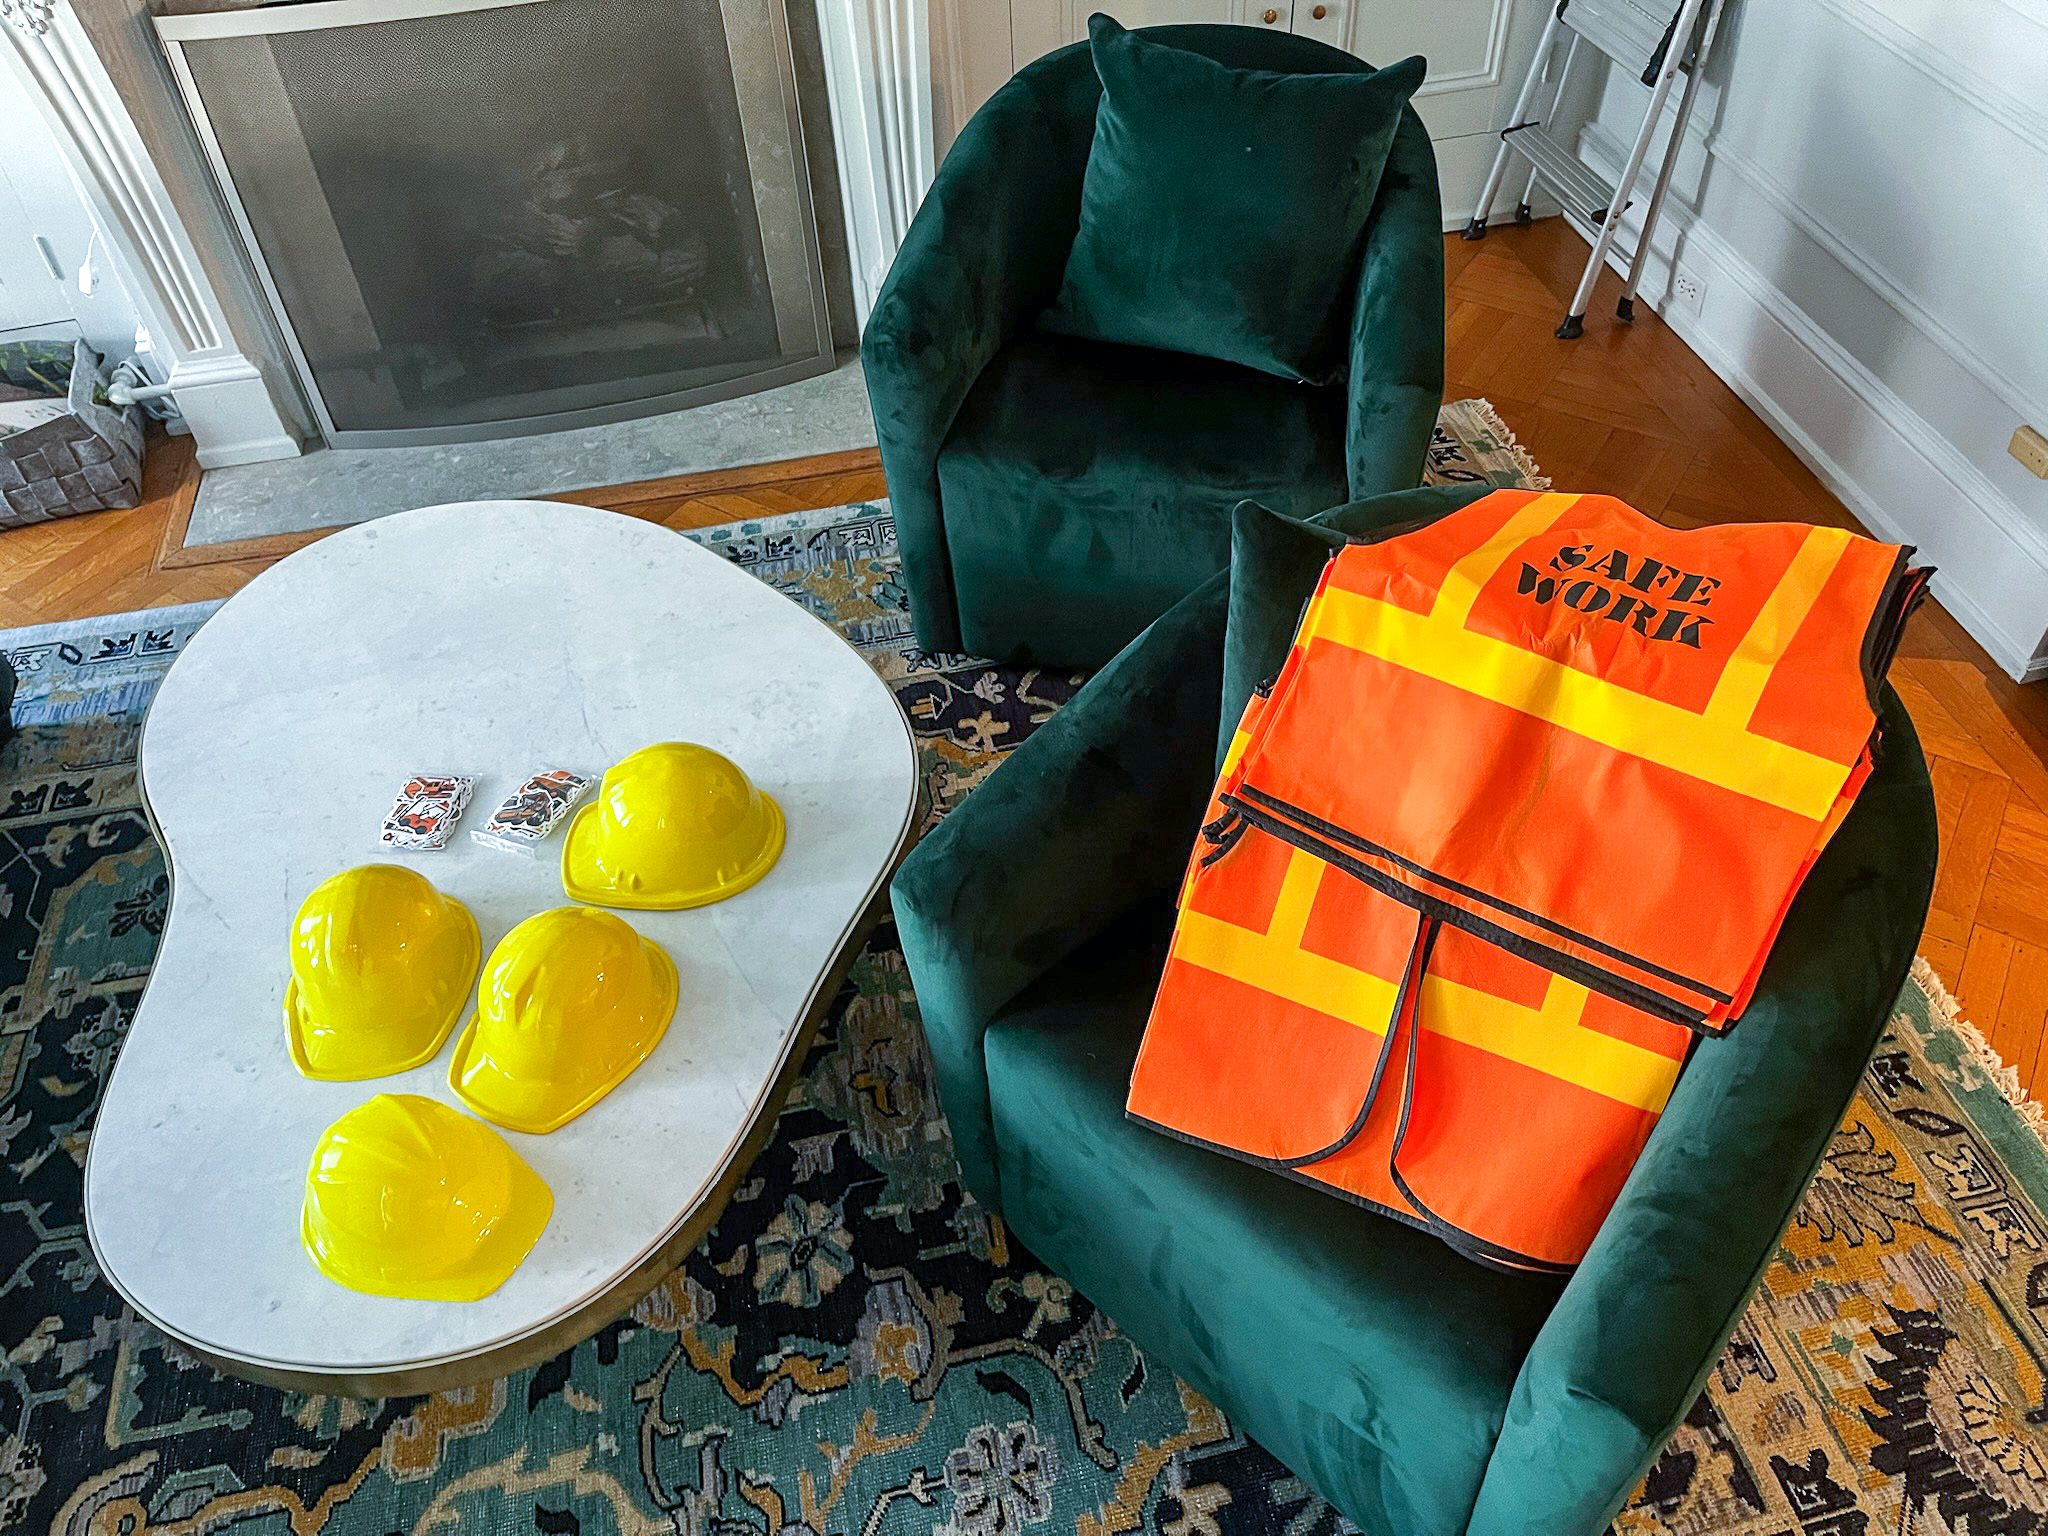
Did I say I went bonkers on treats? Well, I followed suit with the kid activities as well. I’ve said this in previous Entertaining posts, but it’s worth repeating: I love to have a lot of kid activity stations so that kids can stay busy without constant adult supervision. However, I do recommend an adult to be present for both the Punch Hole game and anything that involves a piñata and a stick. We also provided the guests with their own construction worker hat and vest.
*Party Tip: As both host and mom, it can be very challenging to juggle both roles and do both well. Do yourself a favor and hire a babysitter or two to help out with the kids, even if this is a kid party.
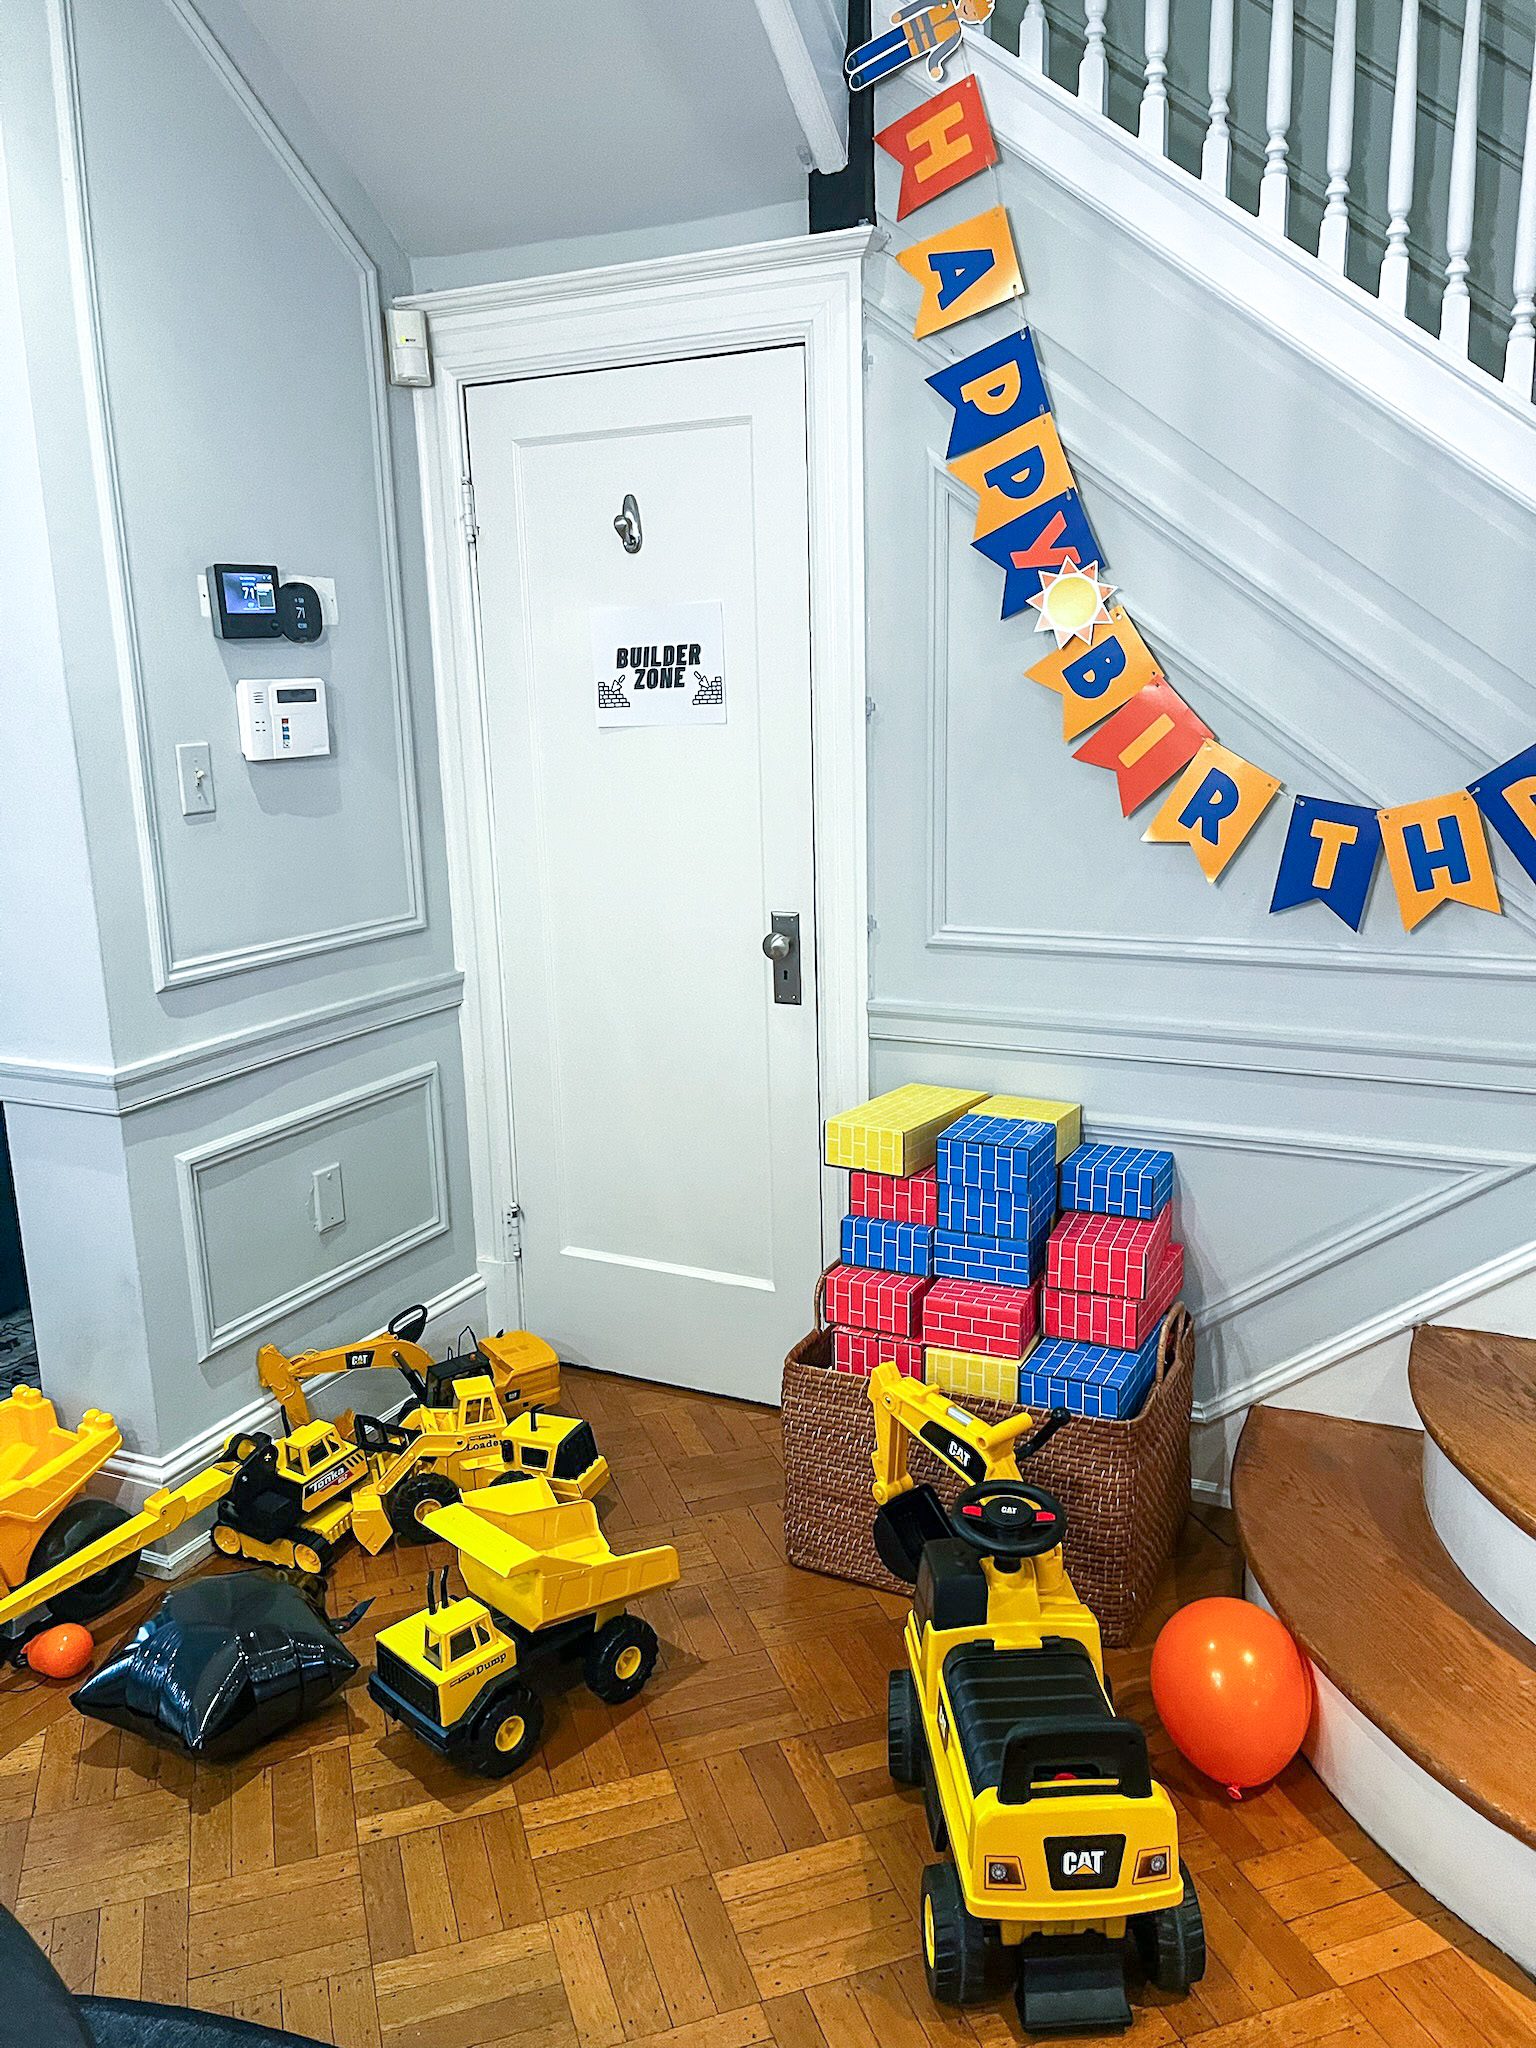
A) Building Blocks and Tonkas:
Jonas received some giant Tonka trucks for his birthday and Christmas, so we put those to use in a corner with a set of these cardboard bricks. The kids loved building them up and knocking them down with the Tonka wrecking ball.
Tonka Crane Wrecking Ball >
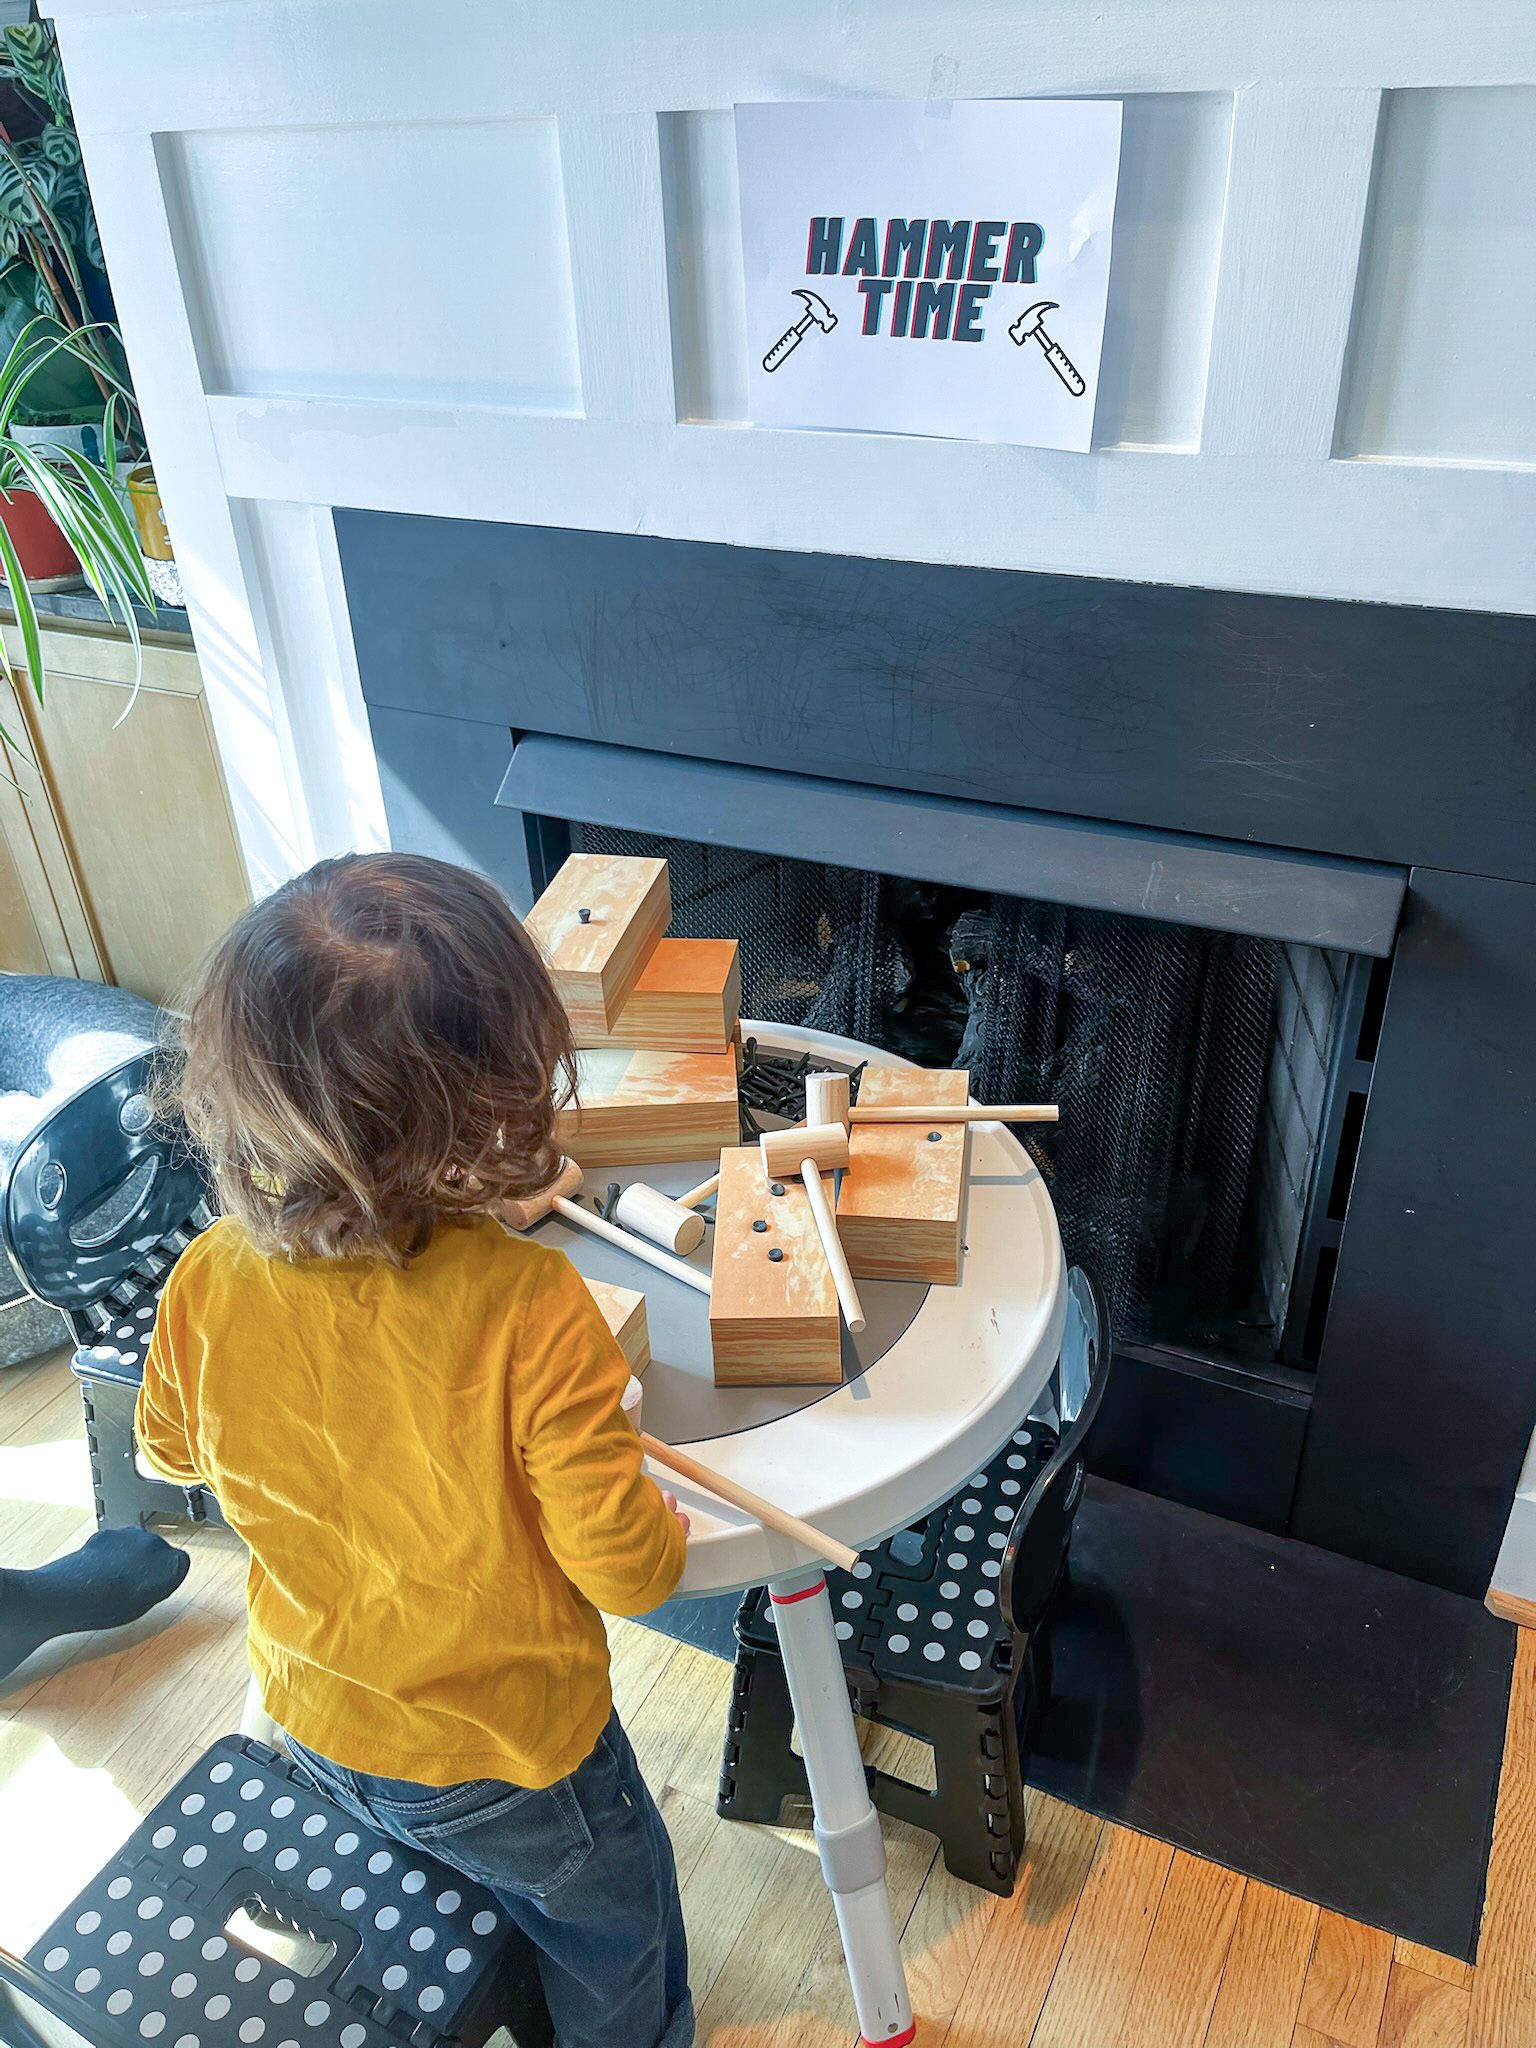
B) Hammering Crew:
This was a really fun activity! We set out foam bricks, wooden mallets, and some grey golf tees. The kids then were able to hammer the tees into the foam, simulating a fun construction activity that they probably don’t usually get to do.
Hammering Set >
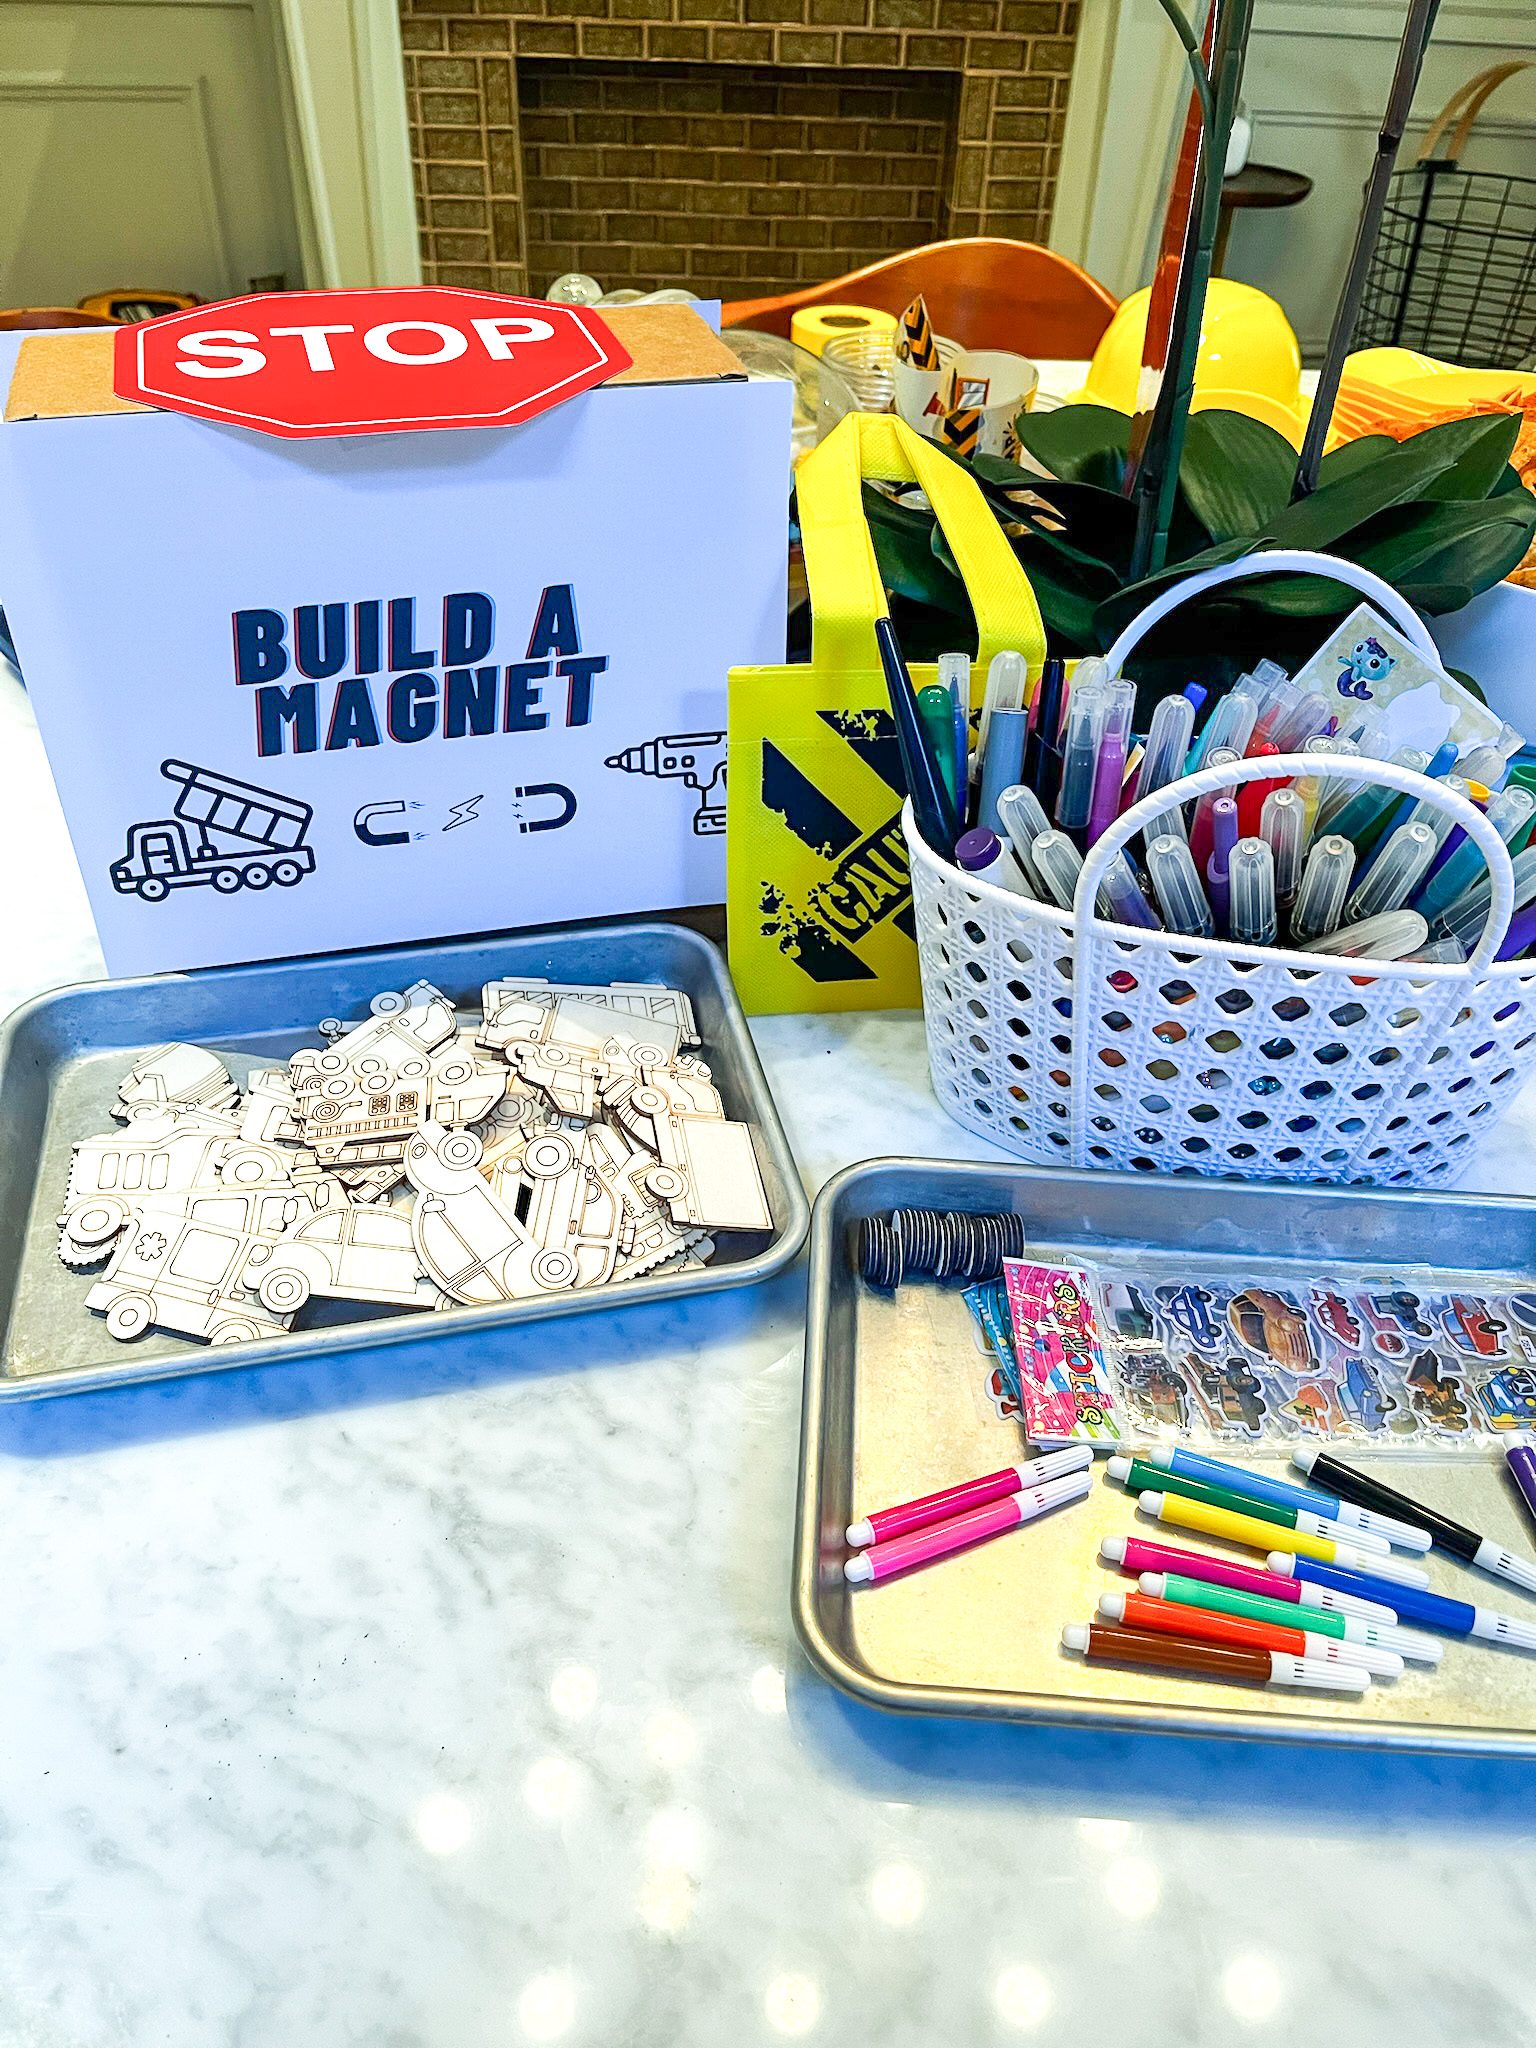
C) Magnet Making:
For my artsy kiddos, we had these fun wooden construction trucks that they could color with markers (ALWAYS washable unless you want permanent scribbles on your furniture). Then we had stick on magnets to add to the back. If you are going to have younger kids or babies around, you may want to skip the magnet part or at least restrict access.
Wooden Construction Vehicles >
D) Active Gift Bags:
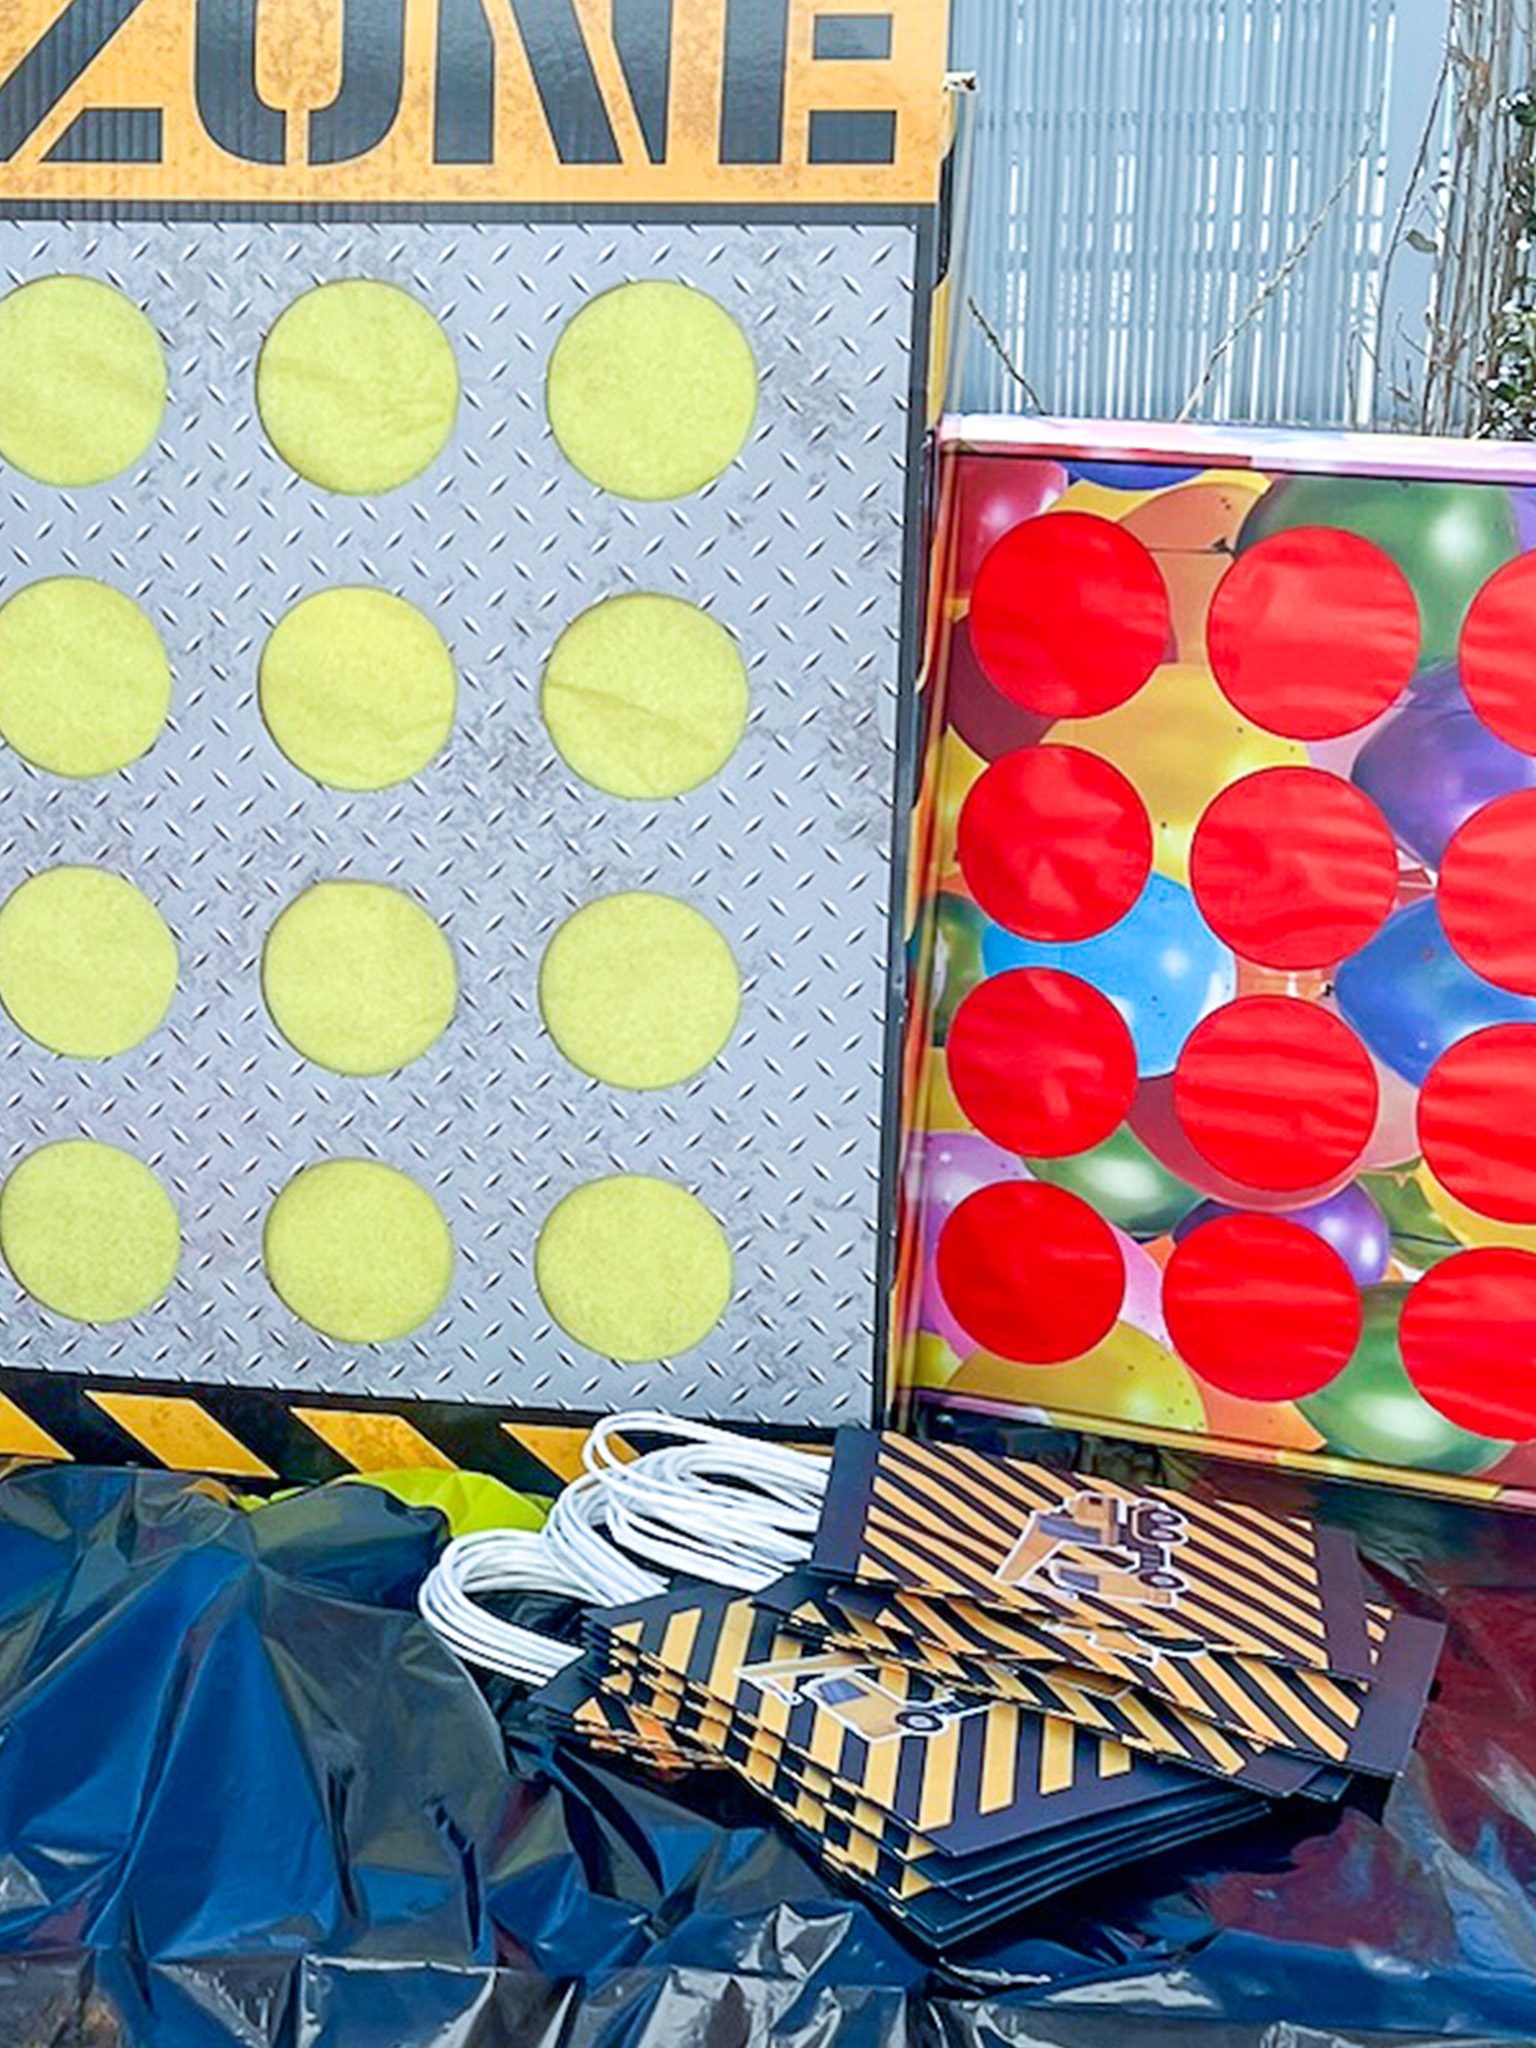
The current trend is for there to be a little gift bag for each kiddo. To turn this into a more exciting activity, we like to hand out bags and then let the kids fill them up with fun surprise games like Punch Hole and a Piñata.
Construction Goodie Bags >
D-1) Punch Hole:
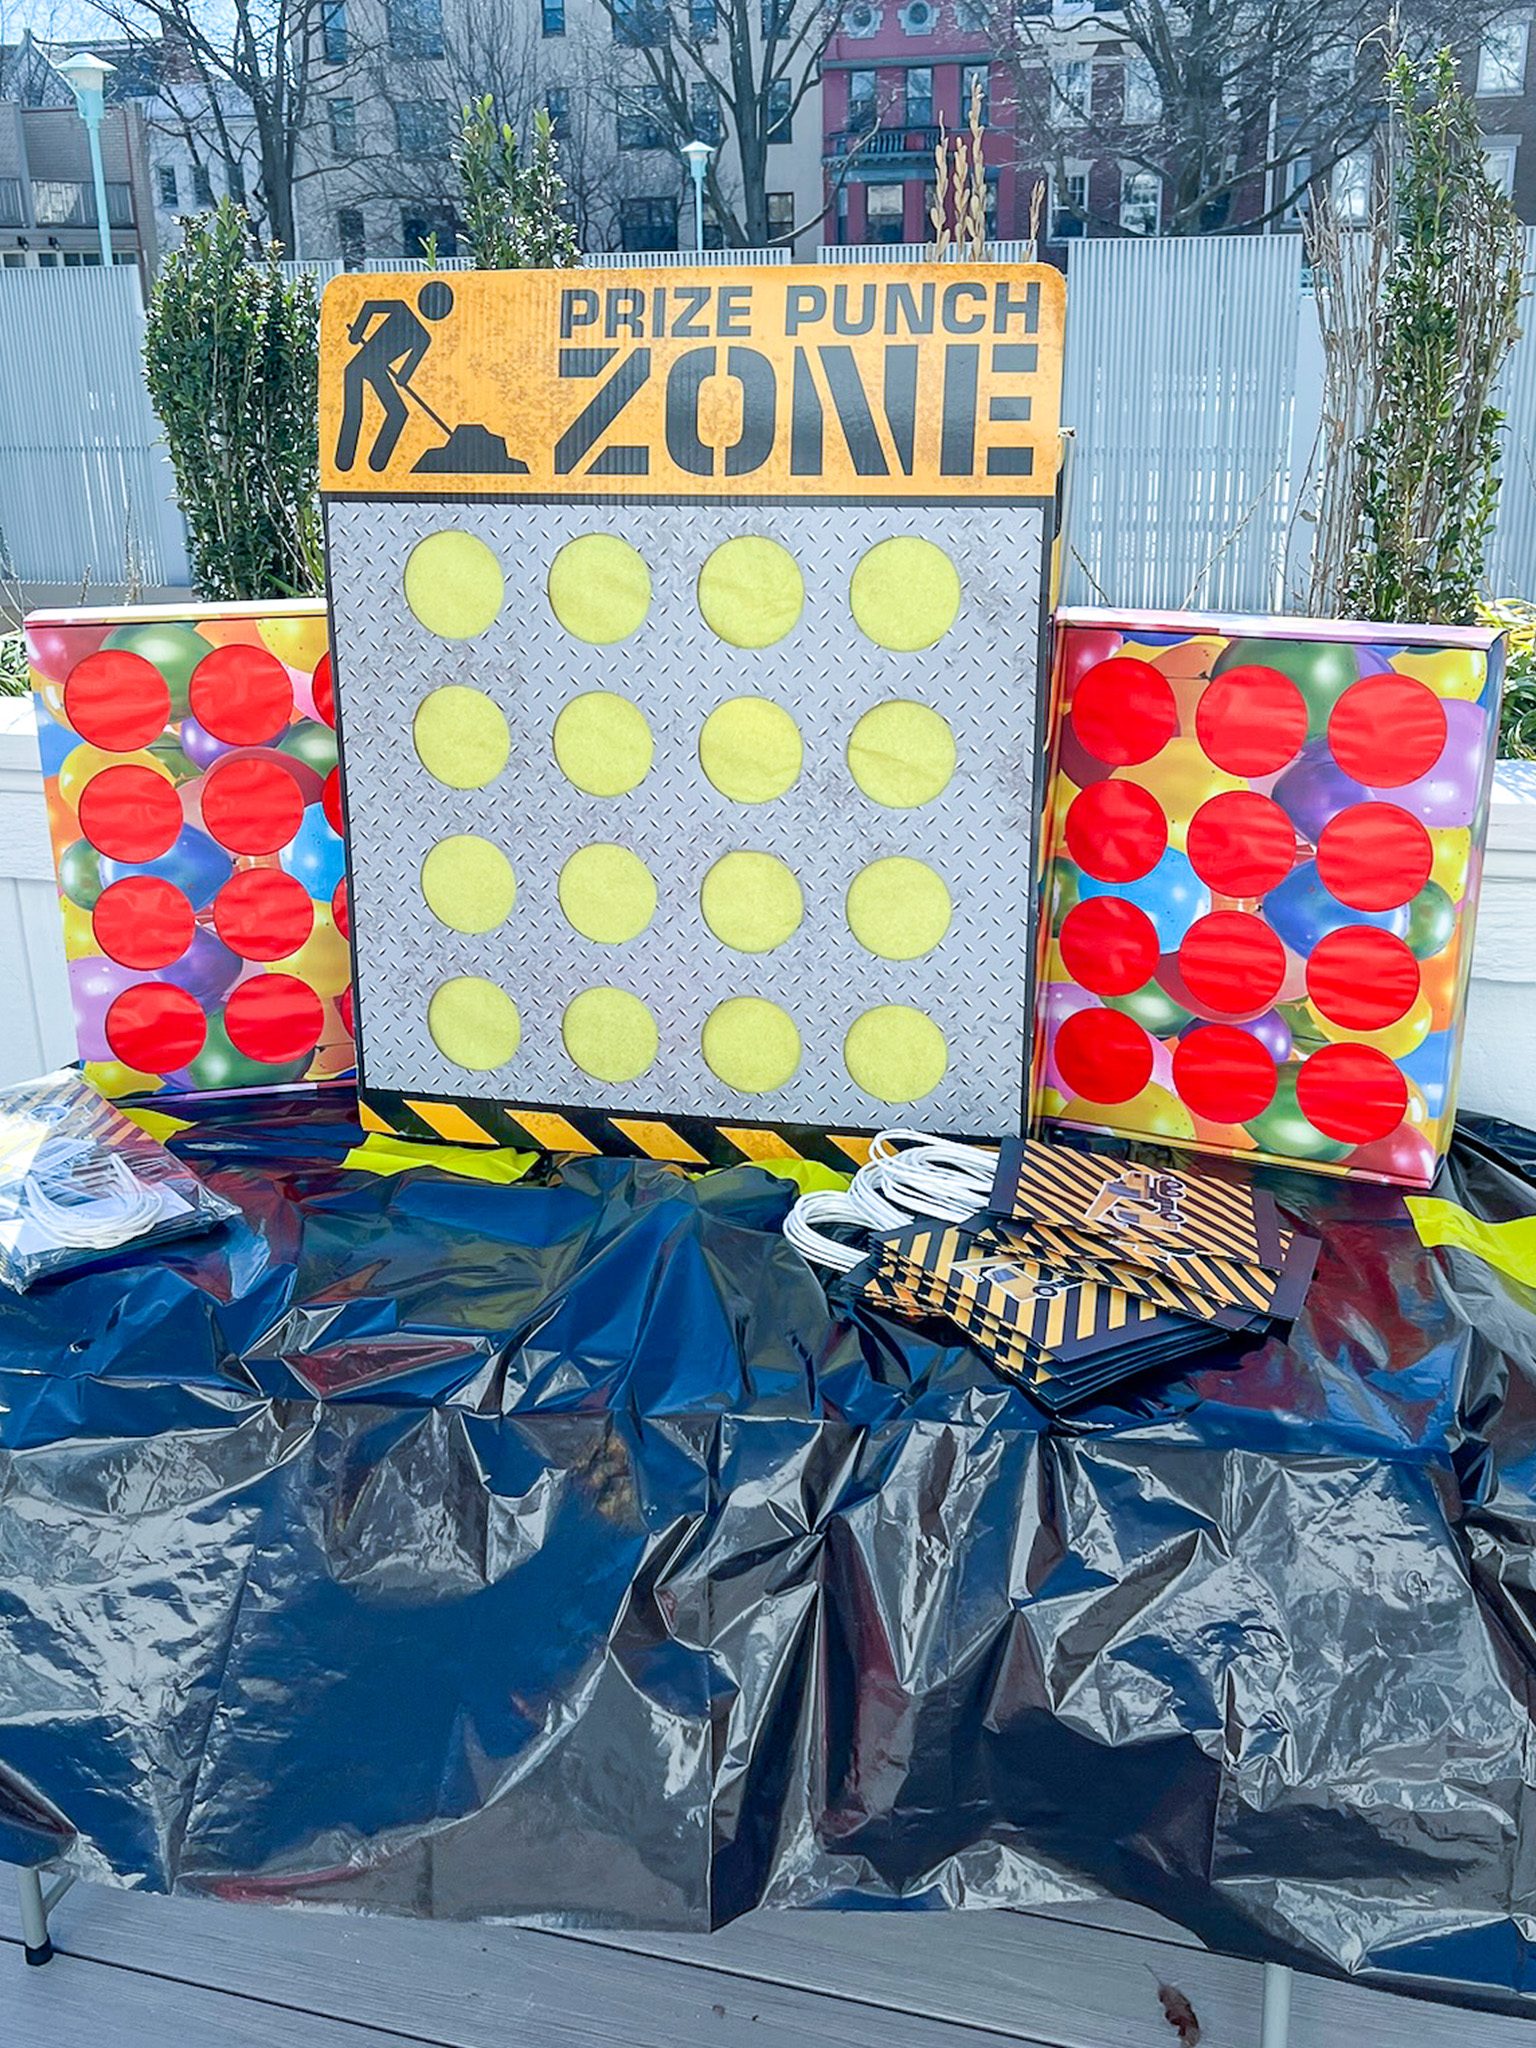
This is ALWAYS the most popular activity at any kid party I have thrown. I can get 25 kids to stand silent in anticipation of the punch hole game. It is essentially a bunch of holes that you fill with candy/toys and cover with tissue paper so the kids can punch through them to collect their prize. You can either make your own out of a box or solo cups stapled together or buy them.
Punch Box Game >
D-2) Piñata:
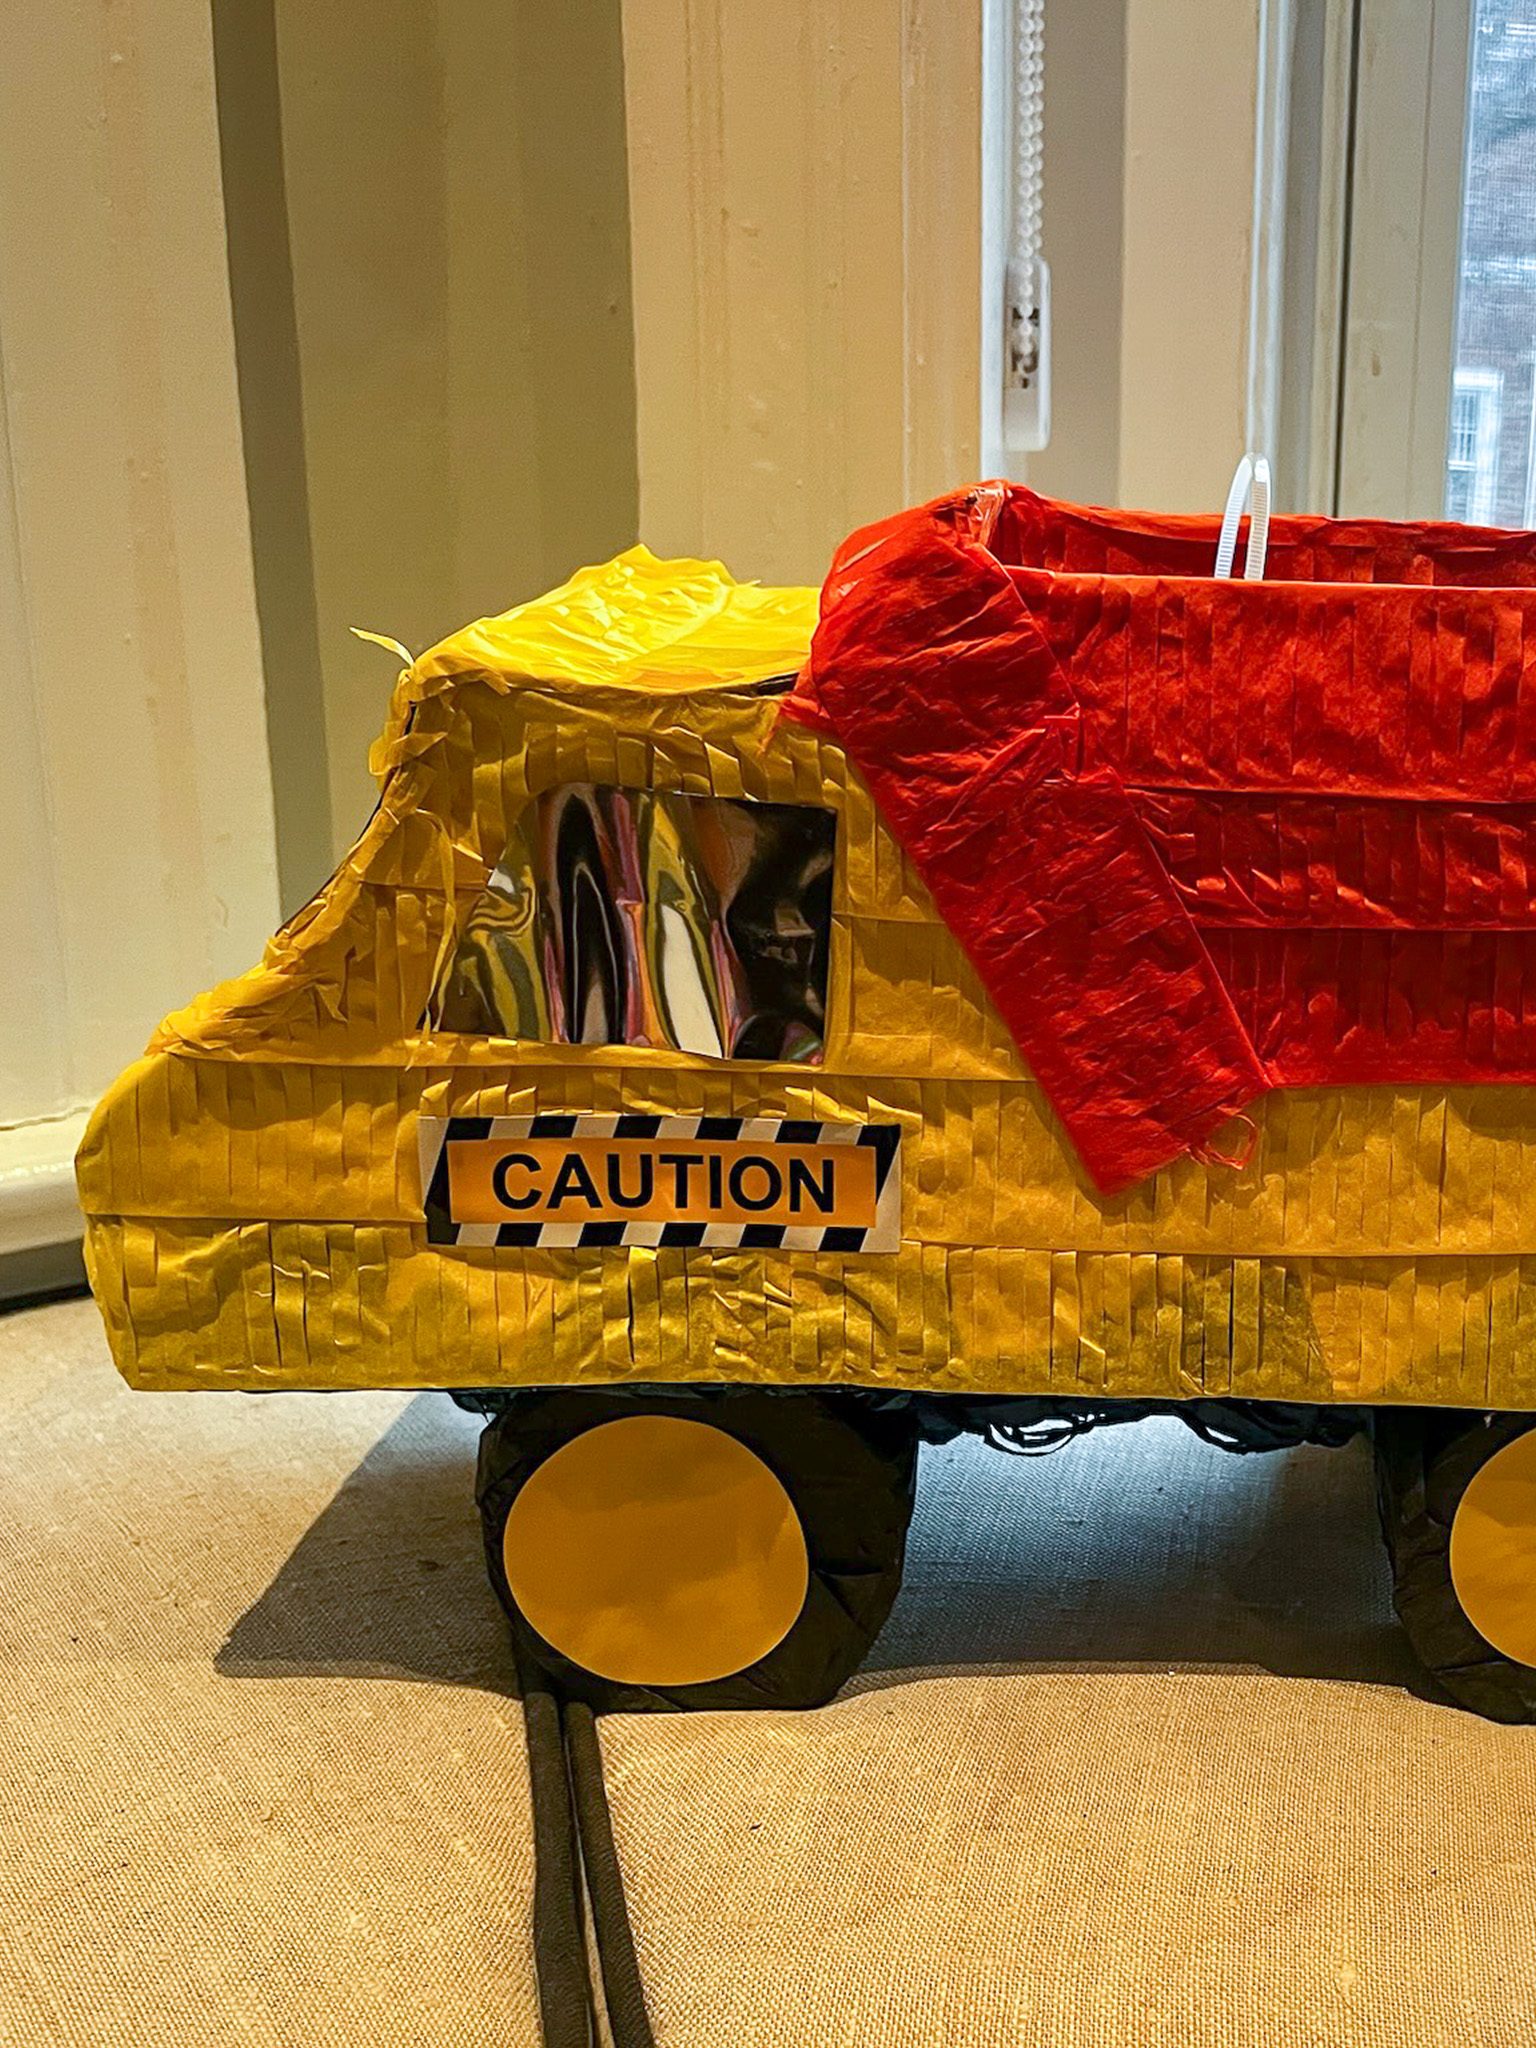
Listen, piñatas can be a bit scary. Kids swinging bats and rushing to grab candy can lead to some chaotic moments. But perhaps they’ll need these skills to navigate what the future holds. So, let’s just embrace the fun and hope for the best! Here’s the piñata we used. If the kids are too young to handle a bat safely, we have a version where they take turns pulling strings until the bottom falls out, making it safer and still enjoyable.
Pro Tip: I collect all of the junky toys my kids bring home in gift bags and forget about to add to our punch box and piñatas. It’s called the circle of life.
Dump Truck Piñata >
IV. Links to Party Supplies
- Construction Birthday Cake
- Construction Site Cake Cups
- Traffic Cone Cake Pops
- Construction Candy Site
- Building Blocks and Tonkas
- Hammering Crew
- Magnet Making
- Punch Hole & Surprise Toys
- Decorations and Supplies


