See what all the fuss is about with the viral Dubai chocolate bar, a dessert filled with a creamy pistachio filling and crispy kadayif (shredded phyllo dough).
Dubai chocolate bars are trending for good reason – they are absolutely delicious. The crunchy-chocolaty goodness will have your guests raving. The original chocolate bar, called “Can’t Get Knafeh of It,” was created by Sarah Hamouda, the owner of Fix Dessert Chocolatier in Dubai. These bars can be hard to come by so I’ve made it easy for you to make your own using my tried and true recipe below.
Step 1: Dubai Chocolate Filling Recipe:
- 3 oz. Butter
- 250 Grams Shredded Phyllo Dough Kadayif (the same thing as Kataifi)
- 600 Grams Pistachio Creme
- 1.25 oz Tahini
- Good Pinch of Salt
Once you’ve made your filling, it’s ready to use in chocolate bars or other desserts. I don’t know how, but the toasted Kadayif stays crispy in the mixture.

Step 1 Instructions:
- Melt half of your butter in a large skillet.
- Add half of your Kadayif and toast until golden brown, stirring constantly to avoid burning.
- Repeat with the rest of the butter and Kadayif.
- In a separate bowl, combine the pistachio creme, tahini, and salt. Stir well.
- Stir in the toasted Kadayif.

Step 2: Dubai Chocolate Bar Recipe:
- Dubai chocolate filling (recipe above)
- Chocolate of your choice (I used dark and milk)
- Coconut oil (optional if your chocolate needs more liquidity)
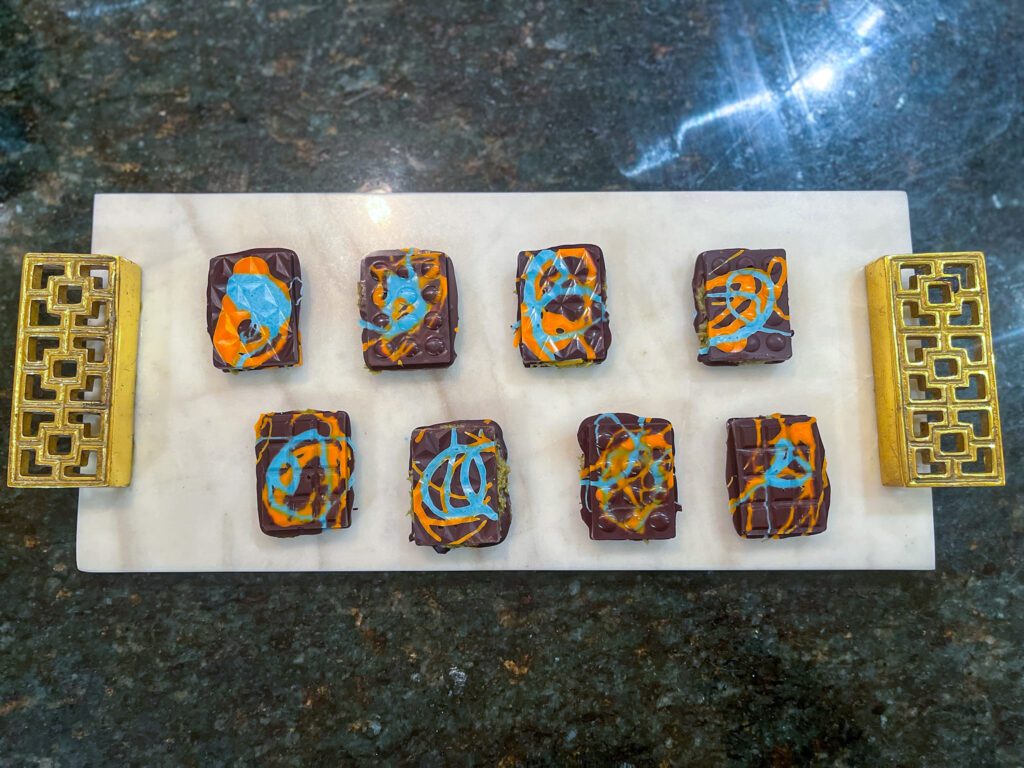
- Colored melts (optional for decorating and a beautiful finish – I used orange and blue melts)
- Chocolate molds (see below for some options)
Unless you have been living under a rock, you have seen the viral Dubai Chocolate Bars. These can be very expensive to import, but are actually fairly easy to make.


Step 2 Instructions:
- Melt 2/3rds of your milk or dark chocolate by placing it in a metal or glass bowl, on top of a pot of simmering water (the water should not be touching the bottom of the bowl – the steam will heat the chocolate bowl).
- Once your chocolate is fully melted, turn off the heat and add the rest of the chocolate – stirring until it is combined. This should serve as a quick temper for your chocolate.
- Optional: If your chocolate is too thick to pour, add 1-2 tbsp of coconut oil to loosen it.
- Optional Decor: If you want to add a beautiful flare to your chocolate bar, melt some colored melting chocolates (this can be done in the microwave – 30 seconds at a time, stirring in between, until it is a smooth liquid) and use a spoon or piping bag to add splatters or other designs to your mold.
- Spoon or pipe your melted dark or milk chocolate into the mold, ensuring that the sides and bottom are coated before dumping any excess back into the chocolate bowl.
- Add as much filling as the mold can then hold without it being unwieldy for sealing it up with chocolate:
- Larger mold: If you are using a large, deep mold, add filling up to almost the top of the mold. Then add chocolate to the top and use a scraper (or other flat object – pasta cutter, clean ruler, etc.) to remove excess chocolate and create a flat bottom for your bar.
- Medium/Small mold: Do not worry if your mold is shallow, you will just need to use a two step process to make a sandwich bar. First, coat the mold in chocolate, then add the filling and shape it so that it is flat and leaves a margin around the edges. Chill it in the refrigerator and carefully remove from the molds. Then fill the molds with more chocolate and while they are still wet top them with the filling side of the previously prepared chocolates. Squish them down so that the chocolate pushes up the sides and encloses the filling. If it doesn’t fully cover the filling on the sides, you can just leave it as is (the filling is very attractive, or you can wait until they are set and dip each side in chocolate – using tongs to avoid melting the chocolate with your warm hands).
- Larger mold: If you are using a large, deep mold, add filling up to almost the top of the mold. Then add chocolate to the top and use a scraper (or other flat object – pasta cutter, clean ruler, etc.) to remove excess chocolate and create a flat bottom for your bar.
- Cool the bars in the refrigerator to set.
- Enjoy!
Molds:
Larger bars are easier to make, and the deeper the mold, the more room for the delicious filling. Here are a few large, deep molds that get good reviews: option one, option two. I wanted smaller bars for gifts though, so I used these medium molds, these additional medium molds, and these smaller molds.
No mold? No problem!
Just use a muffin tin lined with muffin papers. Add a generous coat of chocolate to the muffin paper, let dry, add your filling and then cover the top with more chocolate (sprinkle with flaky salt before it dries).

Dubai Chocolate Nests:
Please see link for recipe (this may be a top 3 all-time dessert).