Piping those cute rainbow cupcakes is easier than you might think!
Making rainbow frosting is actually easier than it looks, it just requires cleaning a few extra bowls since you will have to mix each color separately. I made this rainbow frosting for some fun construction cake cups for my son’s 3rd birthday party. I found these to be more popular with kiddos than chocolate pudding dirt cups.
Instructions:
1. First, make your frosting. I like to use cream cheese frosting – it pipes great and tastes amazing. See recipe here.
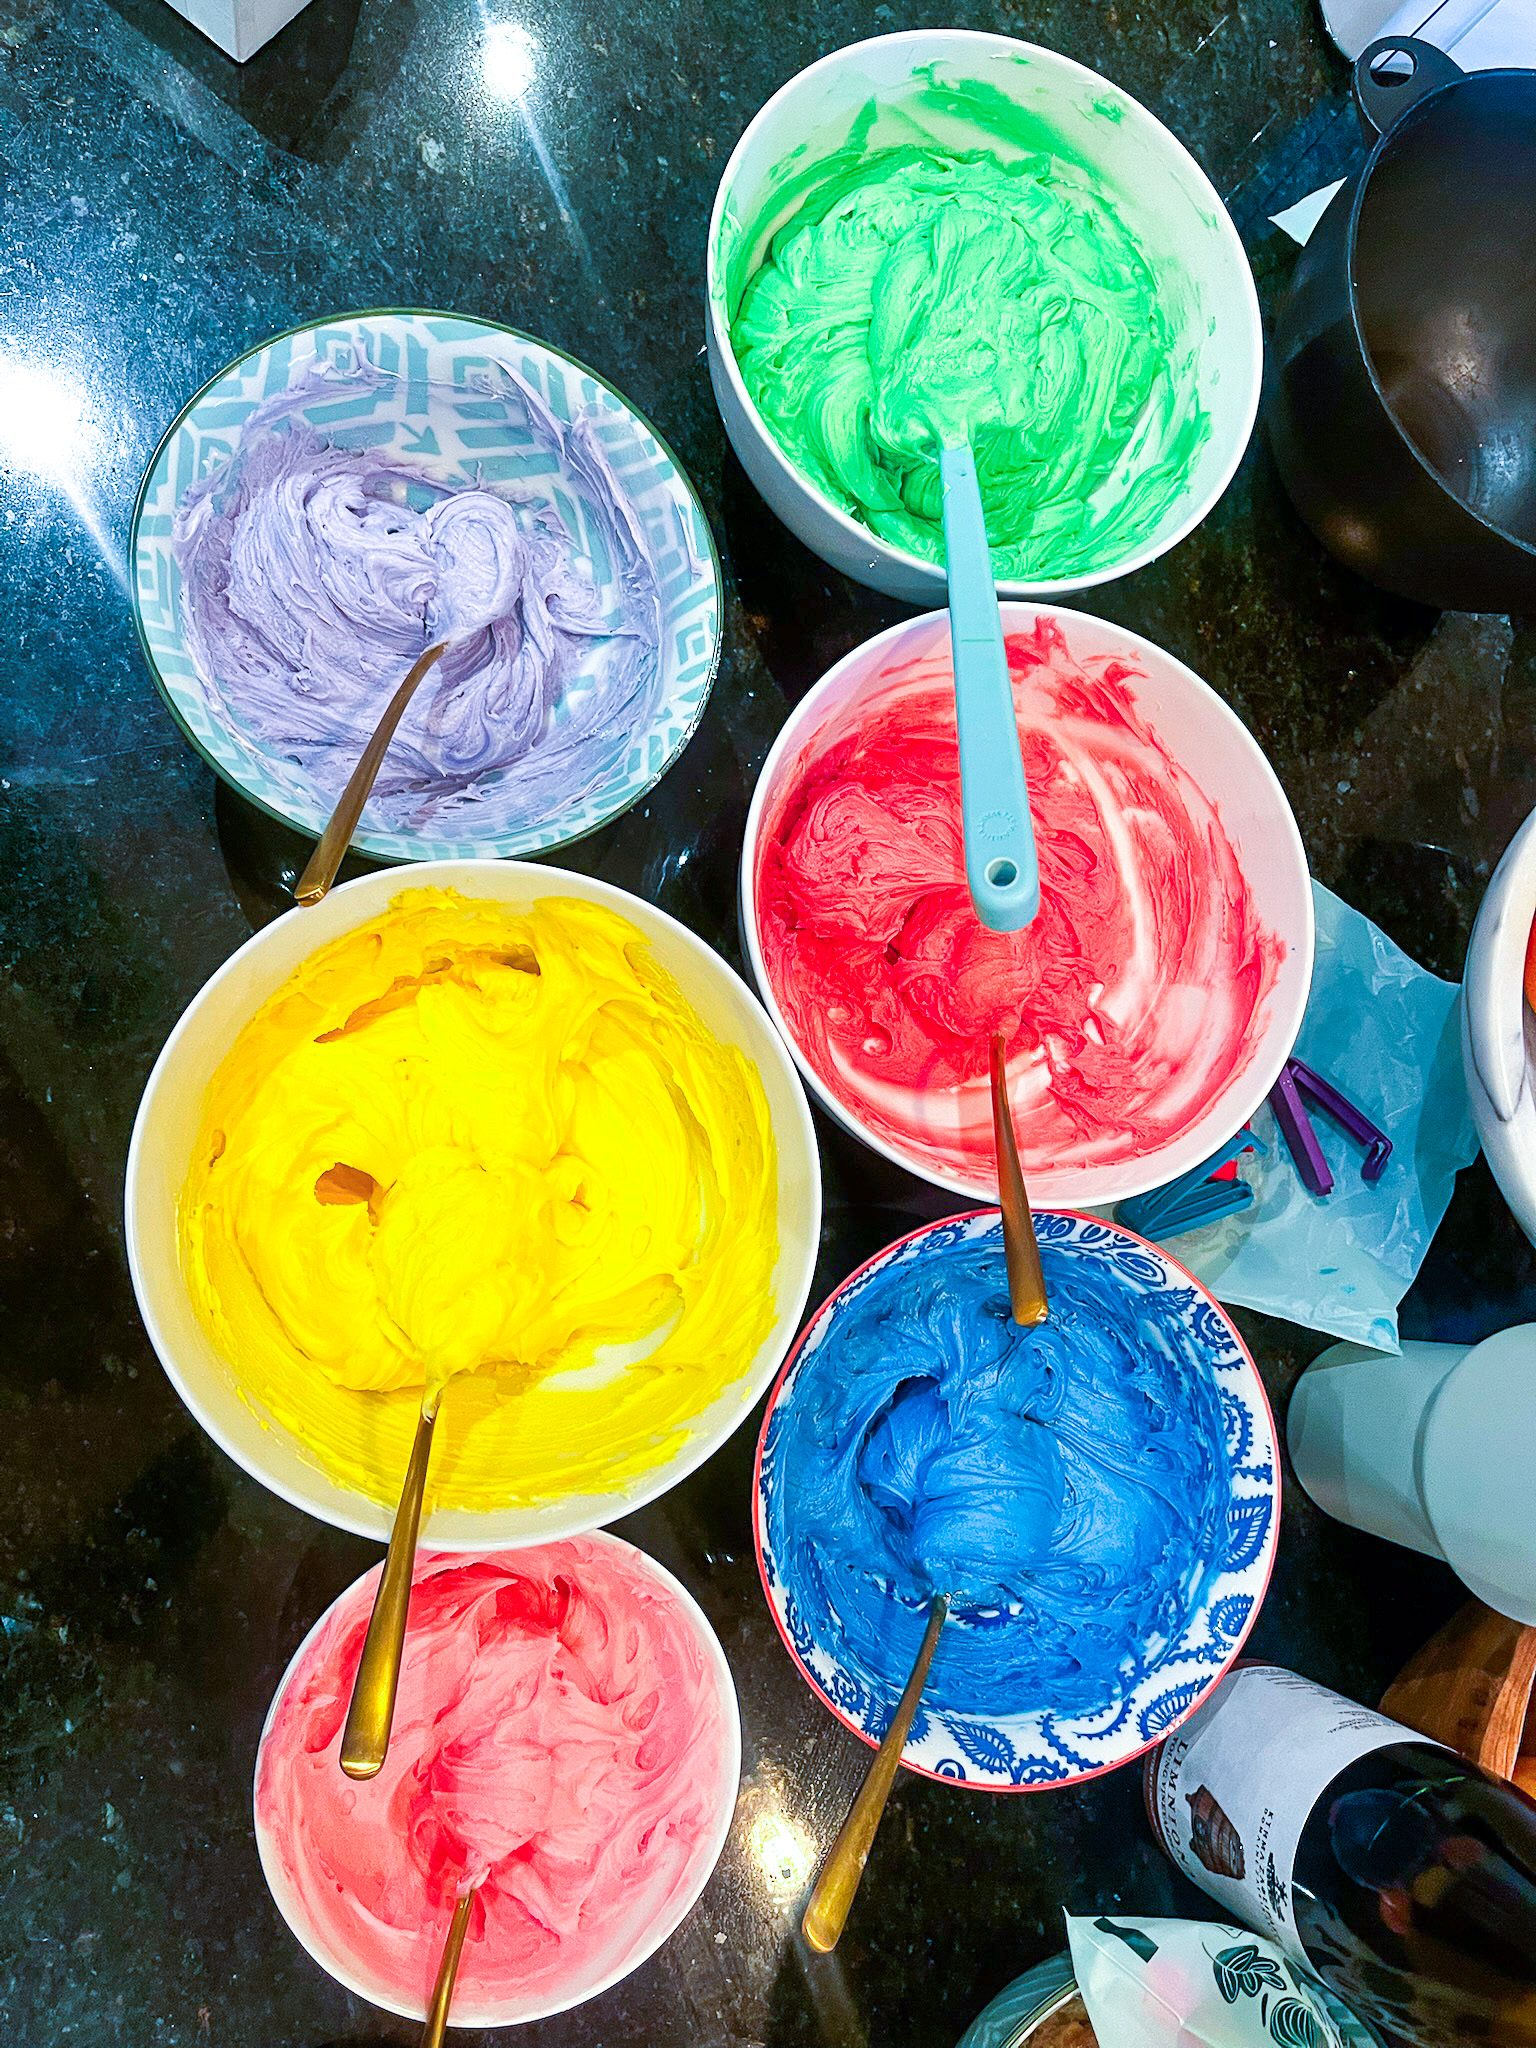
2. Divide frosting into smaller bowls, add a few drops of gel coloring to each and stir. Add more coloring if you want a darker color.
3. Transfer each color of frosting into their own baggies. To do this, take a stable glass, fold the sides of the bag over the opening, and scrape the frosting into the bag. To prepare for the next step, lay the bags of frosting out in the order you want to have them in the rainbow.
4. Lay a large sheet of cling wrap on your counter. One at a time, take each bag of frosting, cut the corner and neatly pipe a line of color. Repeat with the next color, piping a line right next to the last color – touching the whole way. Repeating with each color. Then roll the cling wrap into a tub and twist the ends to keep the frosting from coming out.
5. Prepare your piping bag with the desired tips. Cut one end off of the tube of rainbow frosting and drop that end into the piping bag. Twist and secure the piping bag and you are ready to pipe beautiful rainbows.
Tight Rainbows or Tie-Dyed Rainbows:
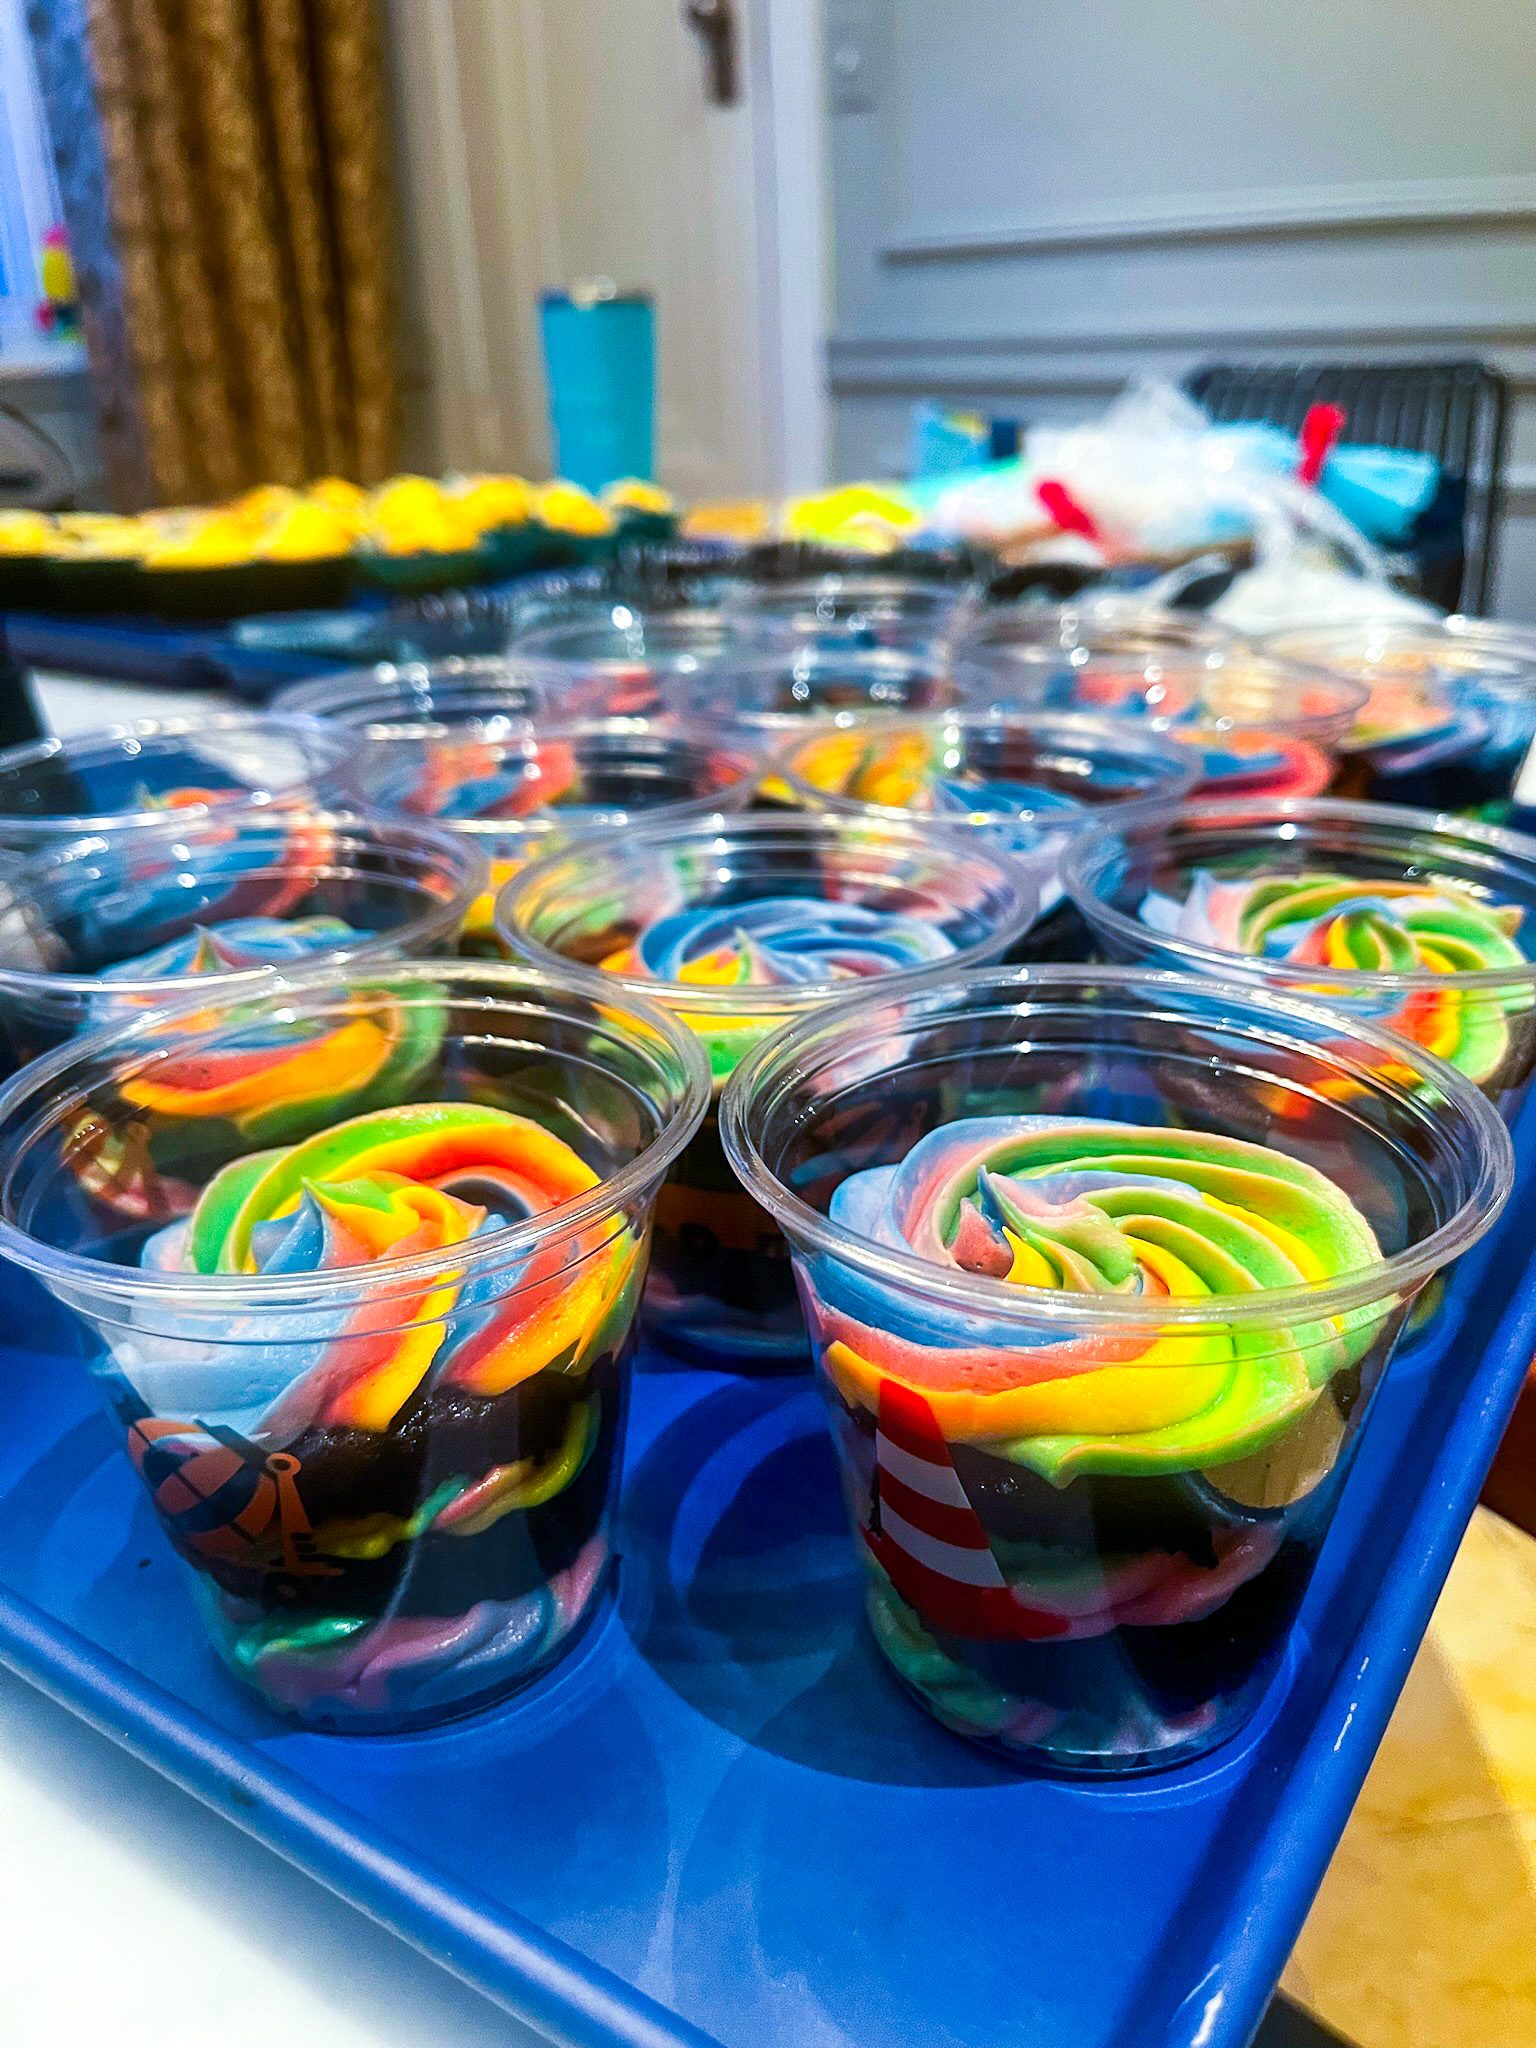
To get a tighter rainbow, make smaller lines of colors on your cling wrap. The tighter and smaller tube should give you a better chance of dispensing a consistent line with all colors. The one downside of this is that you will need to refill your piping bag more often. To get the fun tie-dyed look that I used in this example, you can pipe larger amounts of colors in the rainbow, and they will evolve and flow as you dispense the frosting.

