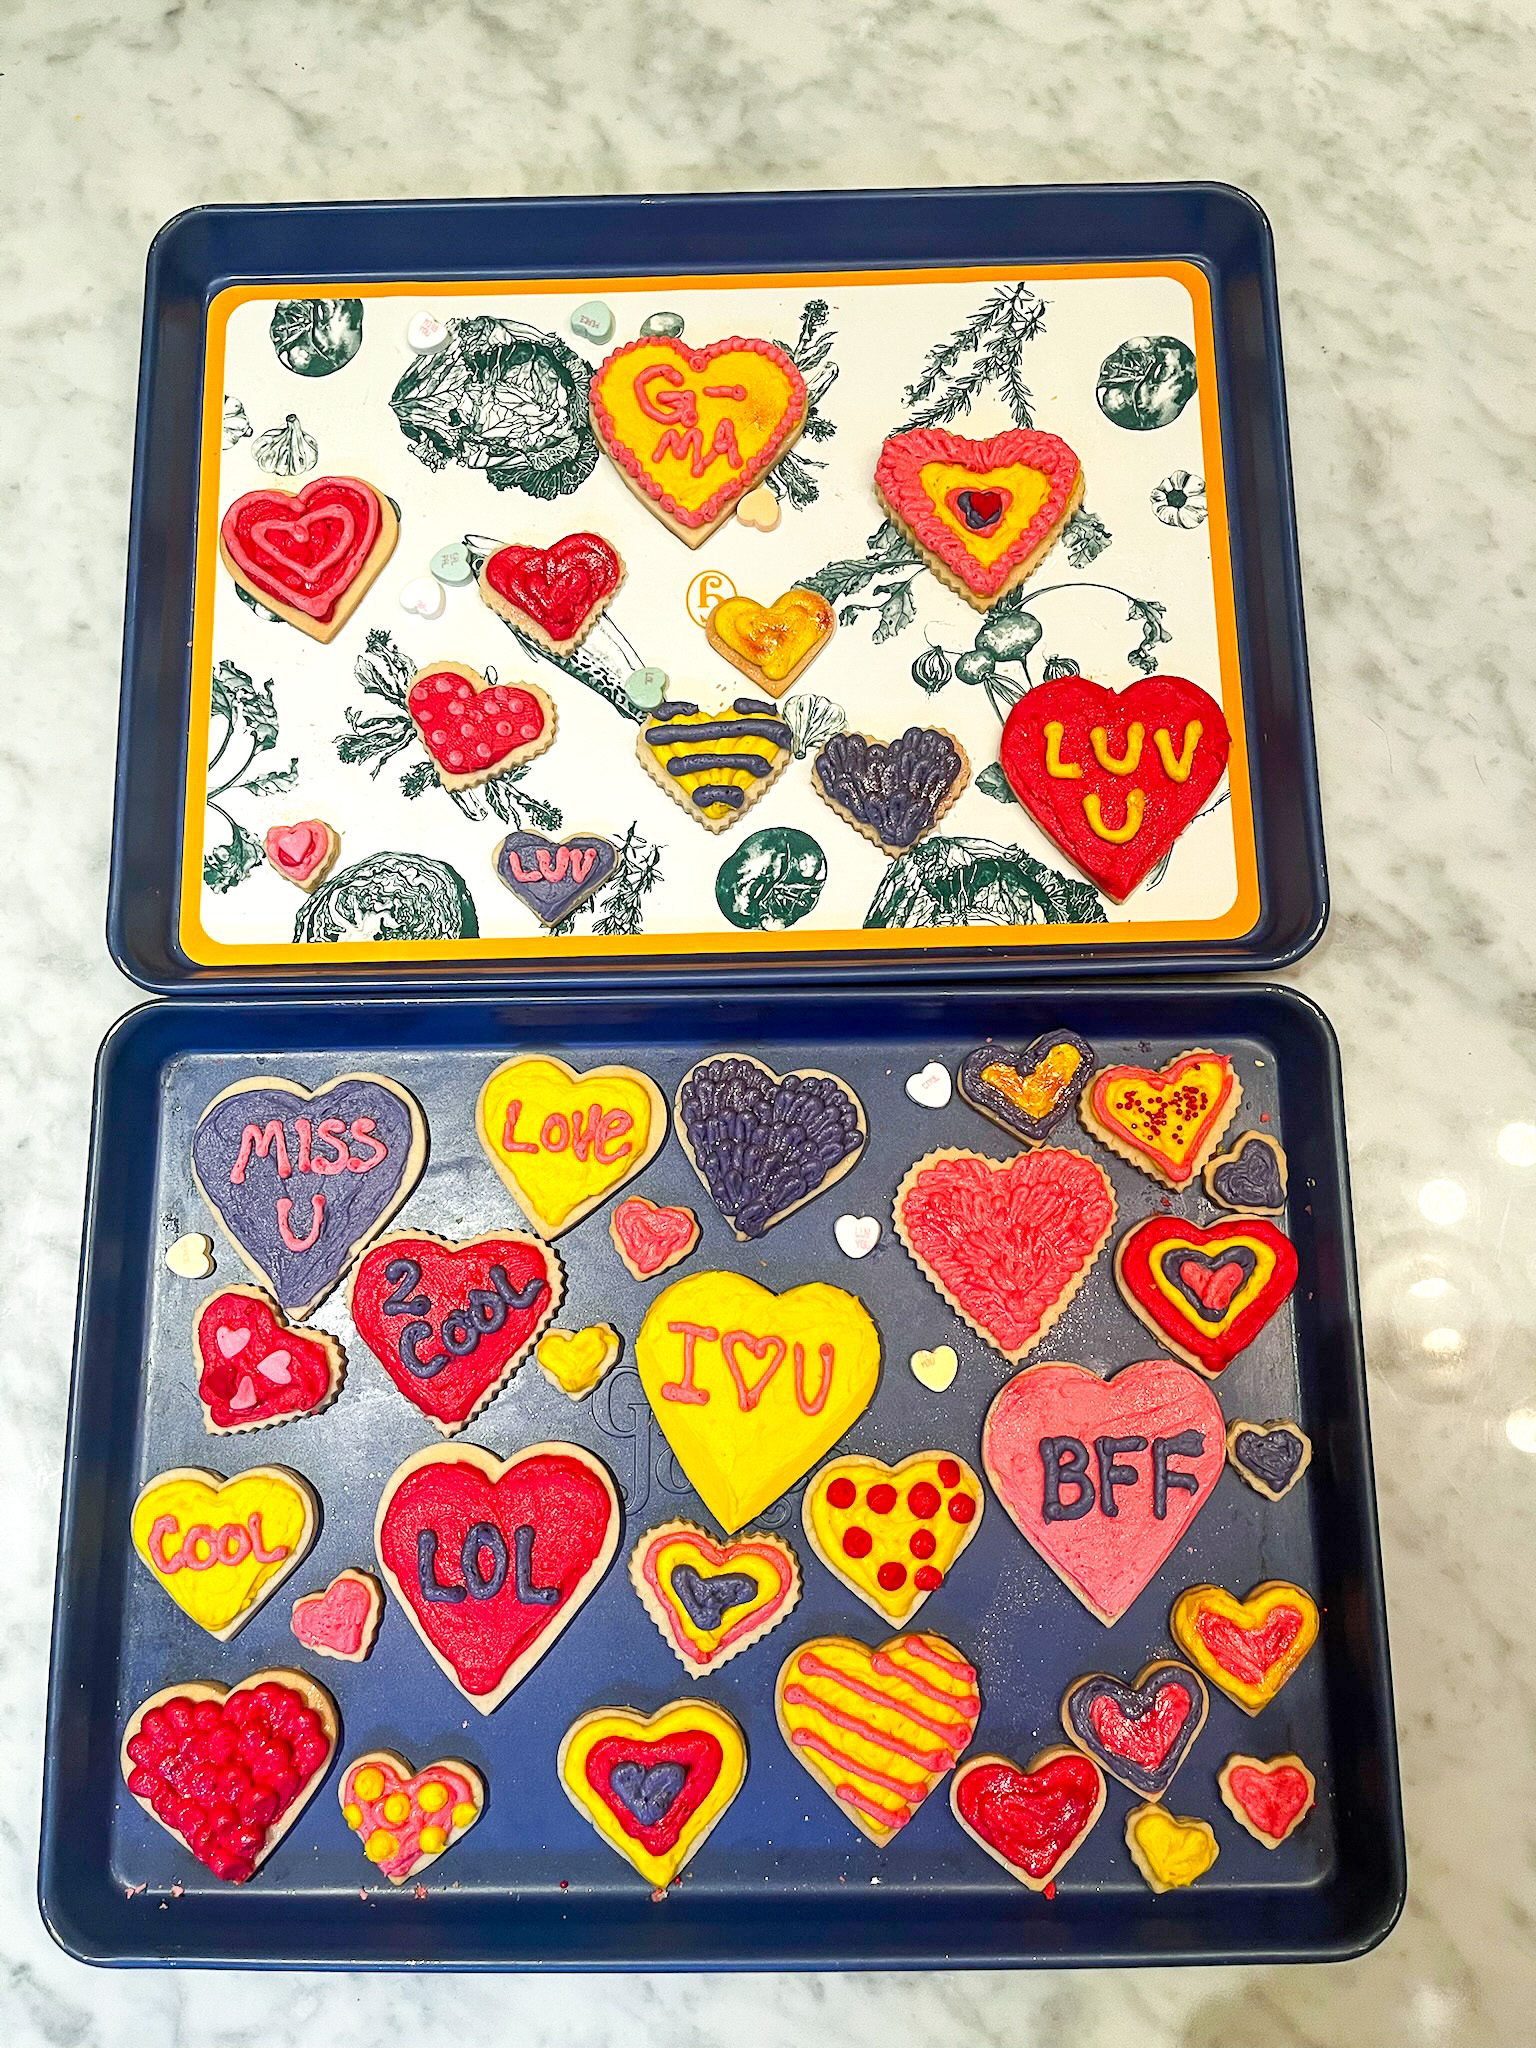
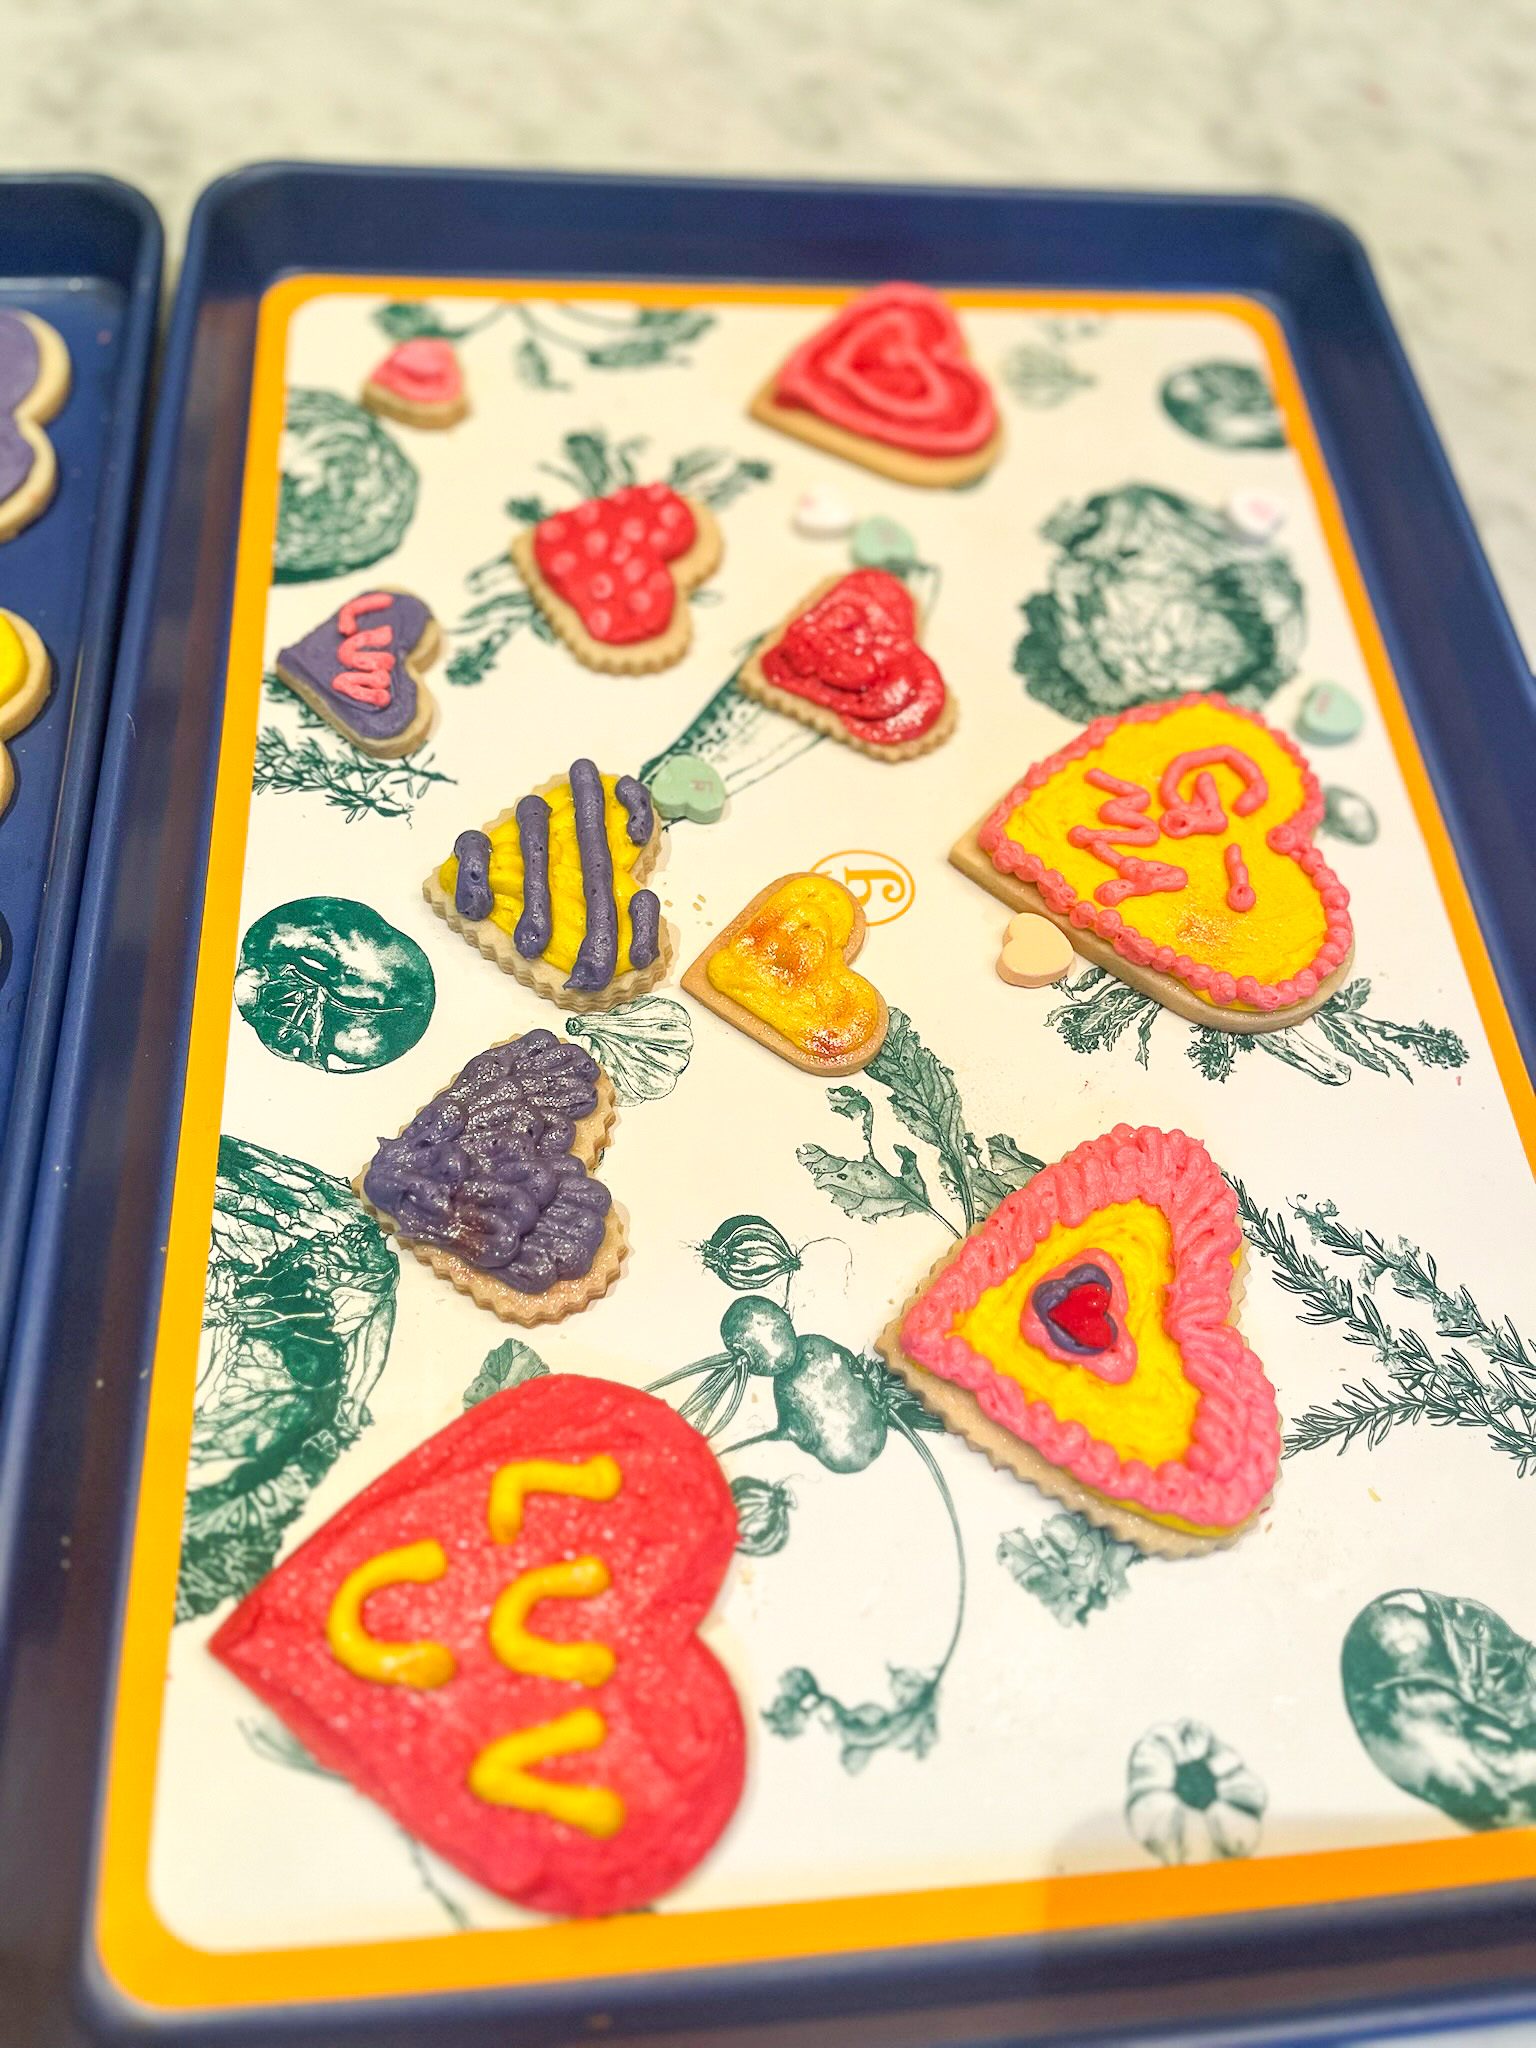
This is a fan favorite, providing fun color to any celebration, and is a fun activity with your kids if you don’t mind a little bit of a mess.
These cookies always come out great and provide a fun way to celebrate any holiday. I love decorating beautiful cookies, but I also want them to taste great, and I don’t love royal icing…so I’ve included the recipe for a delicious buttercream frosting that will dry hard and taste great, too.
I took this cookie recipe from my go-to baking guru – Sally’s Baking Addiction. She has a lot of great tips and in-depth tutorials for home bakers. I’ve used this recipe so many times without fail, that this truly is the perfect sugar cookie recipe (so much so that I almost filed this under Life Hacks).
If you’d rather jump to a section, use these links:
I) Sugar Cookies II) Buttercream Frosting III) Decorating IV) Gear
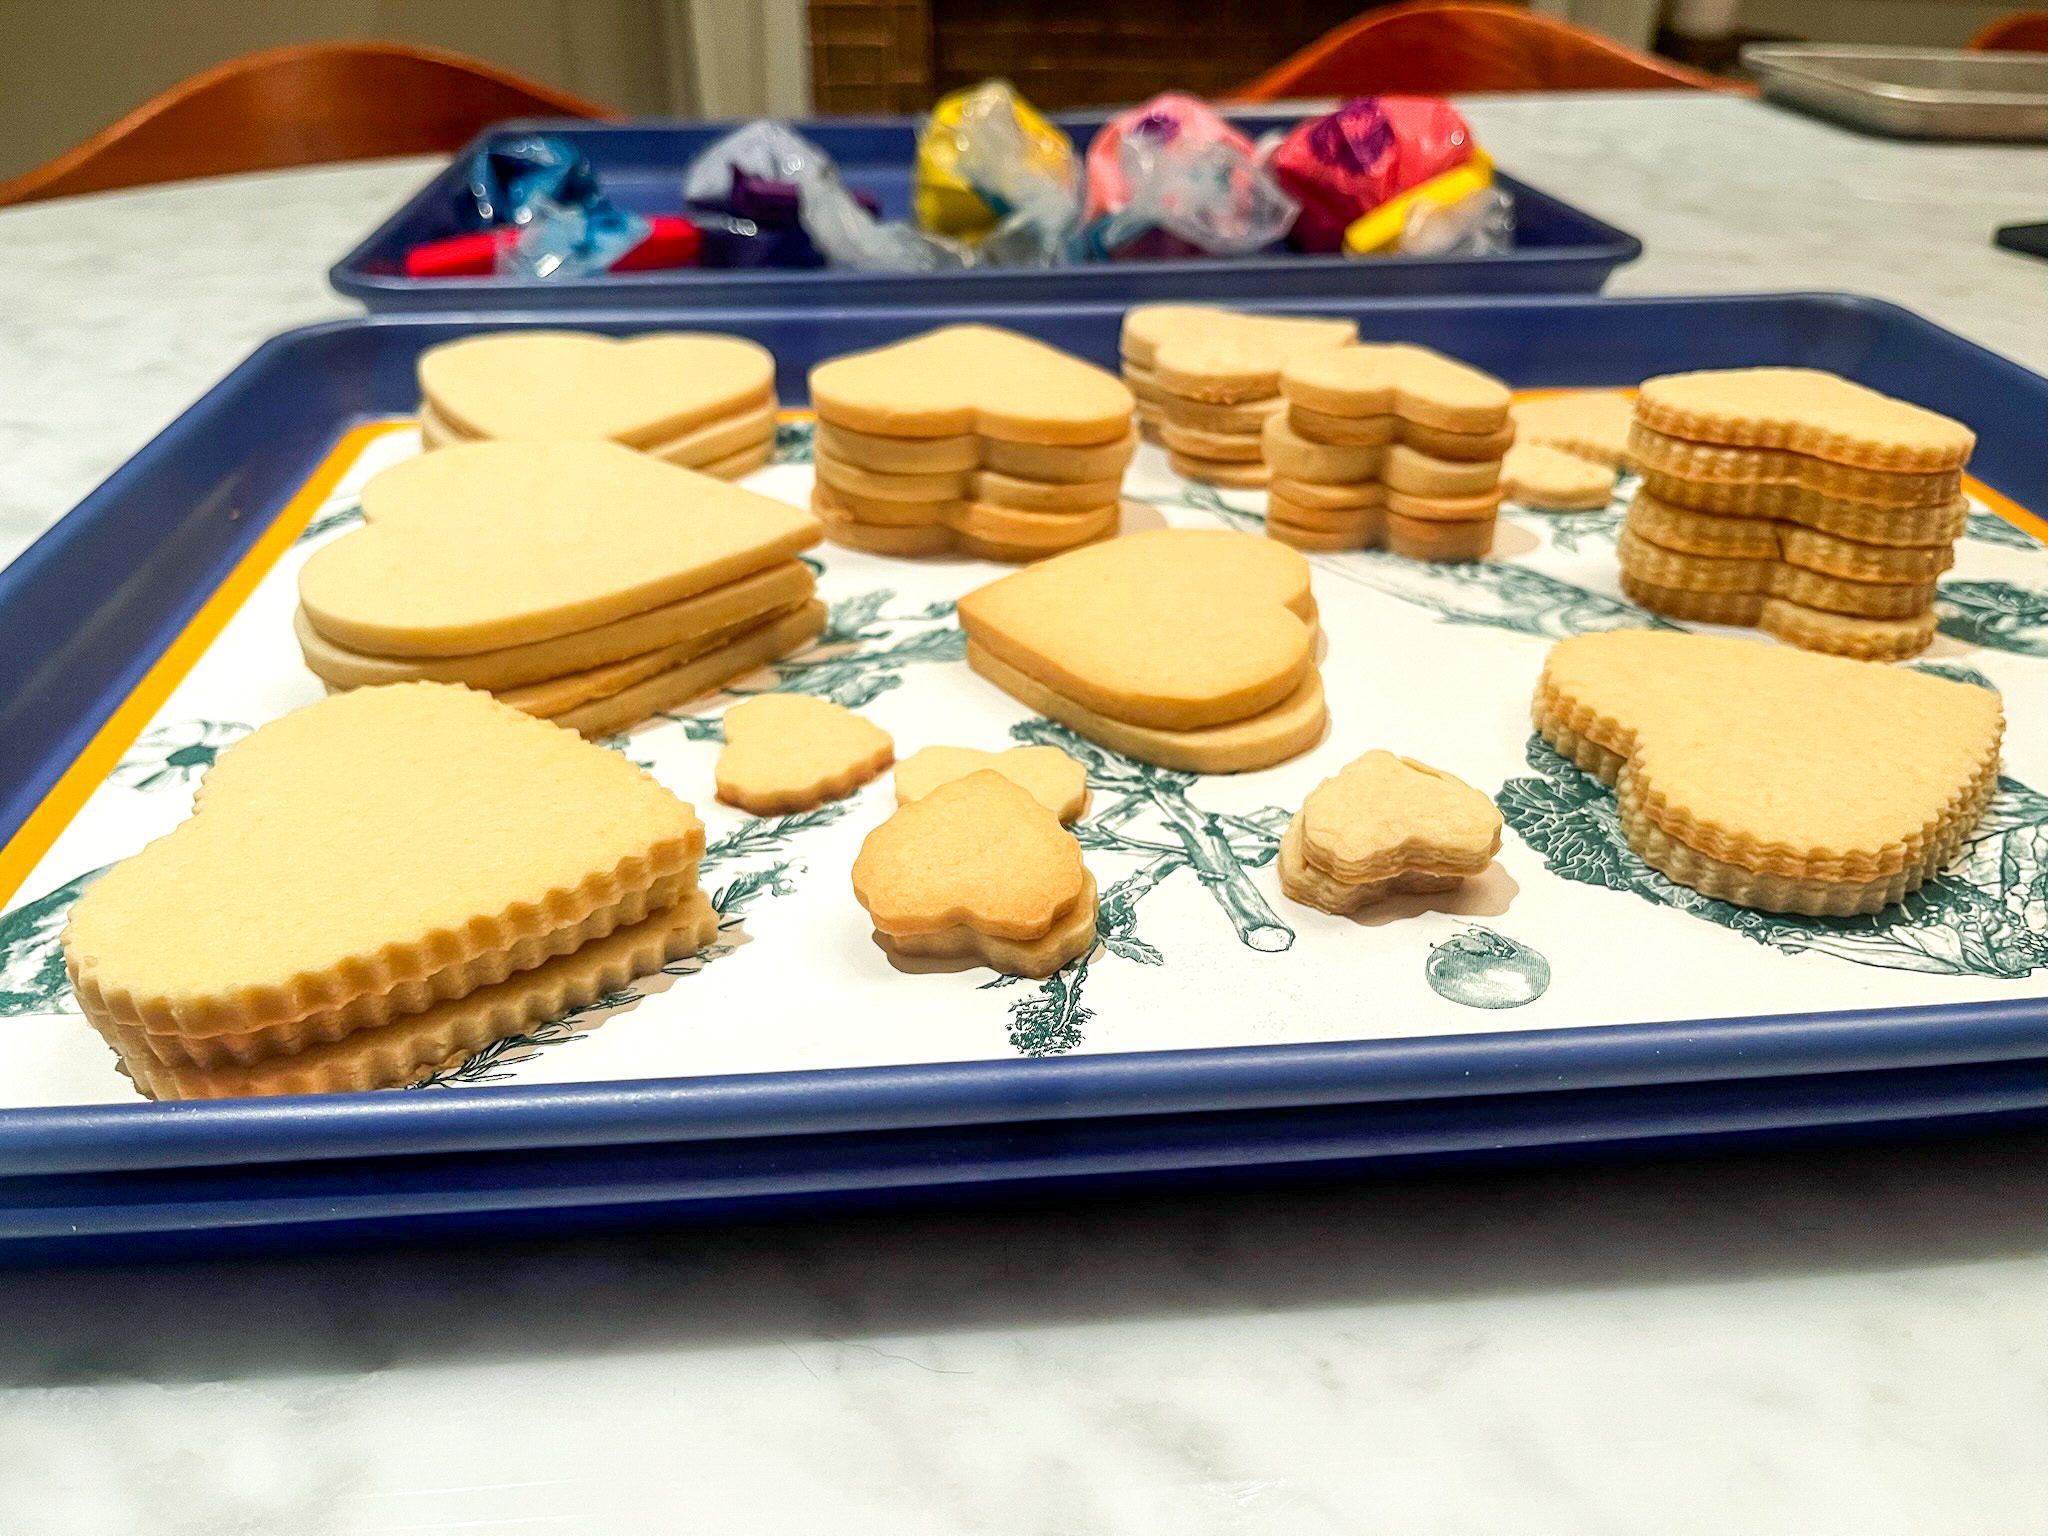
If you don’t have the interest or attention span for the in depth tutorial from Sally, there are really just two things you really need to focus on to make great sugar cookies:
- Cream your butter and sugar well (be sure to only use room temperature ingredients so it doesn’t seize up).
- Bake your cut-out cookies cold (be sure to chill your dough rolled out, then cut your cookies, and finally, do not use baking sheets that are hot for the next batch).
I) Sugar Cookies
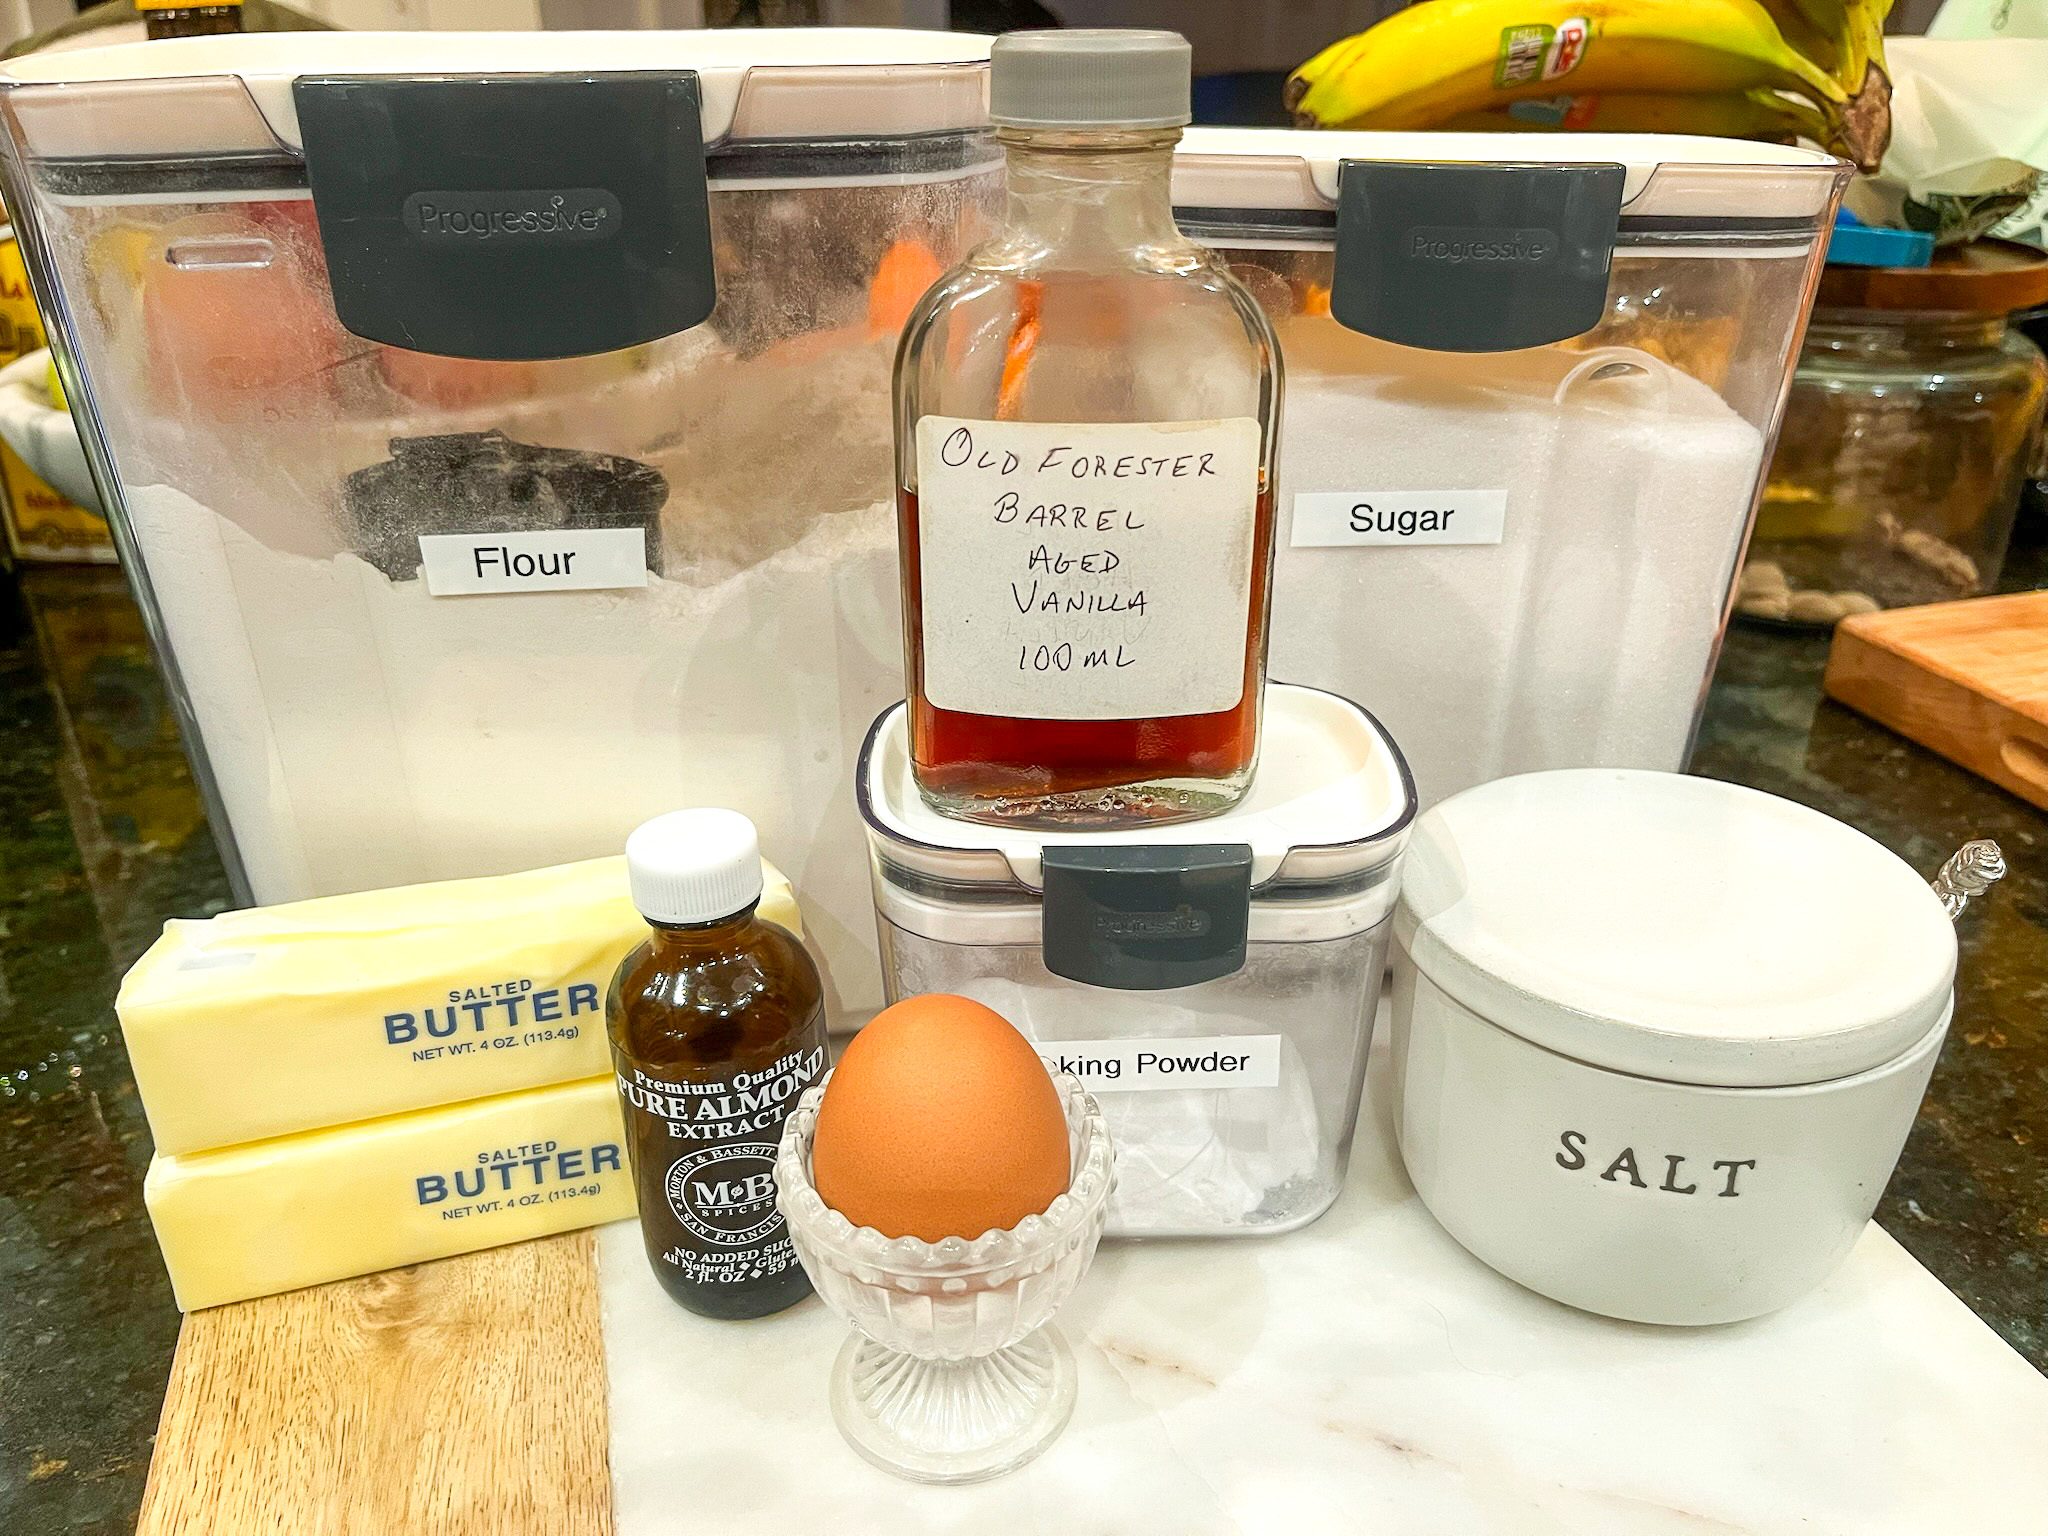
Ingredients:
- 2¼ cups flour
- ½ tsp baking powder
- ½ tsp salt
- ¾ cup butter (room temperature)
- ¾ cup sugar
- 2 tsp vanilla
- ½ tsp almond extract
- 1 egg (room temperature)
Steps 1-4:
- In a separate bowl, whisk together the dry ingredients: flour, baking powder, and salt. Set aside.
- In a mixing bowl, cream the butter and sugar well, whipping it until it is pale, light, and fluffy.
- Add the egg, vanilla, and almond extract and whip until fully incorporated (If your egg is cold, place it in a bowl of hot water for 5 mins before using).
- Slowly incorporate dry ingredients until a nice firm ball of dough is formed. If it is sticky, add 1 tbsp of flour. If it is crumbly, add 1 tsp of water or milk until it comes together in a cohesive, smooth ball of dough that isn’t sticky to the touch.
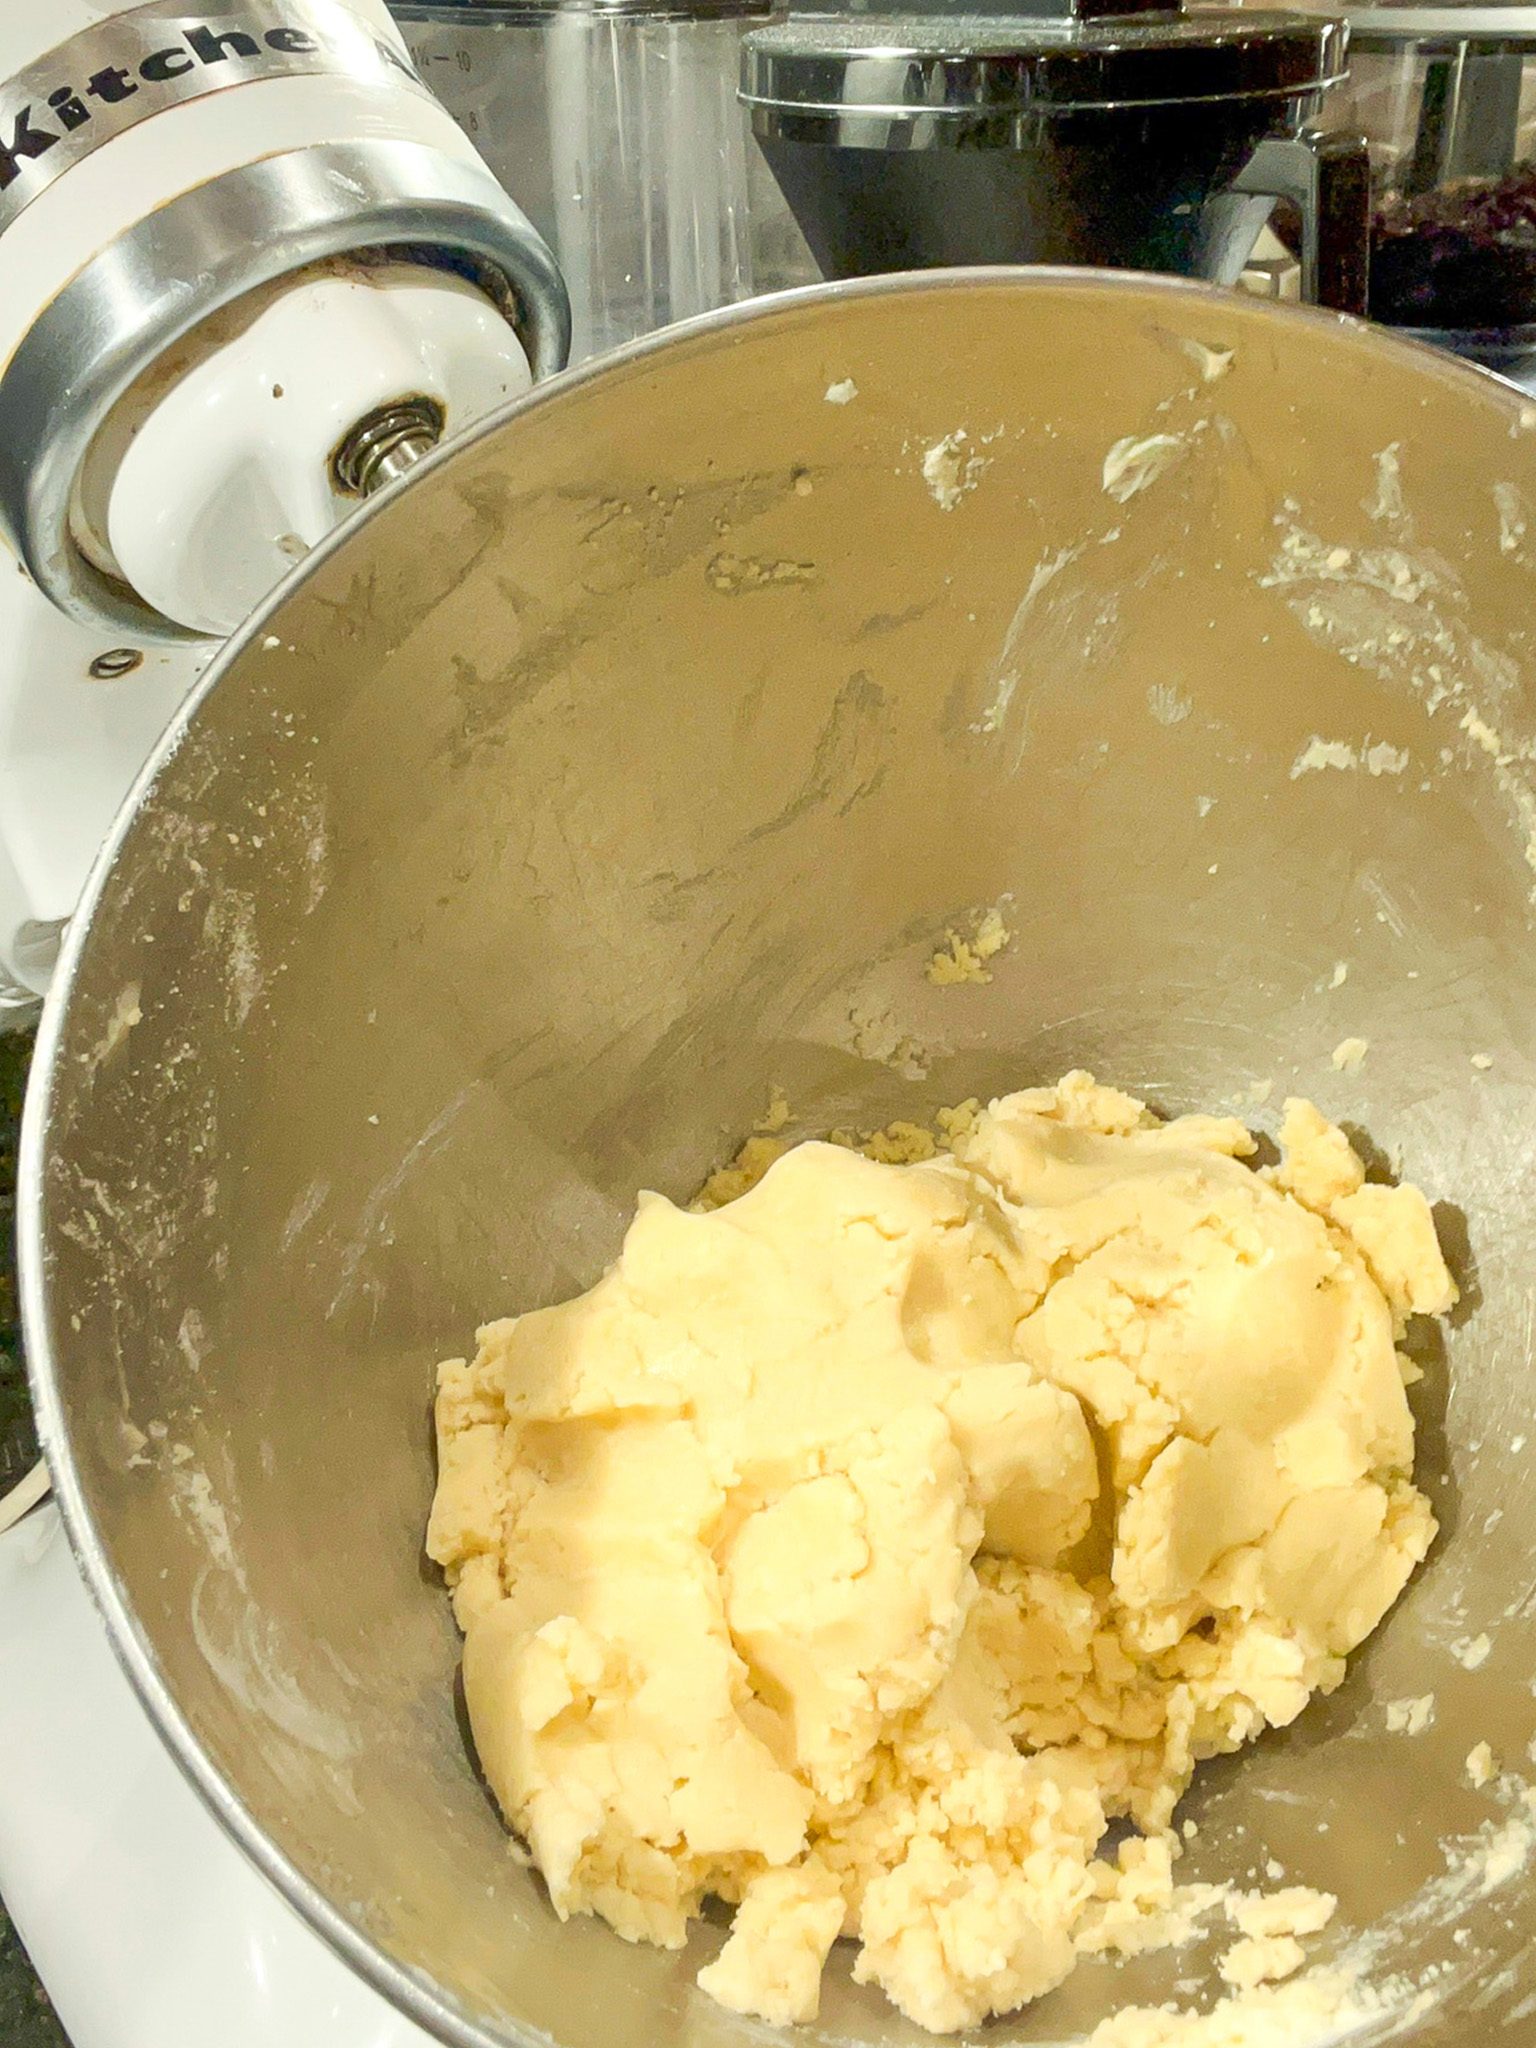
Steps 5-6:
- Cut dough into two balls.
- Roll out onto parchment or a silicone baking mat (first sprinkling with flour and flouring your rolling pin to avoid sticking); the sheet of dough should be ⅛ to ¼ inch thick.
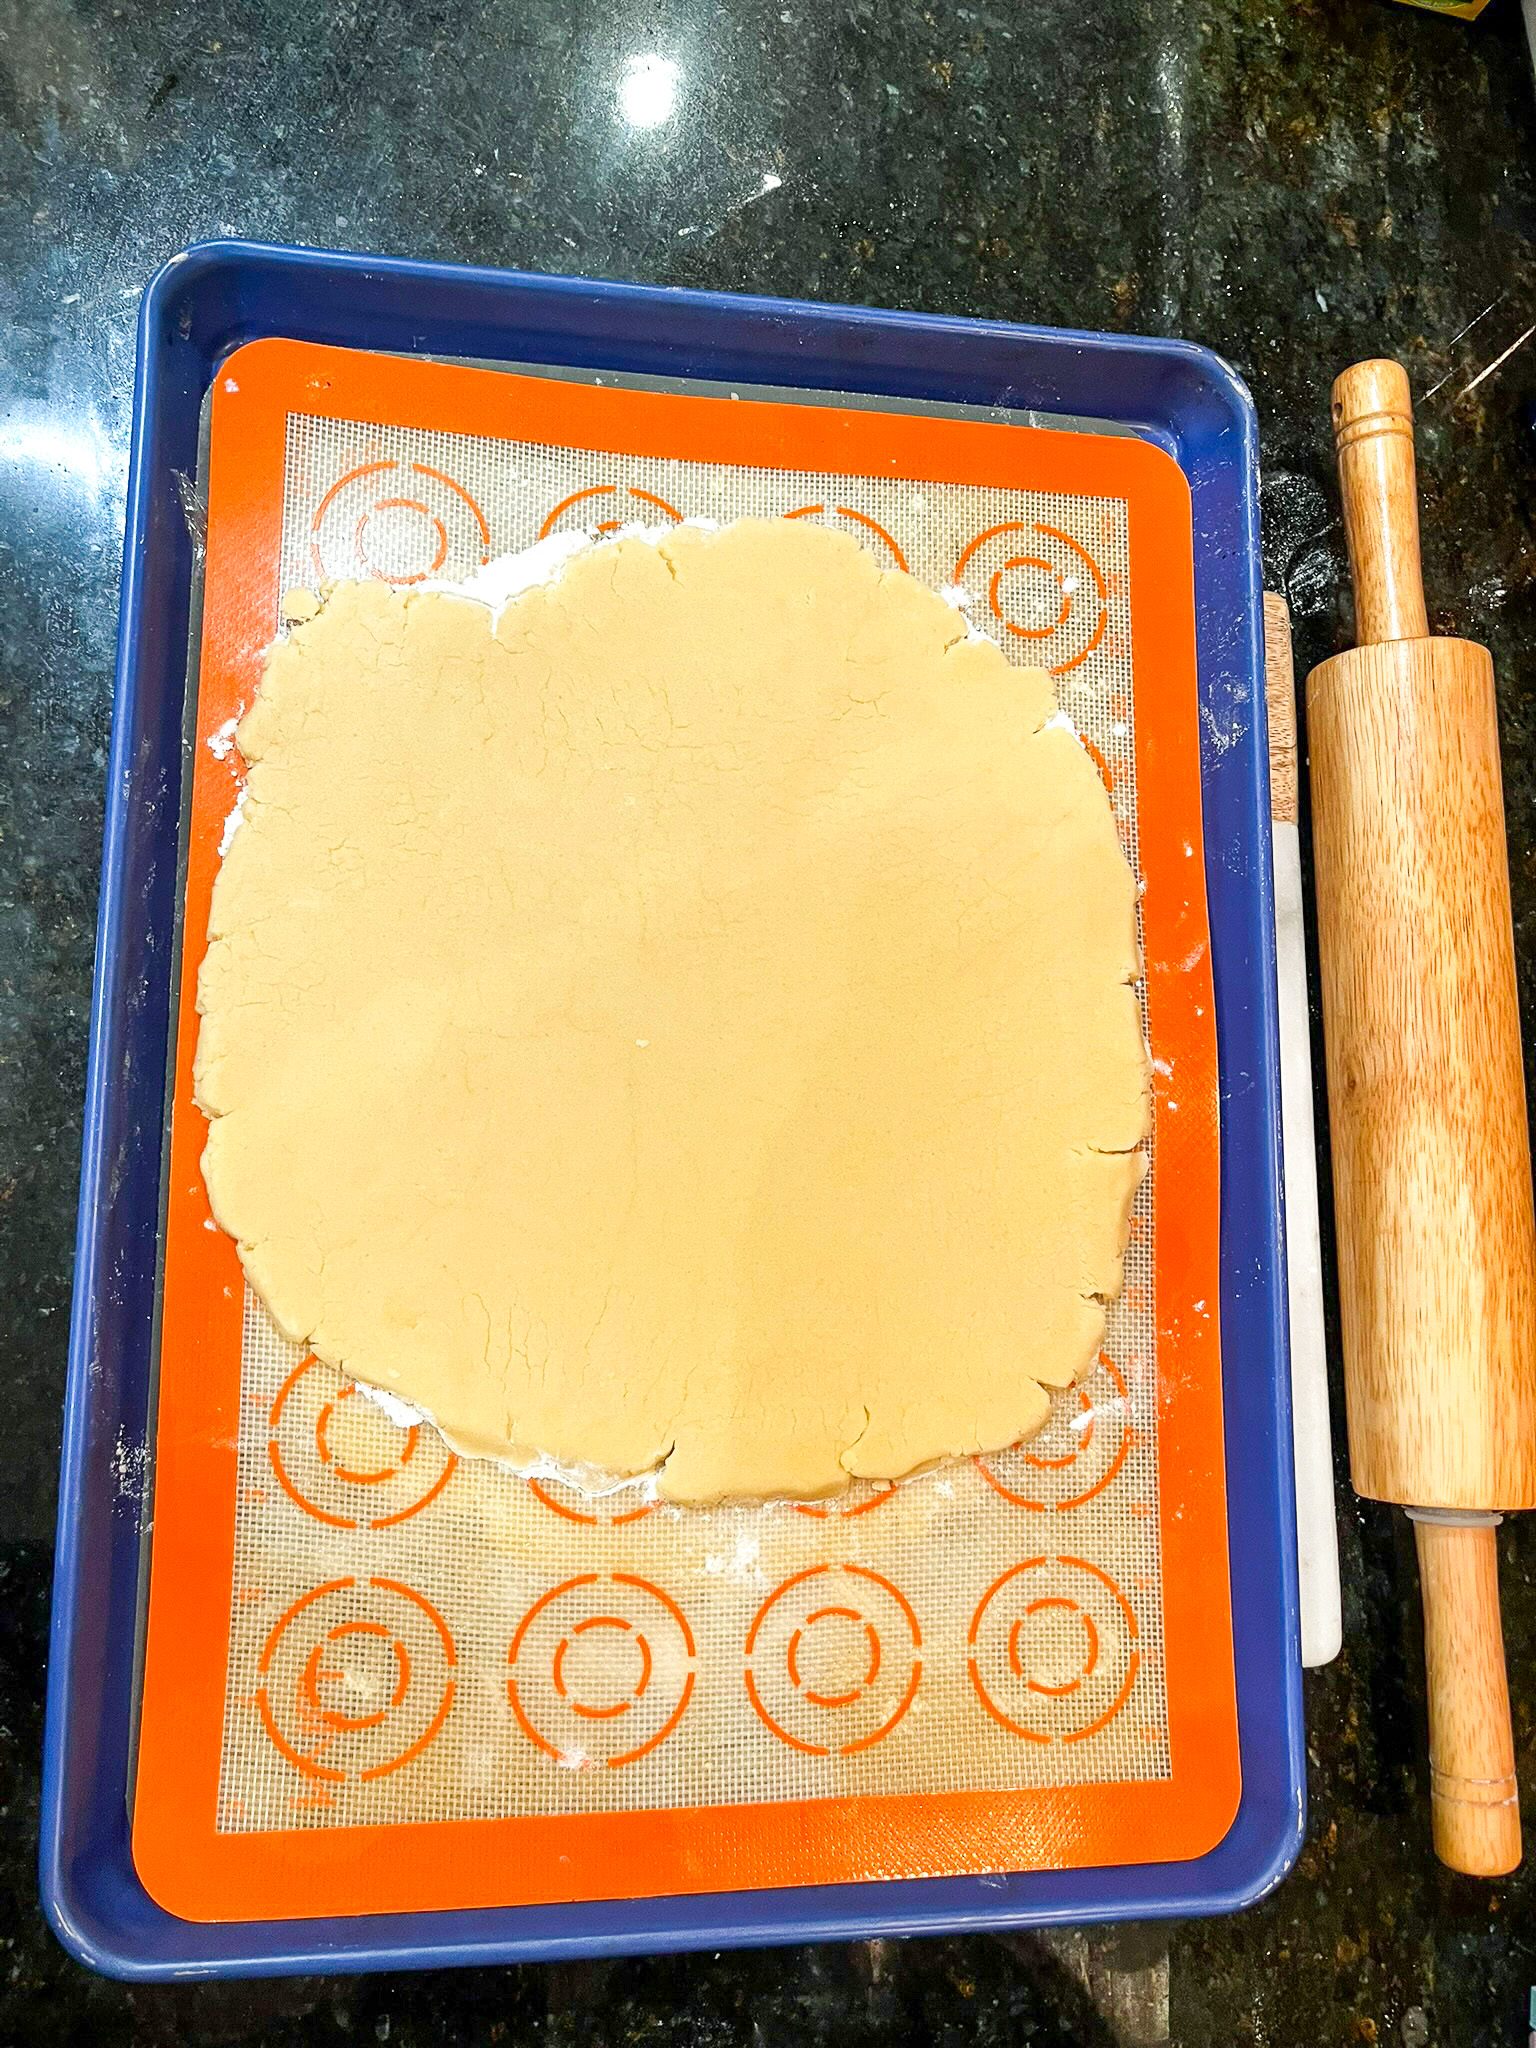
Steps 7-9:
- Chill in the fridge for a minimum of a few hours. I usually make it the night before and chill overnight.
- Preheat oven to 350 F.
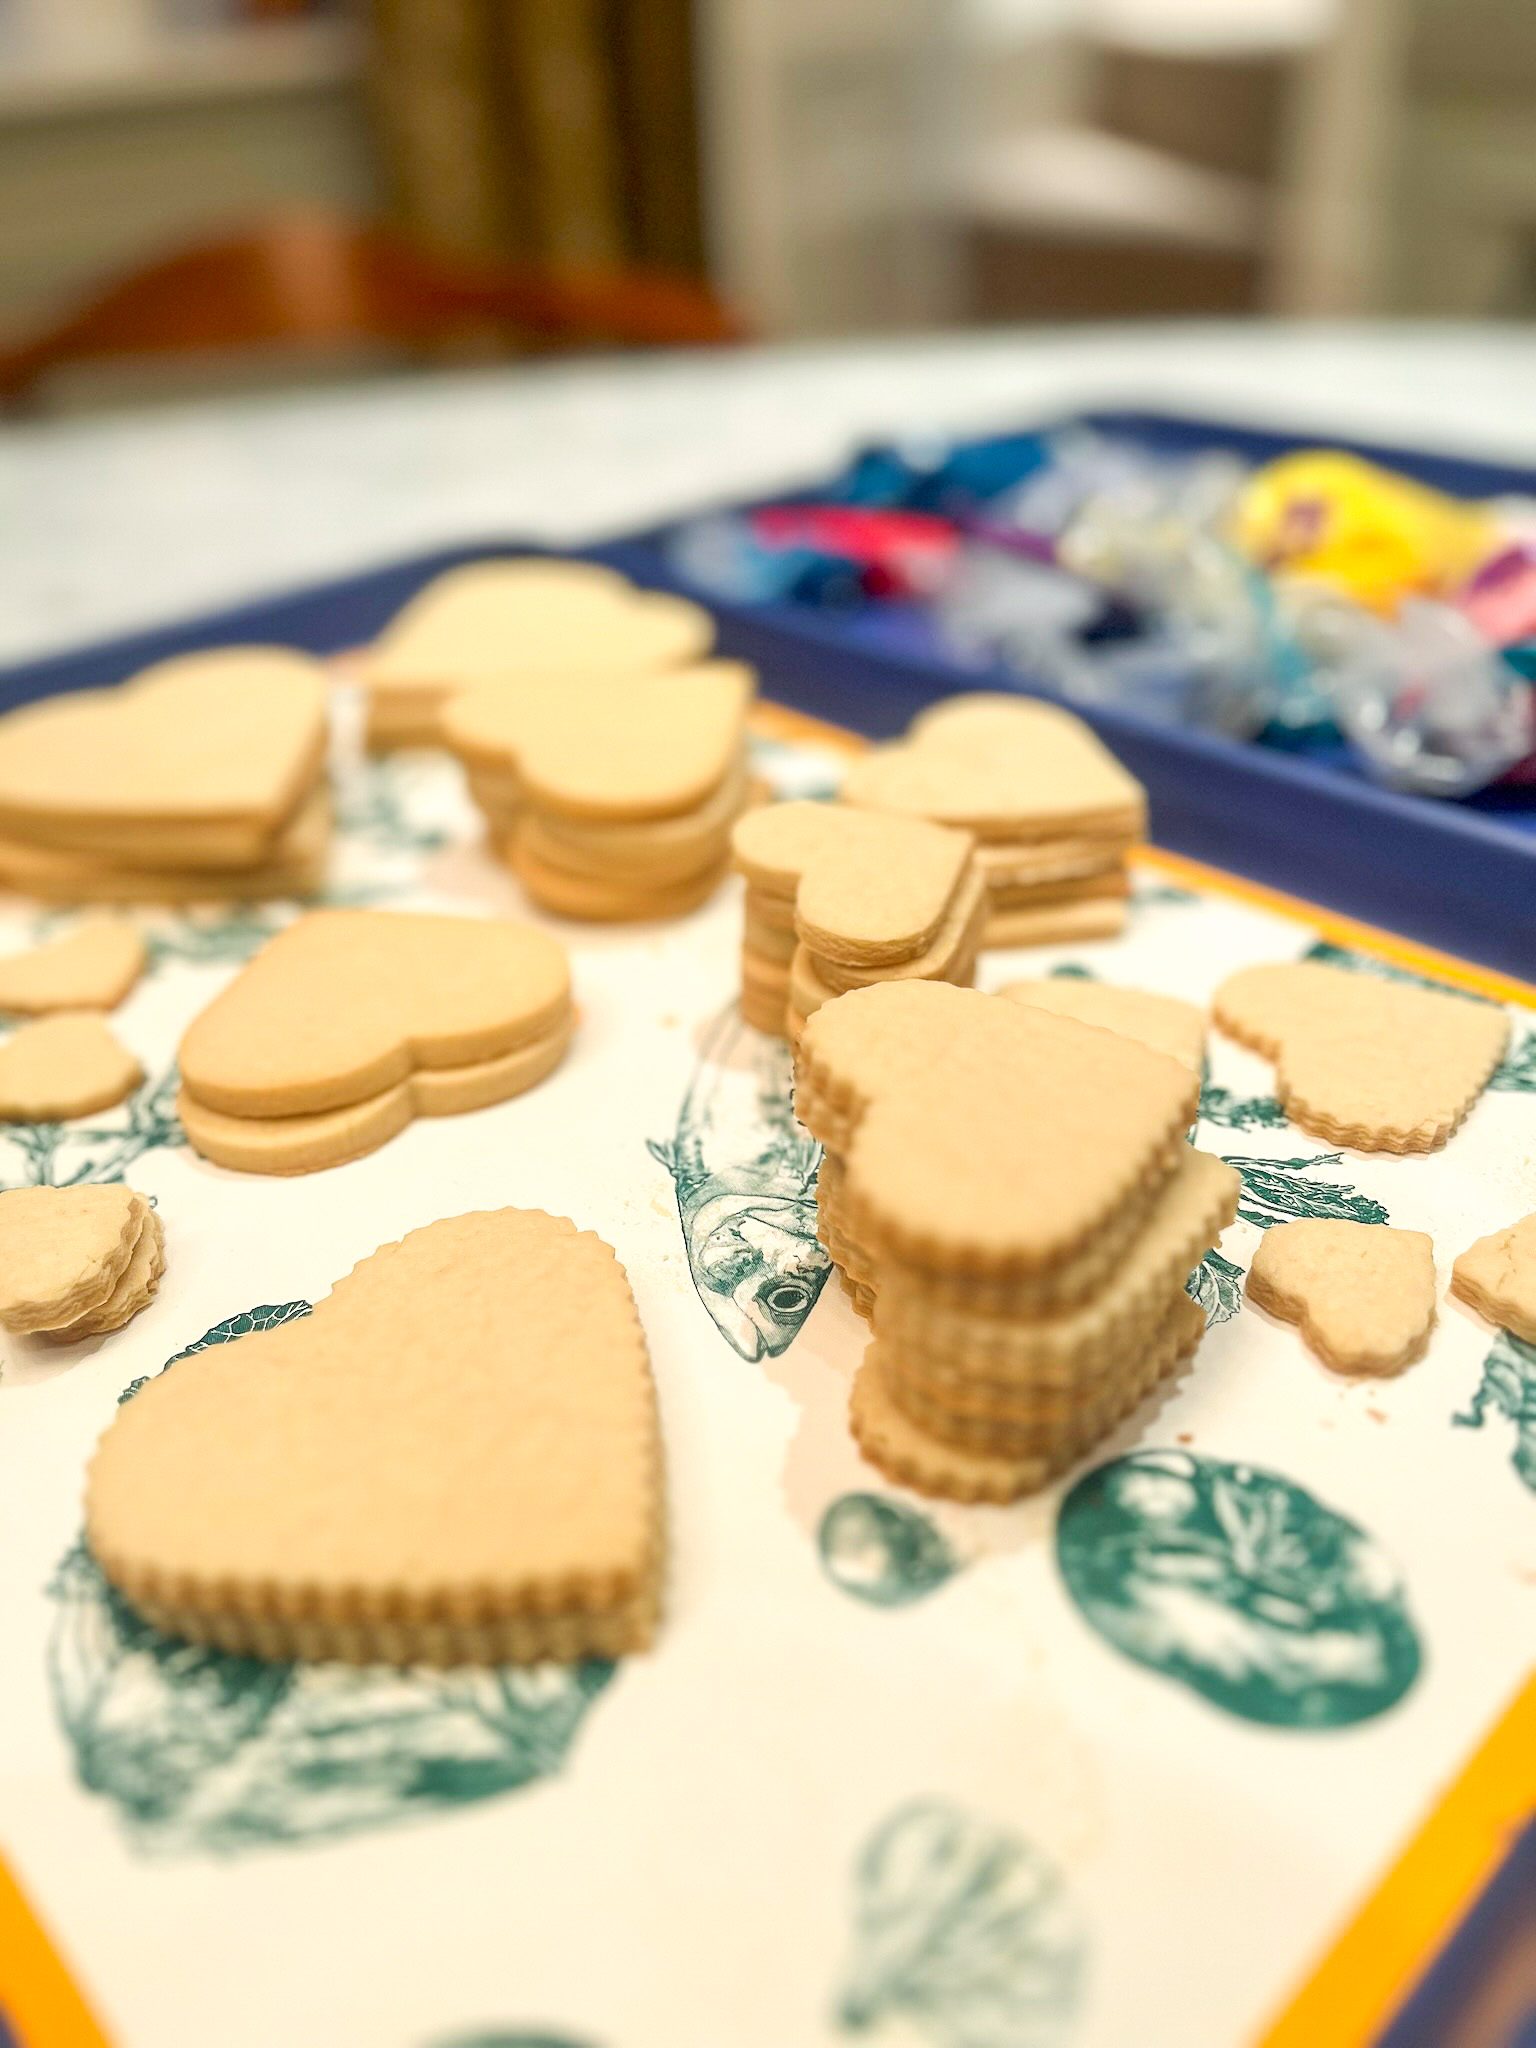
- Cut cookies from the cold sheet of dough, and place them on a baking sheet lined with parchment or silicone baking mat. Bake for 9-11 mins.
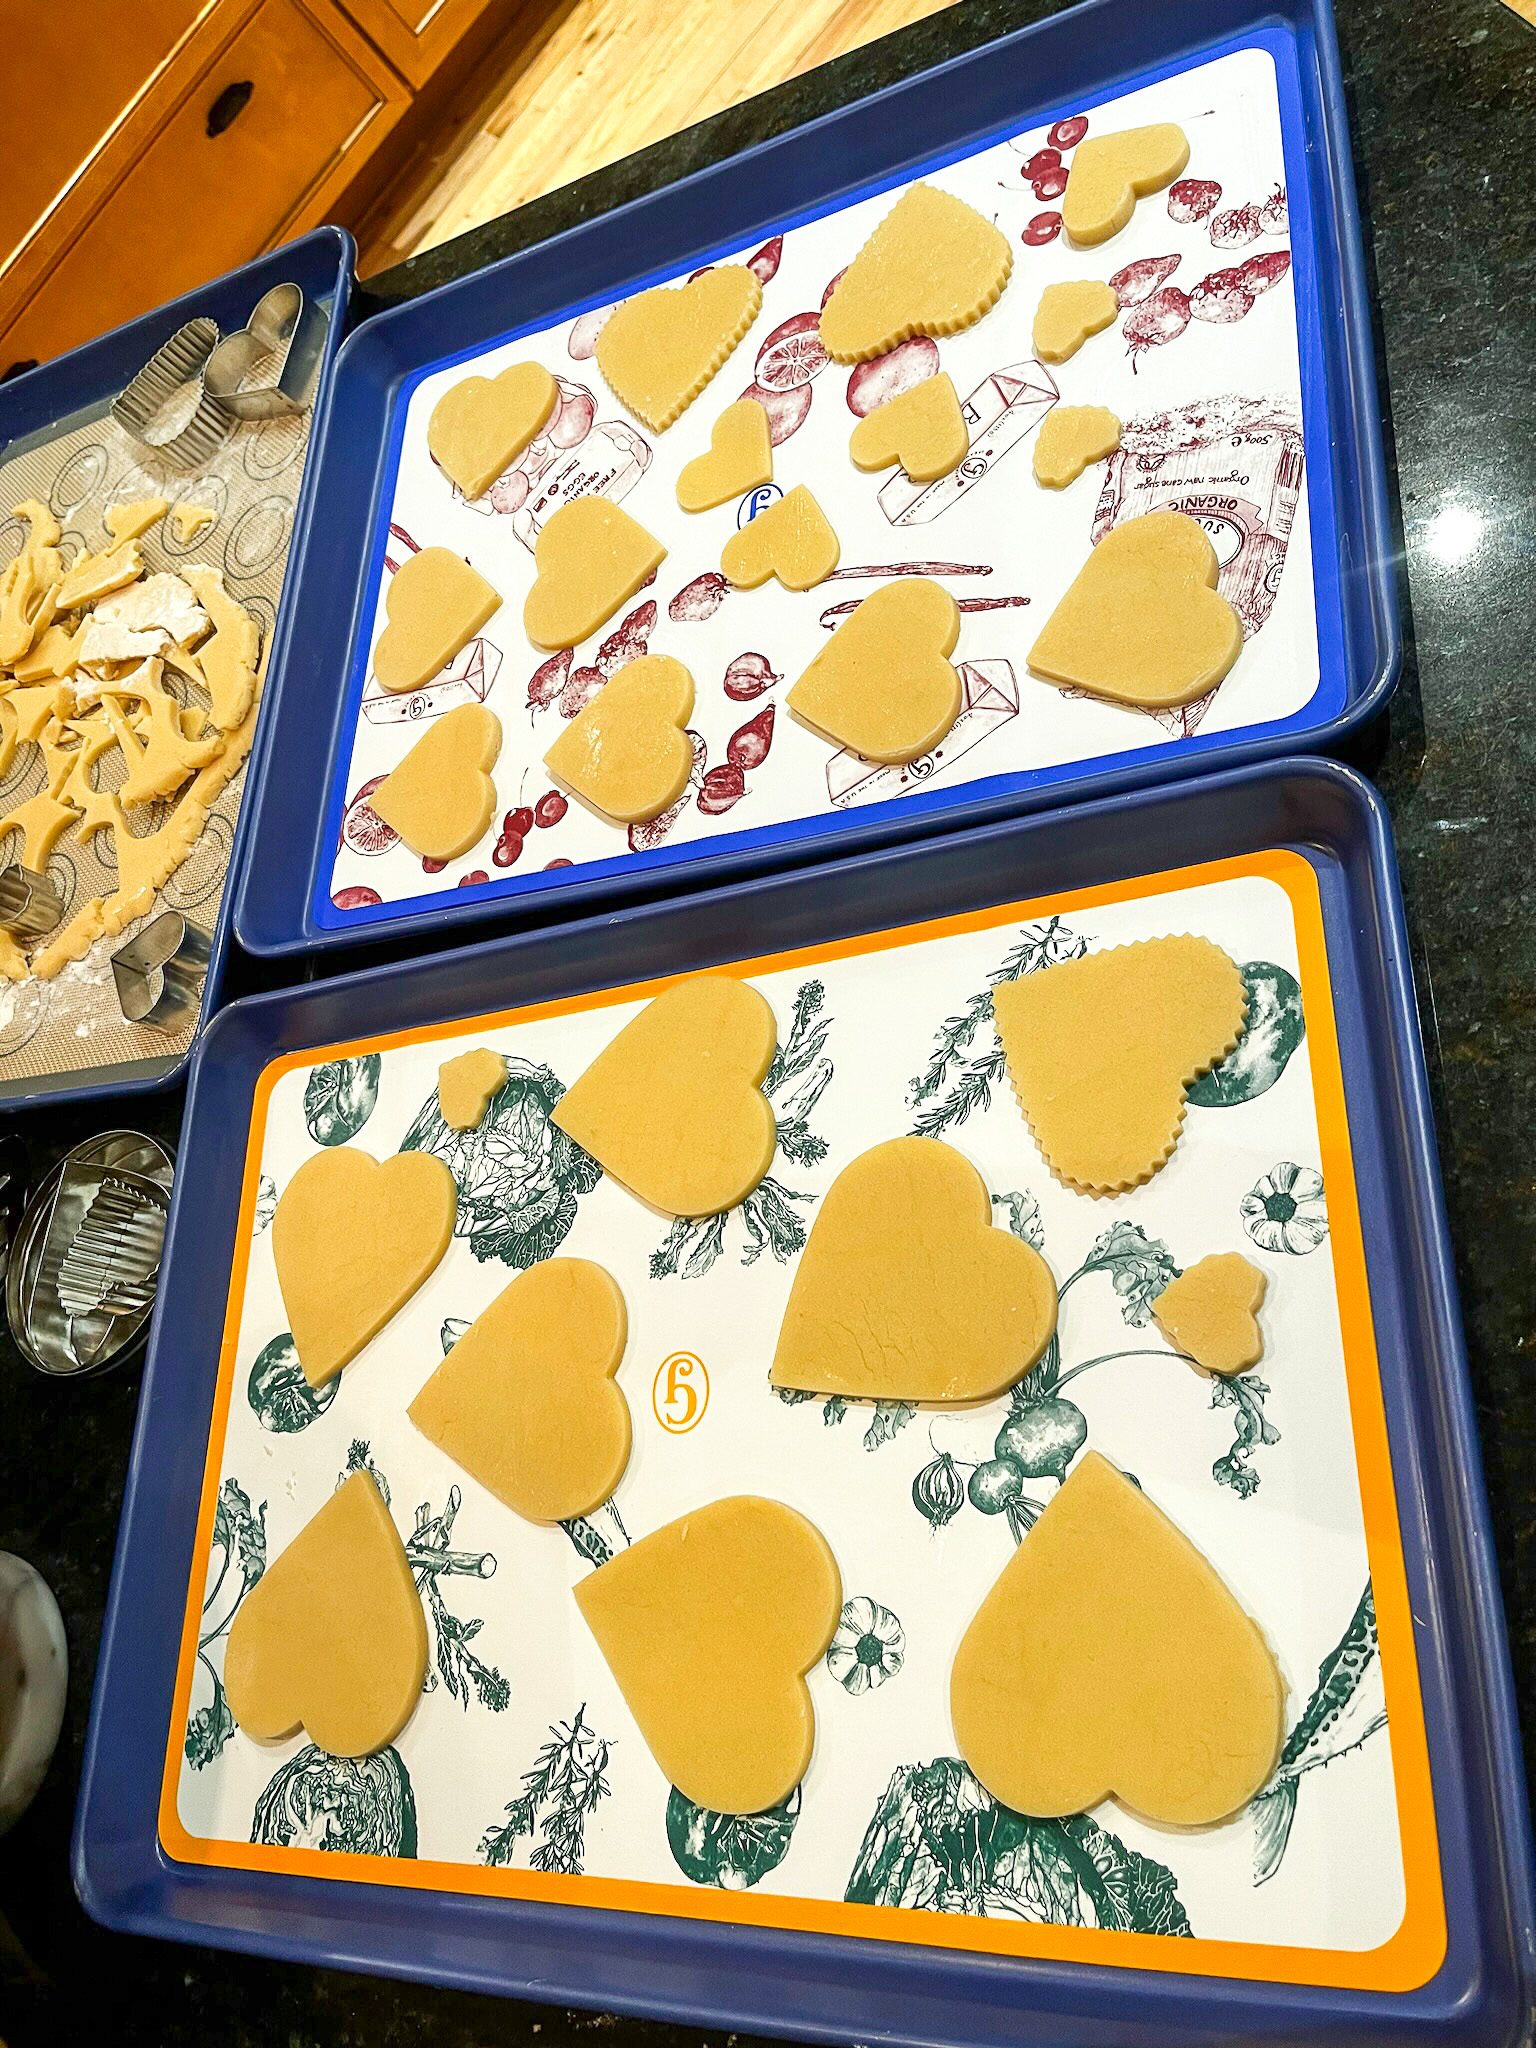
Cool Tip:
You want to move quickly to get the cookies into the oven while they are still cold or they will spread and lose their shape. Keep dough that is not being used in the fridge. Similarly, do not use a warm baking sheet – if you need to use the same baking sheet for multiple batches, just throw it into the fridge to cool down in between.
II) Buttercream Frosting
This recipe is both delicious and almost as durable as a royal icing – after 12-24 hours they will dry hard enough so that you can stack the cookies or place them in a cellophane bag for a gift.
Ingredients:
- ½ cup butter (1 stick)
- 3-4 cups powdered sugar
- 3 tbsp milk or cream
- 1 tsp vanilla
- ½ tsp almond extract or another flavor (I love lemon extract in this frosting)
*I doubled the batch in the video. I often make a double batch to freeze the leftover amount for later use.
Steps 1-7:
- Whip butter until light and fluffy.
- Add 1 cup powdered sugar, incorporating on low speed and then increasing the speed slowly to avoid powder covering your whole kitchen.
- Add milk on low speed, then add 2 cups more of powdered sugar.
- Add vanilla and any other extract flavorings.
- Slowly add in the remaining 3 cups of powdered sugar.
- Flavor Tuning: Add more vanilla and other flavorings if it tastes too sweet.
- Texture Tuning: Add more powdered sugar if it is not thick enough, or 1 tbs of milk if it is too thick. It should be creamy and smooth, but thick enough to stay on your whisk without any hint of dropping.
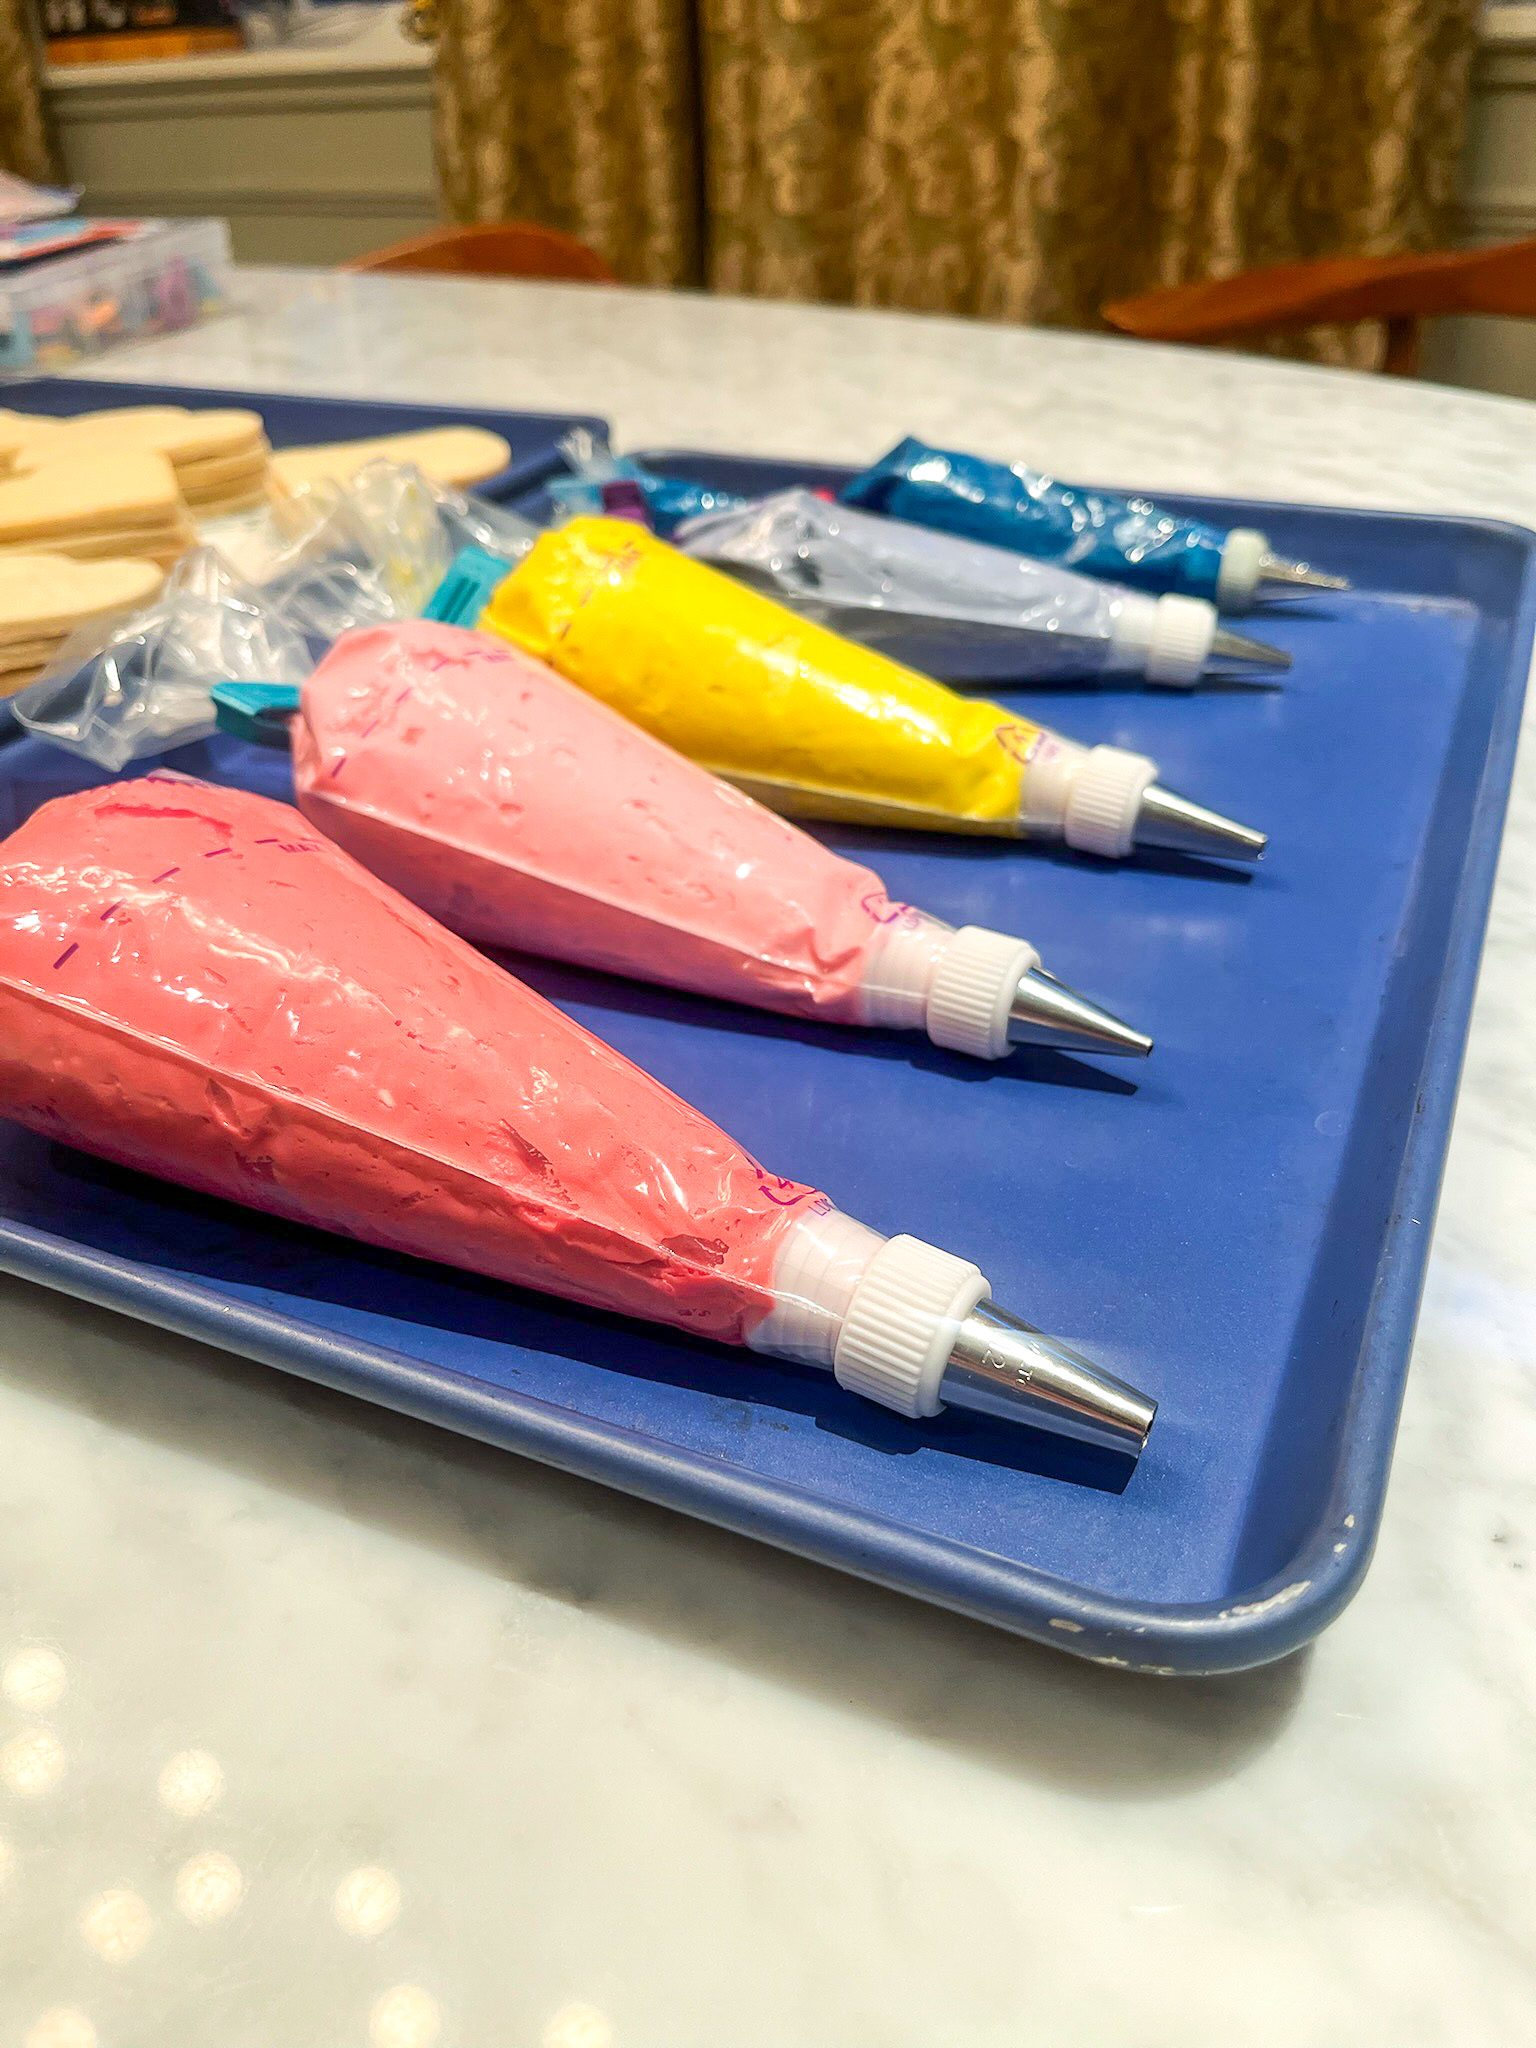
- Color: Once you achieve the desired texture and flavor, you are ready to add your color. I prefer to use gel coloring. Add a few drops at a time, slowly adding more if you want a darker color. If you are making multiple colors, separate the desired amounts into different bowls, then stir in the coloring. Here are some of the gel colors that I have liked: 12 Color Variety.
III) Decorating
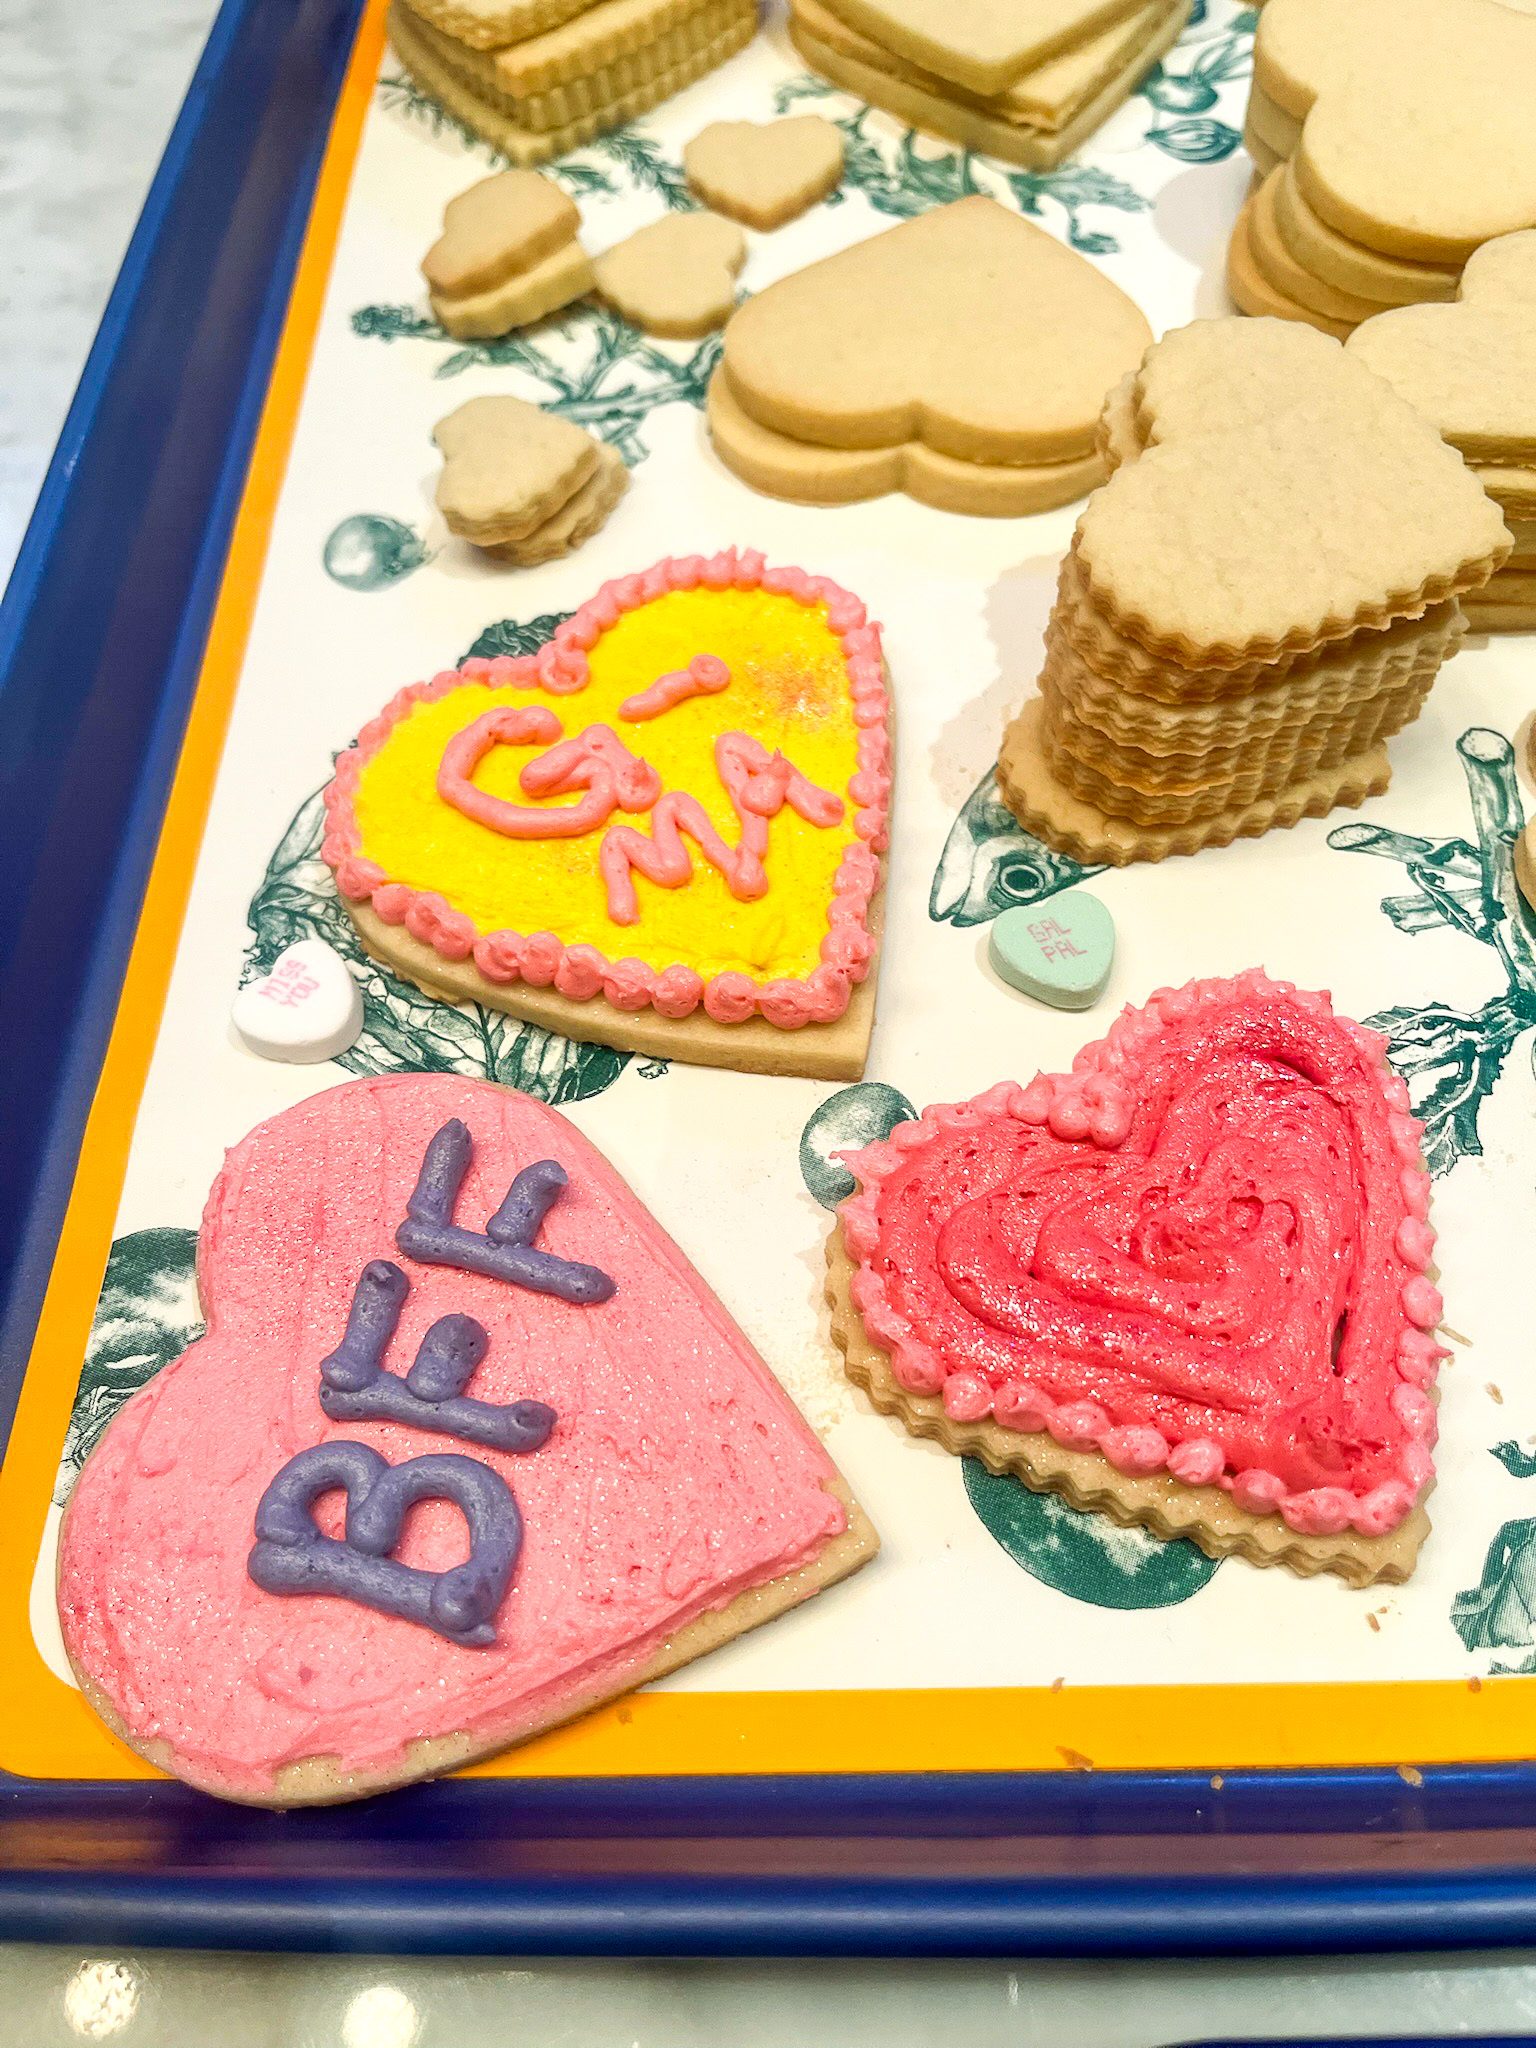
I prefer the control of a piping bag and decorating tips, but you can also just spread this on with a knife. Even if you are just planning to spread, I recommend placing it in a plastic bag, cutting a small hole in the corner, and piping the desired amount onto each cookie – you will be able to create a clean border that you can spread the frosting in, and it is a much faster process.
Tips for using a piping bag:
- Secure tip: Cut enough of the tip off to expose a small portion of the solid part of the coupler. Place the coupler on the inside and the desired tip on the outside, securing it into place with the ring collar that should thread onto the other part of the coupler.
- Fill bag: To fill a piping or other plastic bag, place it into a stable cup and fold the sides down the outside of the cup. This will give you more control in filling it and keep a good margin at the end of the bag clean. Only fill it halfway so that you can secure the other end of the bag by tying or clipping it. I use chip clips, but others like to cut 2/3rds of the way down to the icing and then use the two parts to tie a tight knot.
- Using bag: Hold the base of the bag in the nook of one hand (cradled between your thumb and the rest of your fingers) and apply enough pressure to squeeze out the frosting in a controlled manner. Use the other hand to hold the cookie or guide the tipped end of the bag for more detailed designs.
IV) Gear:
- Mixer: You absolutely don’t need a stand mixer for this recipe, but it sure comes in handy. And, if you get a Kitchenaid it will likely last you forever. I inherited mine from my grandmother, so I have no idea how old it is but it must be at least 25+ years old and it is still going strong (knock on wood). You will want to really cream your butter and sugar well, so it might be a good idea to at least use an electric hand mixer.
- Baking Gear: You will of course need baking sheets – I have a huge collection, which comes in handy with batch baking like this where you can’t use a hot baking sheet. I love my silicone baking mats because you can roll, cut and bake right on them – and they are sturdy enough to pick up and move your dough around without collapsing. You can always just grease your pans or use parchment paper too (I like these).
- Measuring: I love my magnetic measuring spoons – they stay neatly together in the drawer and it include a leveler. This set comes with measuring cups too. I also have a fancy copper set (like this), because sometimes I’m a little extra).
- Cookie Cutters: I love my little heart cookie cutter set – the different sizes all nest in a tin, so they don’t take up much space and don’t get bent out of shape. Here is a similar set.
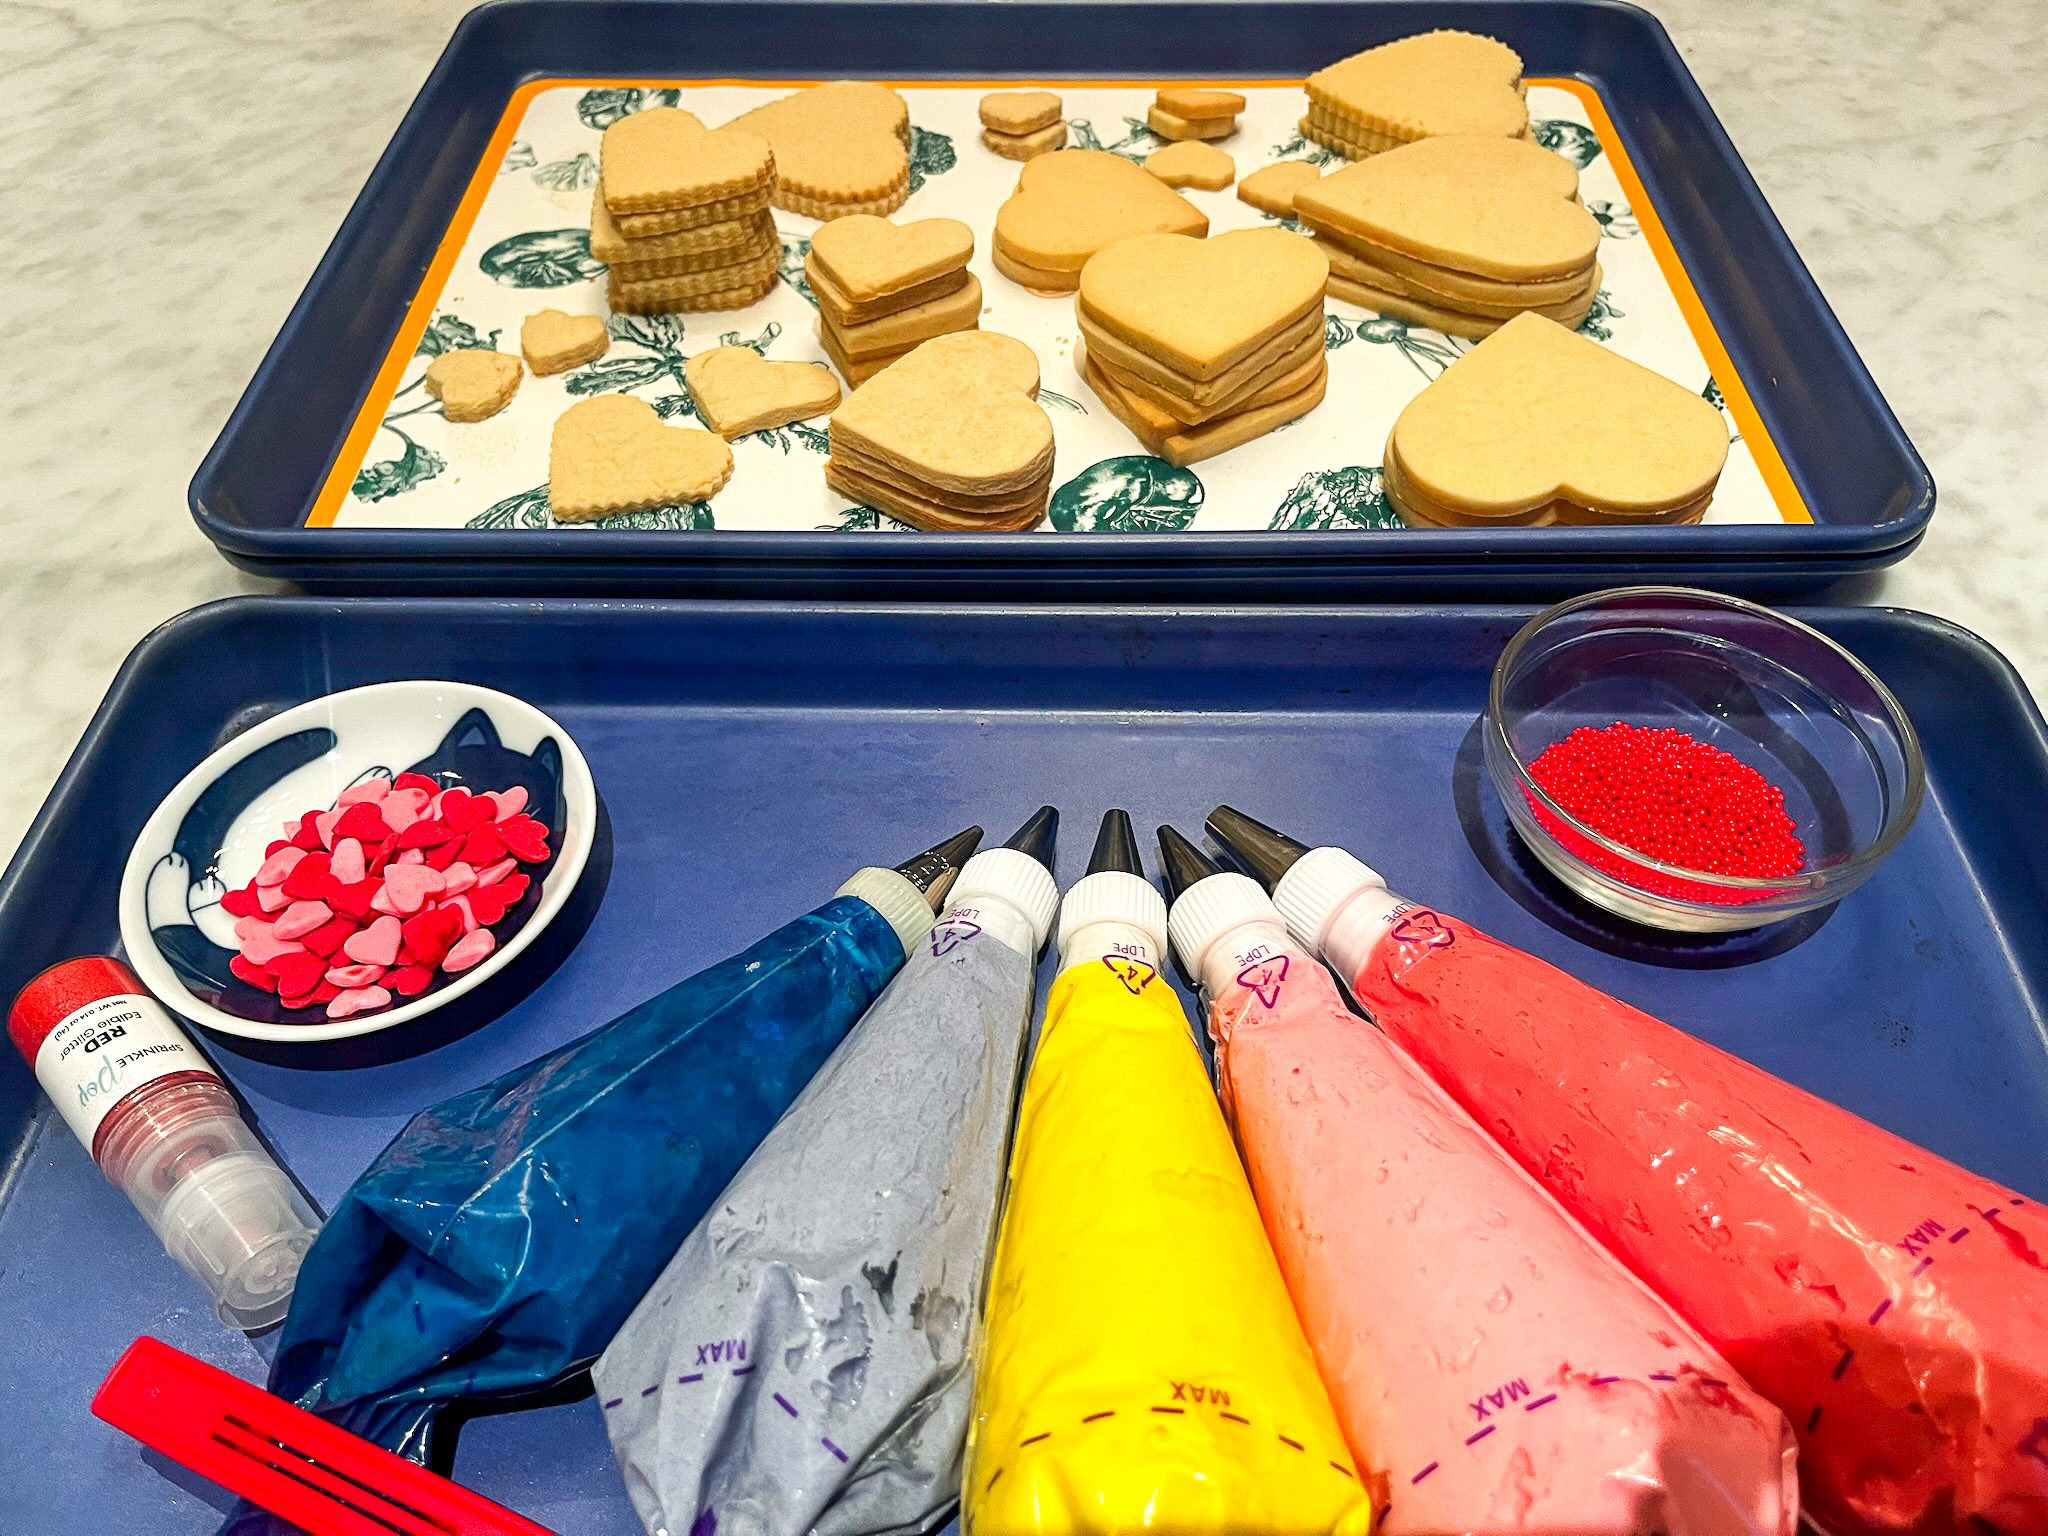
- Piping: If you don’t have a frosting piping kit, I recommend the investment. They are really affordable and last forever. Here is a good, cheap starter kit with a variety of tips and a case. I also recommend buying some extra piping bag couplers (the white part that holds the tip onto the bag) and some disposable bags (these are plant-based, and compostable).
